To export and import custom product tabs in WooCommerce, open WP Sheet Editor > Edit Products, click Export on the toolbar, select your Custom Product Tabs columns, and download the CSV file. After editing your tabs offline in Excel or Google Sheets, click Import, upload your CSV, match record_id to ID, and run the import.
The Custom Product Tabs for WooCommerce plugin allows store owners to add extra content tabs to product pages for technical specifications, sizing charts, user manuals, and return policies. However, updating custom tabs across hundreds or thousands of products inside the standard WordPress dashboard requires opening each product manually—a process that takes hours.
Using WP Sheet Editor, you can view all custom product tabs in an interactive spreadsheet inside WordPress. You can also export your tabs to a CSV file, edit them offline in Excel or Google Sheets, and import the changes back to WooCommerce in minutes.
Key Takeaways
- Offline Bulk Management: Add, modify, or delete custom product tabs in bulk using Excel, Google Sheets, or any CSV editor.
- No WordPress Skills Needed: Export custom tab data so team members or virtual assistants can update documentation offline without needing wp-admin access.
- Safe ID Matching: Re-import modified CSV files by matching
record_idto WordPressIDto prevent duplicate products or data corruption. - Full Field Visibility: View custom tab titles and content alongside standard WooCommerce fields in a single spreadsheet interface.
You can download the plugin here:
Download WooCommerce Products Spreadsheet Plugin - or - Check the features
1. How to Open the WooCommerce Products Spreadsheet
To view your products and custom tab fields in a spreadsheet, navigate to WP Sheet Editor > Edit Products in your WordPress dashboard.
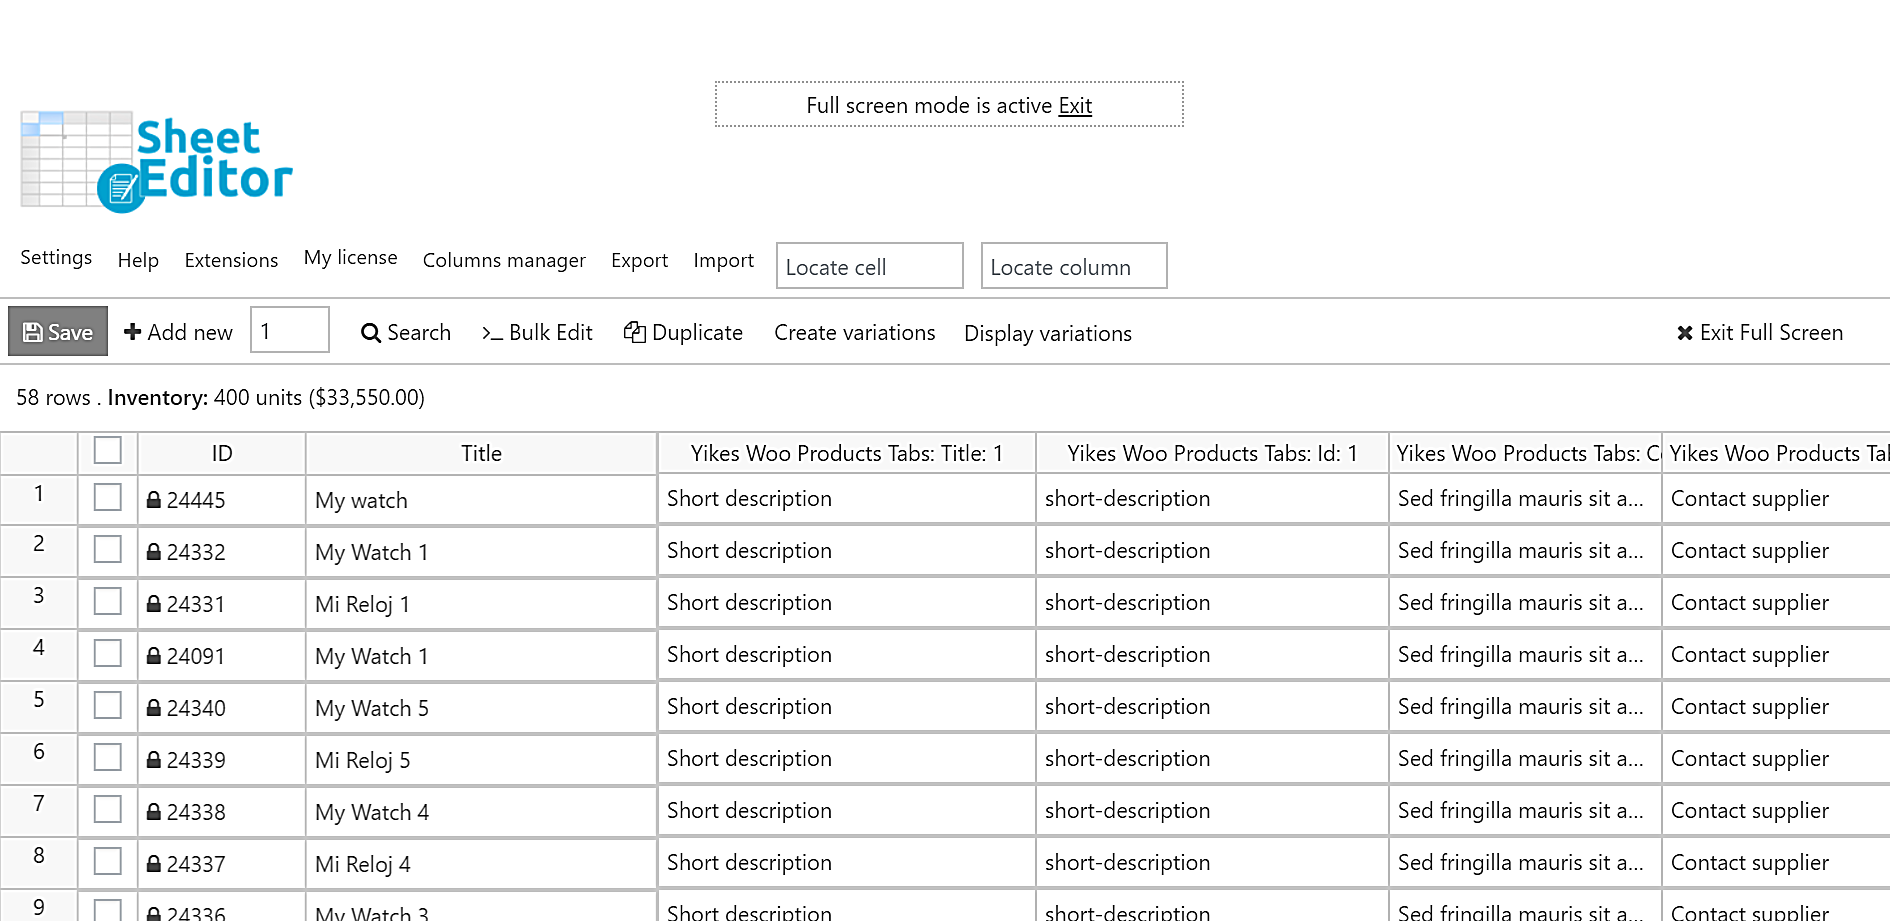
You will see all your WooCommerce products displayed as spreadsheet rows, with their fields organized into columns—including the custom fields generated by the Custom Product Tabs for WooCommerce plugin.
2. How to Export WooCommerce Custom Product Tabs to a CSV File
Exporting your products lets you manage custom tab content offline without making changes directly on your live site.
- Click Export on the top toolbar of the spreadsheet.

- In the export panel, click Select Active Columns, Select All, or type individual tab column names to export.
- Check the I understand it will export all the rows from my current search checkbox.
- Select your preferred CSV editor in What app will you use to edit this file? (optional).
- Enter a label in Name of this export (optional) if you plan to reuse these export settings.
- Click Start Export to download the CSV file to your computer.

Once the file downloads, open it in Microsoft Excel, Google Sheets, or another spreadsheet program. You can add new tab titles, update tab body text, or remove tab content across all rows.

3. How to Import Custom Product Tabs Back to WooCommerce
After finishing your offline edits, you can import the updated CSV file back into WooCommerce in a few clicks.
- Click Import on the top toolbar of the spreadsheet.

- Set Source to CSV file from my computer.
- Click Choose file and select your edited CSV file.
- Click Next.

- Click Import all the columns.

- Set Do you want to update or create items to Create new items and update existing items.
- Map CSV Field
record_idto WordPress FieldIDto match rows to existing products. - Click Next.

- Review the import preview step, then click The preview is fine, start import to apply all custom tab changes.

You can download the plugin here:
Download WooCommerce Products Spreadsheet Plugin - or - Check the features
Frequently Asked Questions
Can I edit custom tab content using HTML formatting in the CSV file?
Yes. Custom product tab body text supports standard HTML formatting such as paragraph tags, lists, bold text, and links. You can add or edit these tags directly inside your spreadsheet cells before importing.
How does WP Sheet Editor prevent duplicate products during import?
During the import setup, matching the record_id CSV column to the WordPress ID field instructs WP Sheet Editor to update existing products rather than creating new entries.
Can I export and edit custom product tabs in Google Sheets?
Yes. You can open the downloaded CSV file in Google Sheets, make your updates, export the sheet as a new CSV file (File > Download > Comma-separated values), and upload it using the WP Sheet Editor import tool.
What happens if I leave a custom tab cell blank in my CSV file?
If you choose to update existing items during import and leave a custom tab cell blank, the import process will update the corresponding product tab field accordingly. Always back up your database before running batch imports.