In this WordPress tutorial, we will show you how to export and import post translations created with the Polylang plugin, using CSV files that you can edit with Excel, Google Sheets, and any other CSV editor.
Note – This process works with posts, pages, and custom post types. If you want to export and import WooCommerce product translations, follow this tutorial.
Polylang is a multilingual plugin for WordPress that allows you to create a bilingual or multilingual website. You can translate posts, pages, media, categories, and tags, as well as custom post types, custom taxonomies, widgets, navigation menus and even URLs.
Polylang lets you export translations in PO or XLIFF format only, but that complicates matters completely if you hire a translator who doesn’t know how to use software for those formats.
It’s much easier to export your posts to a CSV file in a specific language, ask your translator to translate using Excel or Google Sheets, and then import post translations from the CSV file into WordPress.
We will do this using Posts, Pages and Custom Post Types Spreadsheet. This plugin allows you to view and edit posts, pages, and any custom post type on WordPress, using an intuitive spreadsheet.
The spreadsheet allows you to:
- Run advanced searches using any field as a search filter
- Edit hundreds of posts at once with a few clicks using the spreadsheet
- Bulk update thousands of posts at once with a few clicks
- Export posts, pages or any post type to a CSV file
- Import posts, pages or any post type using a CSV file
- Duplicate posts, pages and custom post types to create hundreds of copies
- And more things to improve your productivity
You can download the plugin here:
Download Posts, Pages, and Custom Post Types Spreadsheet Plugin - or - Check the features
Besides installing the WP Sheet Editor plugin, you need to download and install the WP Sheet Editor – Polylang extension, which will add full compatibility between WP Sheet Editor and Polylang.
Now you need to follow the steps in the sections below in order to export and import Polylang translations using CSV files:
1- Open the WordPress posts in a spreadsheet
To open the WordPress posts spreadsheet, go to WP Sheet Editor > Edit Posts.
Once there, you’ll see all your WordPress posts displayed as rows and their fields displayed as columns.
Initially, the spreadsheet will show posts from all languages.

But if you use the language switcher that appears on the admin bar in wp-admin, you can select a specific language, and the spreadsheet will display posts from that language only.
Notice that we have selected English, which is our main / default Polylang language.

If you select a different language, you’ll see that the spreadsheet will display posts from that language only.
For example, we have selected Español, and you can see below that we have only one post.

Polylang fields appear in the spreadsheet as columns.
If you right-scroll in the spreadsheet, you’ll see these Polylang columns:
- Polylang: Translation of – This column contains that post tile in the source (main) language.
- Polylang: Language – This column contains the target (translation) language.

Now that we know how the posts are displayed according to the Polylang language selected, we’re ready to start exporting and importing post translations in specific Polylan languaes.
2- Export Polylang Translations in Specific Language to a CSV
With WP Sheet Editor, you can export your posts in specific languages to a CSV file. For example, you can export only English posts, only Spanish posts, and so on.
For this, you need to select the language in which you want to export your posts.
In this example, we have selected the English language to export only the posts in our default language.
After selecting the languaje, we need to open the Export tool.

Next, we need to select these values to export our WordPress posts in a specific language:
- What columns do you want to export: Here we need to select the columns we want to export, making sure to select the Polylang: Translation of and the Polylang: Language columns
- Which rows do you want to export: In this example, we will export all the rows, so we need to select All the rows from my current search.
- What app will you use to edit this file: Select any of the available apps. We will select Microsoft Excel in this example.
- Click Start new export to download the CSV file to your computer.

After these steps, a CSV file containing the posts in the selected language will be downloaded.
Now we can send this CSV file to our translator to create the translations in Excel, Google Sheets, or any other CSV file editor.
Make sure your translators fill in the contents of the following columns:
- Polylang: Translation of – This column must contain the post title in the source / main / default language.
- Polylang Language – This column must contain the name of the target language. In this example, we have added “Español”.

Once your translators create Polylang translations using the CSV file, you can proceed to import the translations from the CSV file into WordPress.
This is a great way to create and update thousands of translations with a few clicks.
3- Import the Polylang Translations in Specific Language
WP Sheet Editor allows you to import translations in a specific language, using a CSV file.
The first thing to do is to select the language for which you want to import the translations.
For example, you can select Spanish, Italian, or any of the secondary / translation languages of your website.
After selecting the translation language in the spreadsheet, you need to open the Import tool:

Next, you need to select the CSV you’ll import from your computer:
- Source: CSV file from my computer
- CSV File: Click Choose file and select the CSV file from your computer.
- Click Next.

Then, you need to select the columns you want to import.
In this case, we will Import all the columns, but you can also Select individual columns to import.

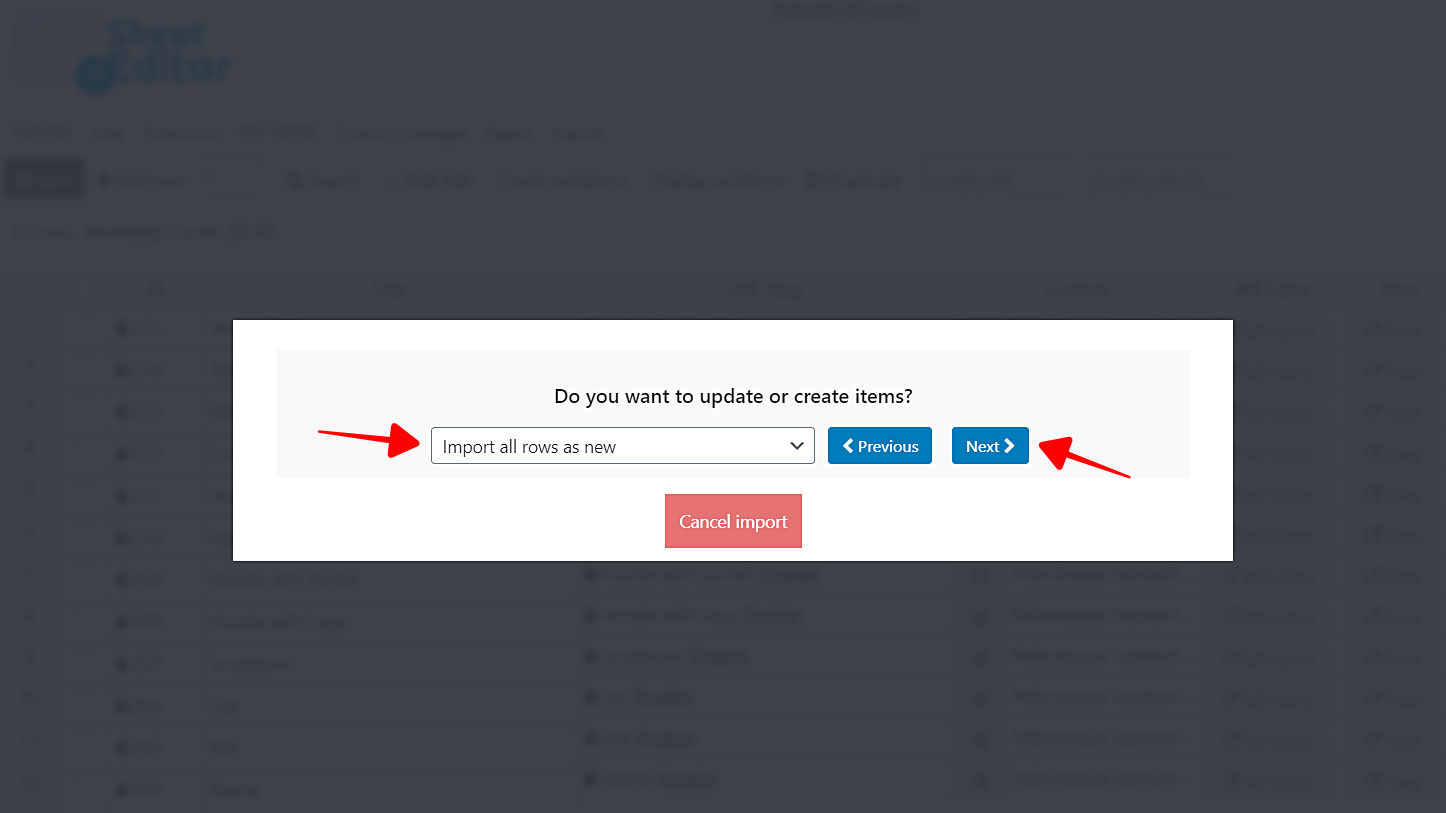
Next, select how you’ll import the information.
In this example, we will import all translations as new, but you can also update existing translations.
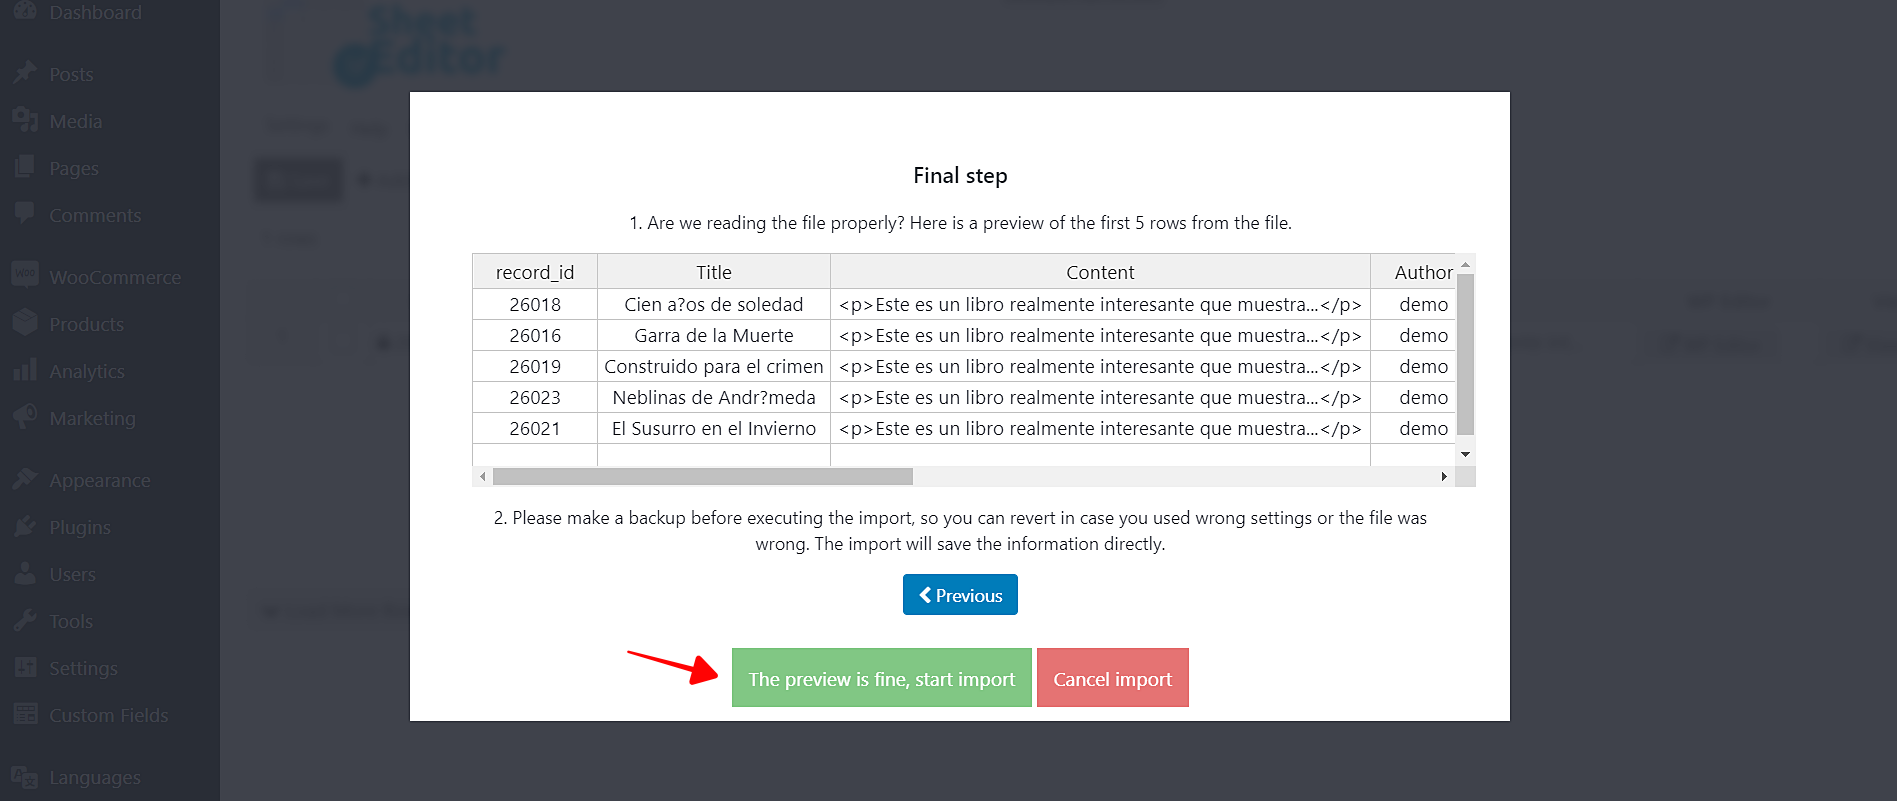
Finally, you’ll be shown a preview of what your Polylang translations will look like once they’re imported.
If everything’s OK, click The preview is fine, start import.
Once the import process finishes, you’ll see all the imported translations in the spreadsheet.

If you right scroll, you’ll see the language correctly set. This is why the translator must change the translation language when preparing the CSV file.

With WP Sheet Editor you can export posts in specific language, work the translations in Excel or Google Sheets, and then import the Polylang translations from a CSV file.
You don’t need to manually create the translations on WordPress. Just export the posts, hire a translator or edit the CSV yourself, and then import the translations back into WordPress.
You can download the plugin here:
Download Posts, Pages, and Custom Post Types Spreadsheet Plugin - or - Check the features
Important questions:
Does this work for WooCommerce products?
Here’s a tutorial for exporting and importing Polylang translations of WooCommerce products.
Does this work for migrating translations from one site to another?
If you want to migrate translations from one site to another, you need to first migrate the taxonomy terms (tags, categories, etc.).
If this is not done first, there will be synchronization problems between the languages.
Here’s a tutorial on how to export and import taxonomy terms.