Imagine you get emails or comments from your customers telling you that several products just don’t show images. That’s a problem because sometimes the most important parameter customers have to decide on whether they buy your products is the photos of the product. We’re in a visual culture, that is, people love images and use them as parameters to evaluate reality.
The thing with those reports of customers not seeing images is that you have thousands of broken images in your server. And we know it can be really tedious to try to find and delete all your broken images one by one in WP. It can take lots of hours. But we have great news. You’ll learn how to do it in just some minutes.
Yes. We’ll show you how to delete all broken images from the media library in WordPress in just some seconds. It takes only a few simple steps, so just follow them.
1- Install the “Media Library Spreadsheet” plugin
This plugin completely simplifies your media library management. You can save lots of hours because the plugin displays all your media files, and it allows you to make advanced searches and apply changes to thousands of files at once.
You can download the plugin here: Download Media Library Spreadsheet Plugin - or - Check the features
Once installed and activated, go to Sheet Editor > Edit Media. There, you’ll see the media library spreadsheet where you can edit thousands of files.

2- Find all broken images quickly
You need to do this in order to find all broken images quickly:
- Filter all the images in the spreadsheet
- Click on the the Export tool on the top toolbar to get all your files on a CSV file
- Open the file with Excel or Google Sheets
- Go to the Local file exists column
- Sort the values A to Z to find all the files with no value
Here’s a tutorial that shows you all steps to find all the broken images in just some minutes: Find Broken Images with Missing File in the Server
3- Change the files’ status from “published” to “delete”
Once you have sorted the files by the Local file exists column and know which of your images don’t have files, you need to go to the Status column and change the values from published to delete.

Now just save the changes in your CSV file, and you’re ready for the next step.
4- Import the changes to the Media Library Spreadsheet
Once you’re ready to import your files with status delete, you just need to click on Import on the top toolbar.

Now you need to choose the file from your computer. For that, just select these values.
- Source: CSV file from my computer
- CSV file: Click on Choose file and select the file from your computer
- Click on Next

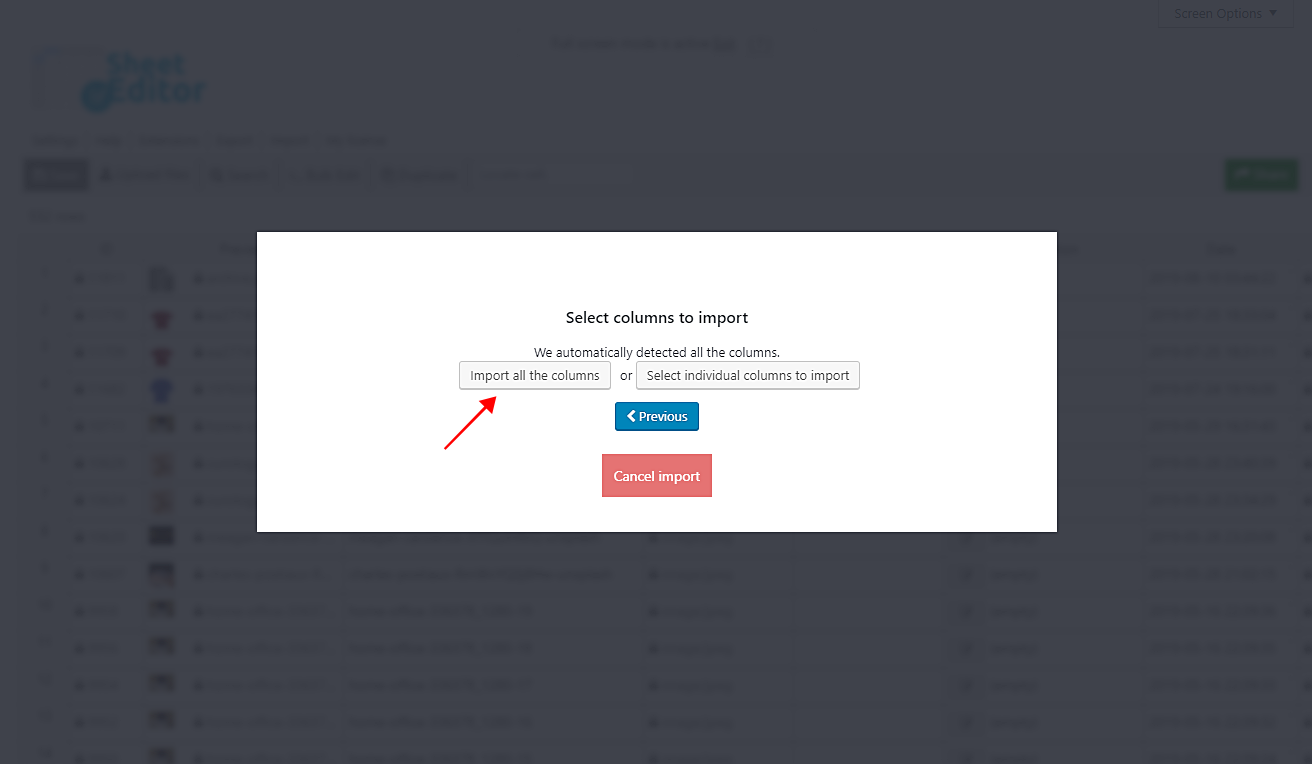
Now, click on Import all the columns.
Finally, click on The preview is fine, start import, and the import process will start.

Done!
After the files are imported, you’ll see that all the images will be deleted from the media library. It’s really simple and fast. You didn’t need to spend hours and you’ll have deleted thousands of broken images.
You can download the plugin here: Download Media Library Spreadsheet Plugin - or - Check the features