When you run an online store, communication is everything. Whether you’re planning a marketing campaign, verifying orders, or launching a loyalty program, you often need quick access to your customers’ contact details. That’s why learning how to export customers’ names and phone numbers by city, state, and country from WooCommerce is one of the most practical things you can do for your business.
Exporting your WooCommerce customer data, such as names, billing phone numbers, countries, and cities, lets you organize and use this information in flexible ways. For example, you can create segmented call lists for marketing, group customers by location to offer region-specific discounts, or simply back up your customer contacts in Excel or Google Sheets for safekeeping.
Imagine you want to call all customers in New York to invite them to an in-store event, or send a personalized SMS to customers in California. Maybe you want to export all phone numbers from customers in Mexico or Canada to plan international delivery routes. Doing this manually by opening every user profile could take hours, but with the right tools, it can take some minutes.
In this guide, you’ll learn step-by-step how to export customer contact information, including first name, last name, and billing phone number, directly from your WordPress dashboard. We’ll use the WP Sheet Editor – WooCommerce Users plugin, which allows you to view and manage your customers in a powerful spreadsheet interface. It’s designed for store owners, marketers, and virtual assistants who want to save time and simplify data management.
This tutorial is great if you want to:
- Export all customer names and phone numbers by country to build regional marketing lists.
- Filter and export users by state to coordinate deliveries or events in specific areas.
- Download phone lists by city to create personalized call or WhatsApp campaigns.
- Use the Export tool to generate ready-to-use CSV or Excel files.
Whether you want to import the data into your CRM, use it with a call center, or sync it with Google Sheets, this article will show you step by step how to export your customers contact info. No coding required. By the end, you’ll be able to download clean, organized lists of your WooCommerce customer contacts by any location in just a few clicks.
Let’s begin by installing WP Sheet Editor and preparing your customer data for export.
Install WP Sheet Editor
This plugin allows you to filter, edit, and export user data easily. It includes advanced tools like Search, Bulk Edit, and Export, which make data management simple even for non-technical users. If you already have the plugin installed and activated, you can skip this step.
You can download the plugin here:
Download WordPress Users Spreadsheet Plugin - or - Check the features
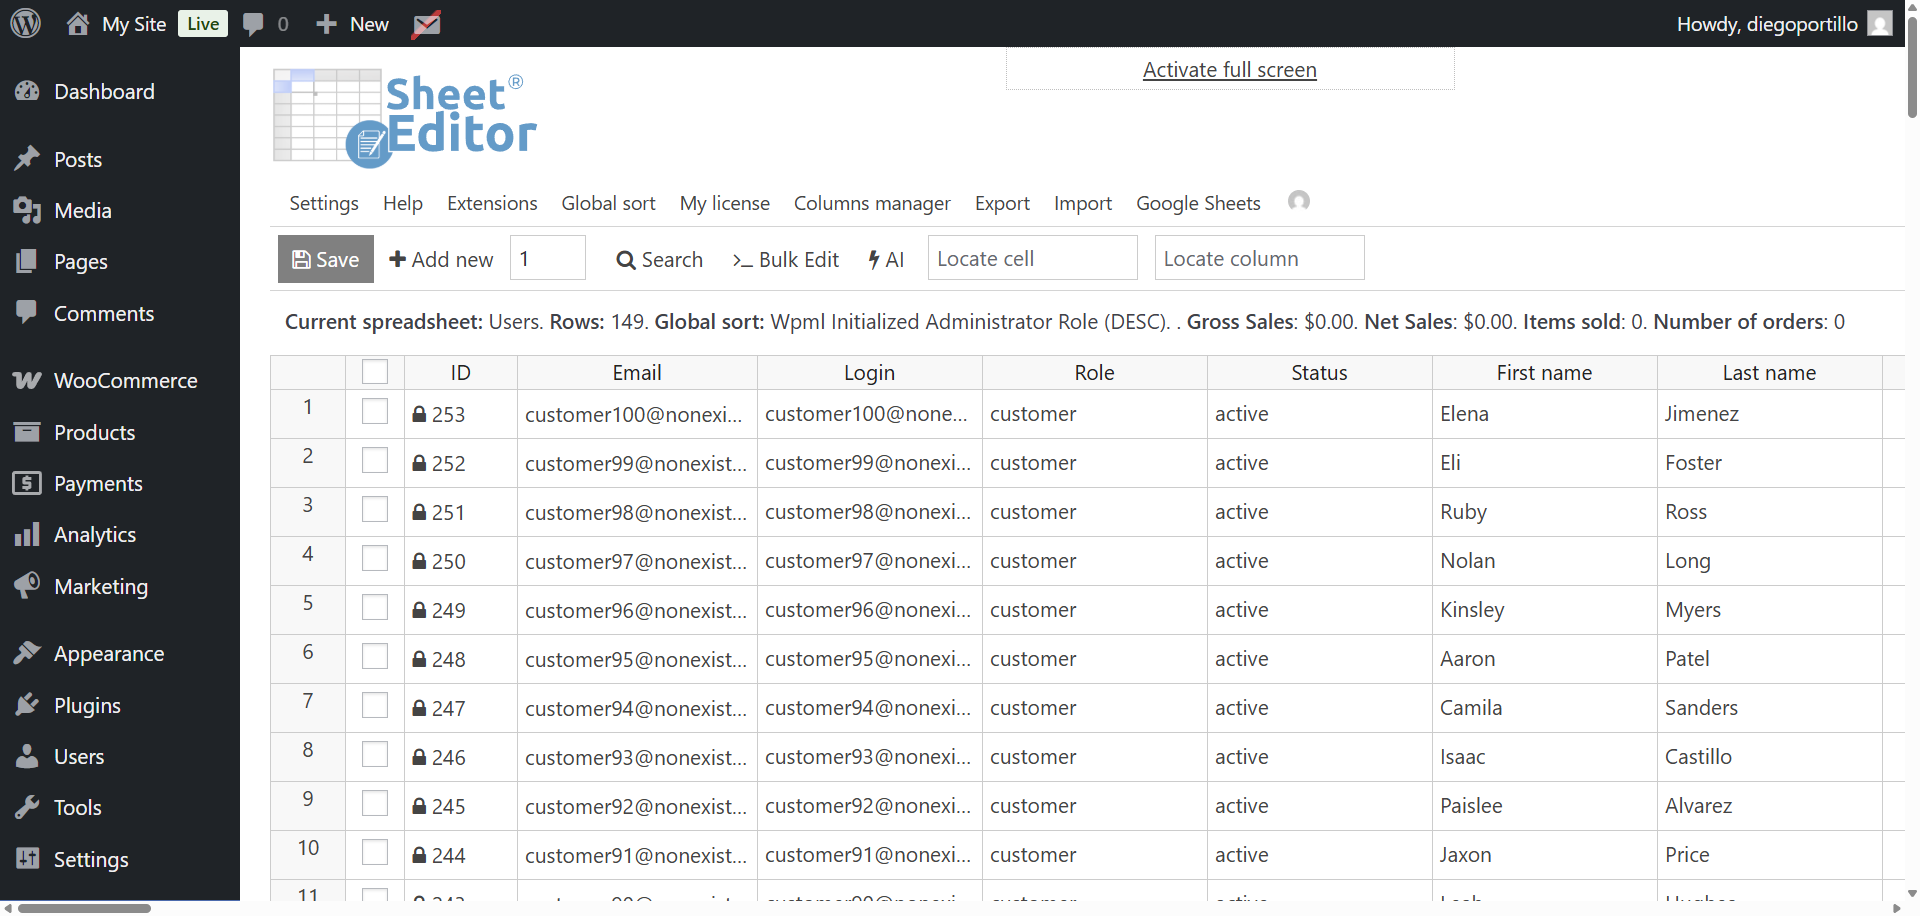
Once you open the Users Spreadsheet (WP Sheet Editor > Edit users), you’ll see all your WooCommerce customers listed in a familiar spreadsheet view, with fields like name, email, phone number, billing country, state, and city.
Step 1 – Filter WooCommerce customers by country, state, or city
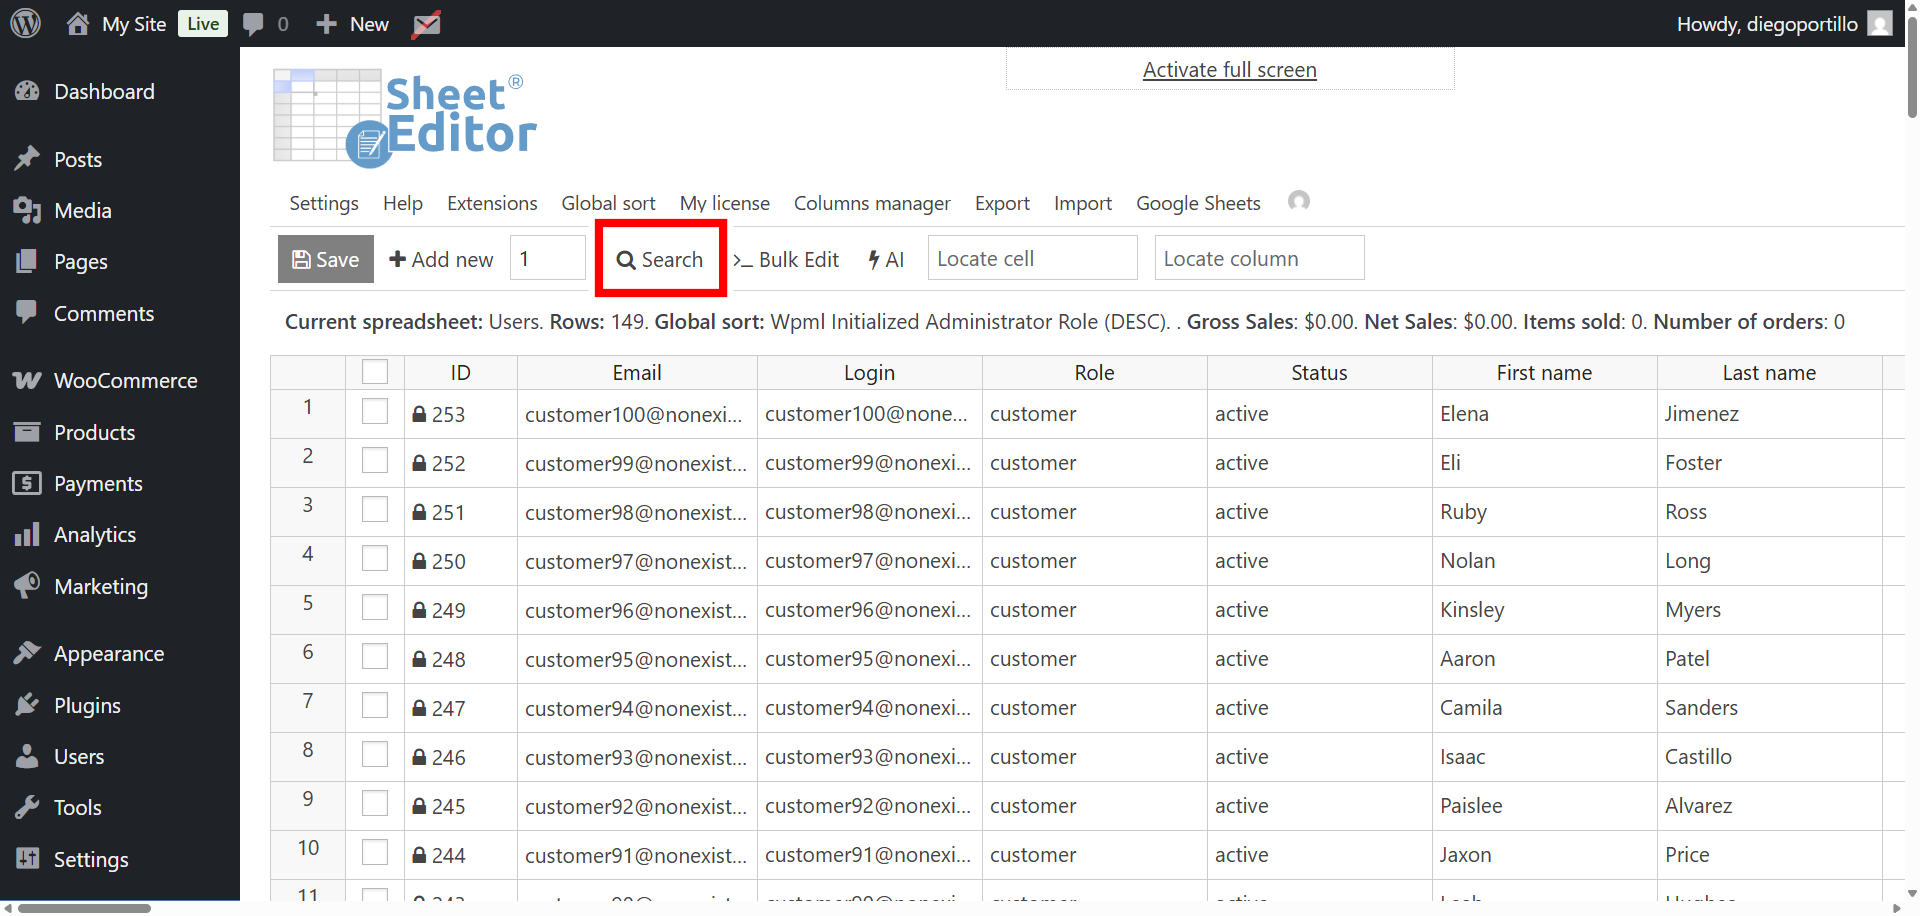
To export customers’ names and phone numbers by country, you first need to filter them using the Search tool. It allows you to find all customers who belong to a specific country, state or city.
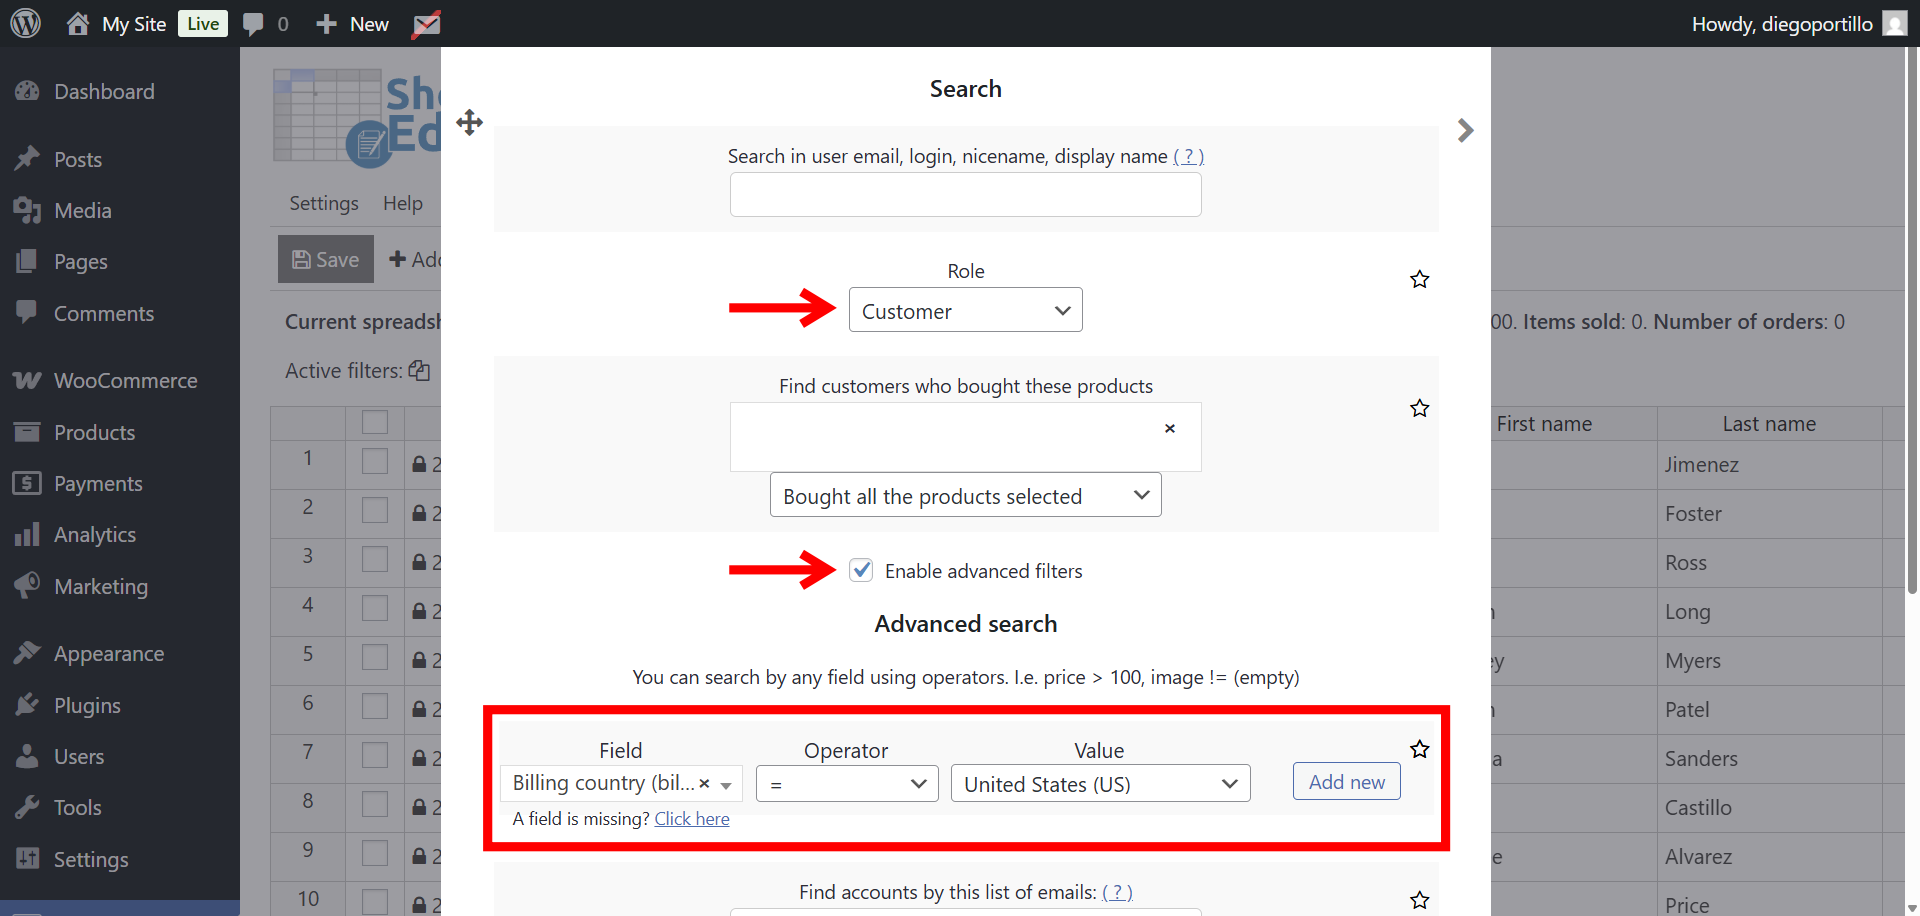
To filter WooCommerce customers by billing country, state, or city, use the advanced filters in the Search tool. This feature helps you quickly find customers based on their billing location details.
- Select Customer in the Role field.
- Check the Enable advanced filters option.
- In the Field key dropdown, choose one of the billing options such as Billing country, Billing state, or Billing city, depending on what you want to filter.
- Select = in the Operator field.
- Enter the desired value in the Value box. For example:
United Statesfor billing countryCaliforniafor billing stateLos Angelesfor billing city- Notes:
- You can use shipping country, state or city filters if you prefer.
- You can combine multiple advanced filters; for example country and stats, country and city, etc. Just click on Add new to create new filters.
- Click Run search to view all matching customers.
This method is especially useful when you need to analyze customer distribution, export regional segments, or personalize marketing campaigns for specific locations.
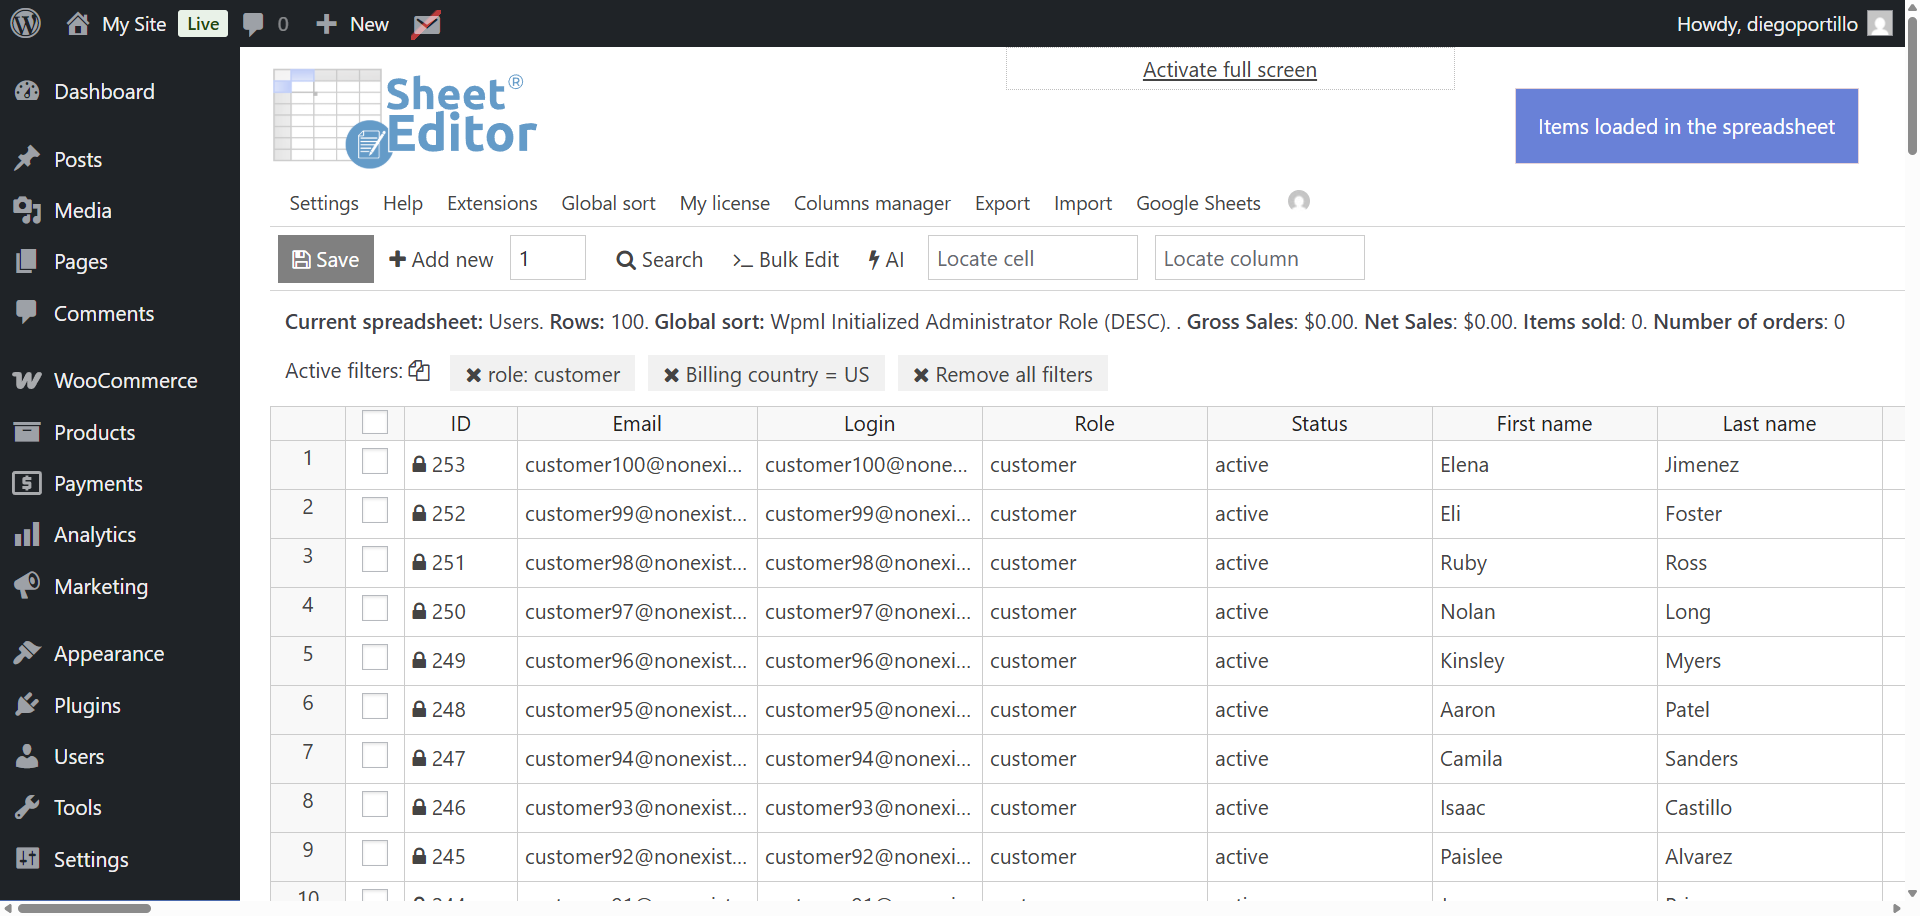
Once you click Run search, the spreadsheet will automatically filter and display all the WooCommerce customers that match your search criteria. You’ll see only the rows that meet your selected billing country, state, or city, making it easy to review, edit, or export the exact customer data you need. This saves time and ensures your spreadsheet view always stays focused on the relevant results.
Step 2 – Export names and phone number of the filtered customers
After filtering the WooCommerce customers by billing country, state, or city, you can now proceed to export the filtered names and phone numbers directly from the spreadsheet. This allows you to create targeted contact lists for marketing, follow-ups, or regional promotions. With the filtered results ready, exporting only the relevant customer information becomes fast and accurate.
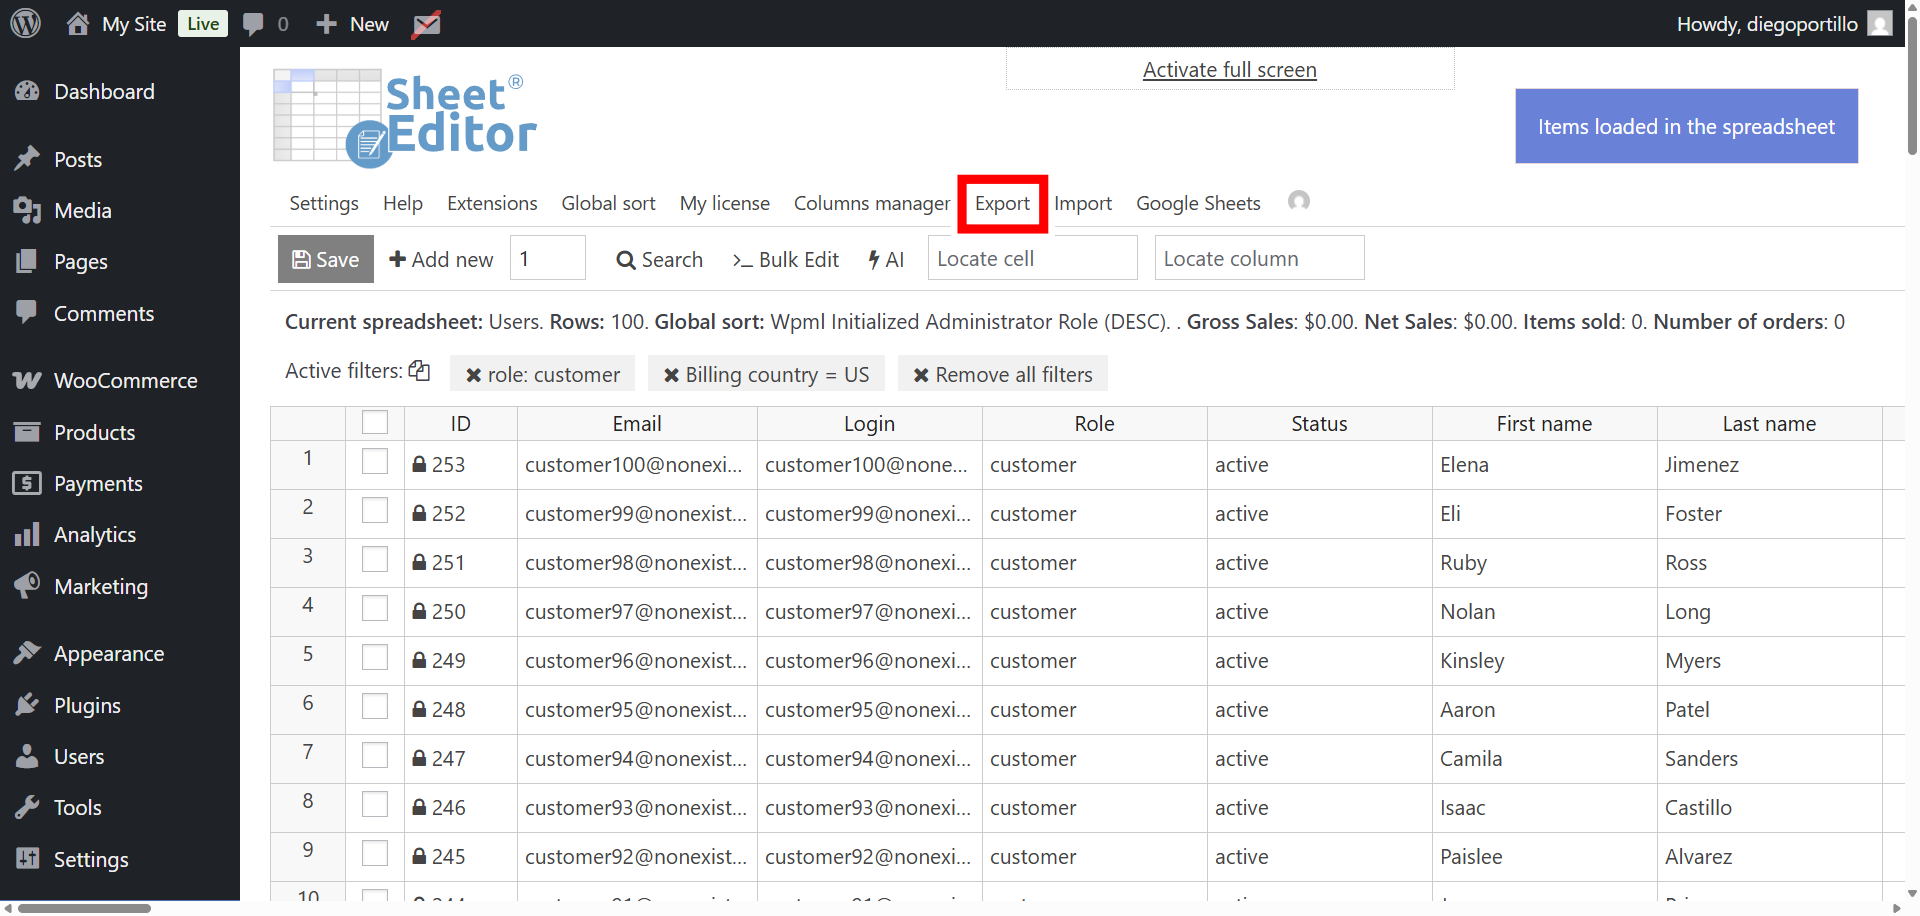
Start by opening the Export tool.
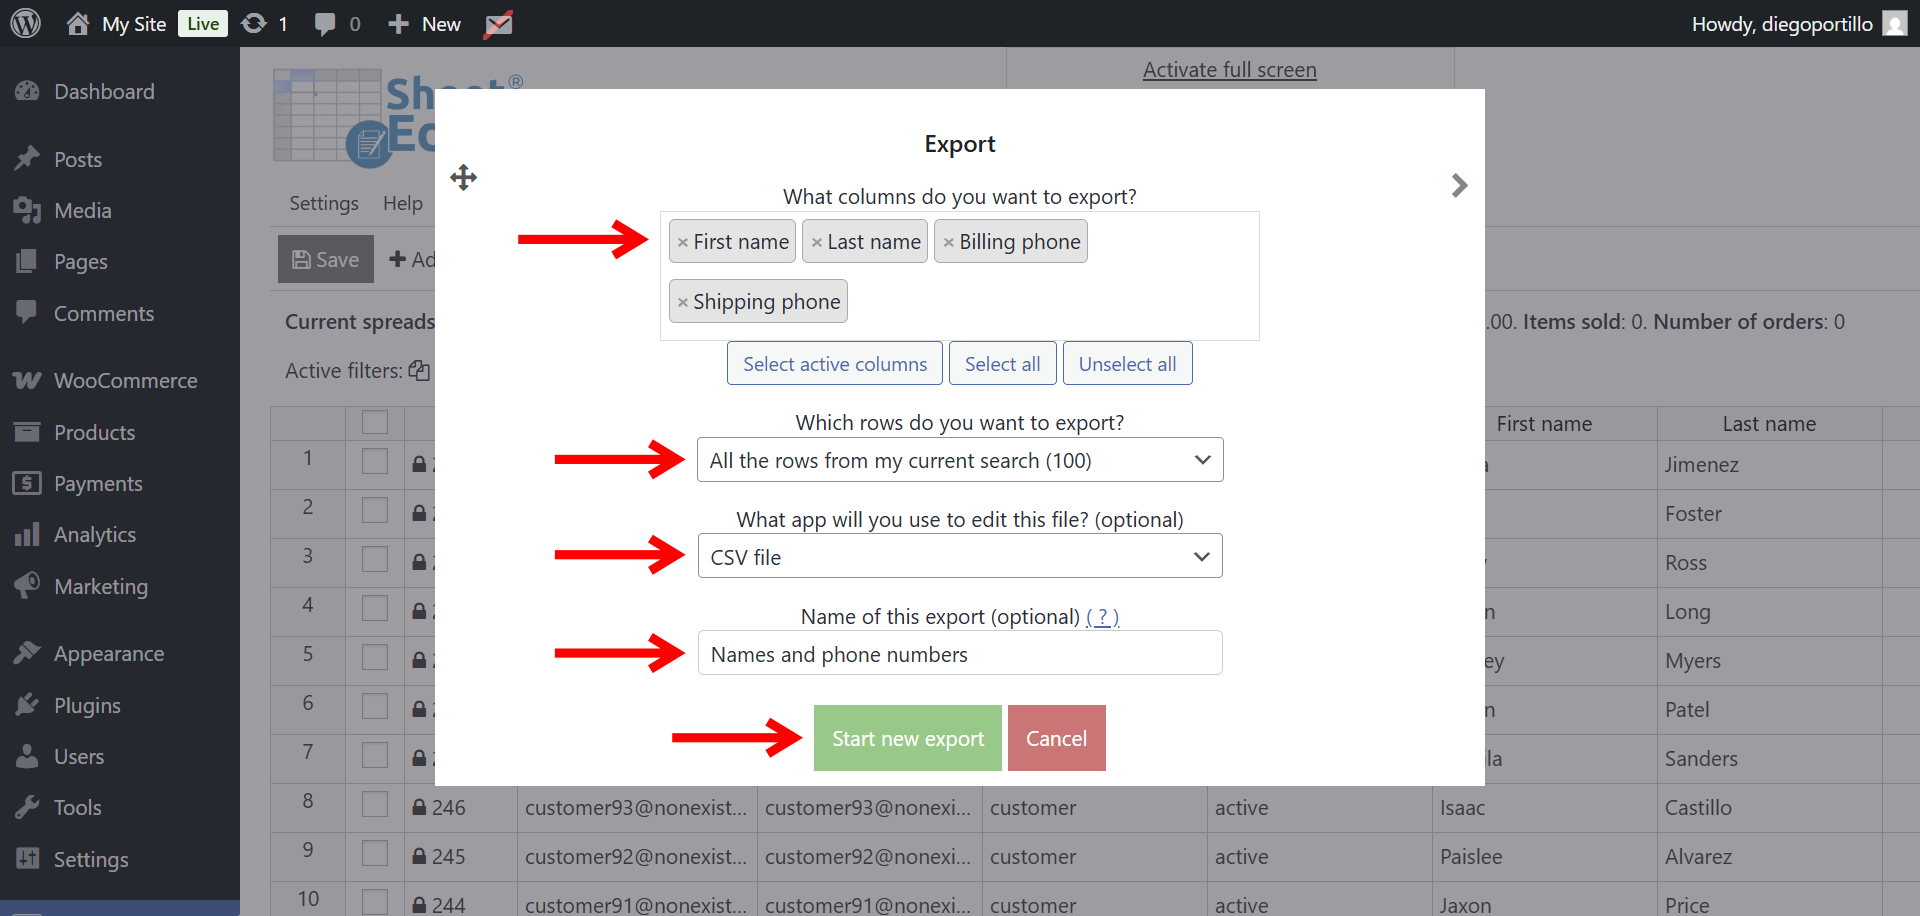
Now select these values to create and download the CSV file:
- What columns do you want to export: Select First Name, Last Name and Billing phone or Shipping phone.
- Which rows to you want to export: In this example, we will export all the results from our current search.
- What app will you use to edit this file: CSV file
- Name of this export: You can add a name for this export and you’ll be able to reuse the same settings in future exports.
- Click on Start new export.
Conclusion: Simplify your WooCommerce customer exports
Learning how to export WooCommerce customers’ names and phone numbers by city, state, and country gives you a huge advantage in managing your online store. Instead of manually checking every user profile, you can now filter, view, and download precise customer lists in just a few clicks. This makes it easier to run targeted marketing campaigns, coordinate regional deliveries, or build personalized customer databases for your sales team.
The WP Sheet Editor – WordPress Users plugin transforms how you handle user data. You can search by billing country, state, or city, then export contact details instantly to CSV or Excel for use in CRMs, newsletters, or call lists. It’s fast, accurate, and built for scalability, whether you manage a few dozen or thousands of customers.
If you’re serious about improving communication and organization in your store, this plugin is one of the most powerful tools you can add to your workflow.
You can download the plugin here:
Download WordPress Users Spreadsheet Plugin - or - Check the features

