In this tutorial, we want to show you how to filter all your videos by size. Many times, to free up space on our server and avoid loading problems, we need to compress a little the size of our videos.
The problem is that WordPress does not allow us to do it. We can’t filter our files by weight. Therefore, we want to show you how to filter all your videos by size in a CSV file.
To do this, we will use the Media Library Spreadsheet plugin. This tool displays all your files in an easy-to-use spreadsheet in which you can export and import information, do advanced searches, make massive edits to thousands of products, and so on.
Just follow these simple steps.
1- Install the Media Library Spreadsheet
To install the plugin, please click on the button below.
You can download the plugin here: Download Media Library Spreadsheet Plugin - or - Check the features
Once installed, you need to open the media spreadsheet by going to Sheet Editor > Edit Media. There you’ll see a spreadsheet containing all your files information.

2- Filter all your videos to export them
Now you need to filter all the videos. It’s important to keep in mind that the spreadsheet will display all your files: images, audios, videos, zip, etc. Therefore, you need to select the videos only to export them.
For that, you need to use the Search tool, which allows you to do advanced searches. You can filter your files by format, associated post, post category, post attribute, etc. Just click on Search on the plugin’s toolbar to open it.

Once there, you need to tick the Enable advanced filters checkbox and select the following values to filter the videos.

- Field key: Format
- Operator: CONTAINS
- Value: video
After setting these values, click on Search to filter all your videos. Now your videos will be displayed on the spreadsheet. You’re ready to export them.
3- Export your videos to a CSV file
Once you’ve filtered your videos, you need to click on Export to open the tool that will allow you to have your videos on a CSV file to filter them with Excel or Google Sheets.

Now you need to select these values to export your video files information to a CSV file:

- Click on Select all to select all columns to export.
- Tick the I understand it will export the posts from my current search
- If you’ll edit this file with Microsoft Excel, tick the I will edit this file with Microsoft Excel. The thing is that sometimes excel doesn’t accept the comma as a separator, and it shows your information in just one row. Therefore, you need to tick it.
- Click on Start new export.
4- Filter the videos by size using Excel or Google Sheets
Once you have your videos in a CSV file, you need to open it with Excel or Google Sheets. We’ve opened it with Google Sheets, so here’s how you need to do it:
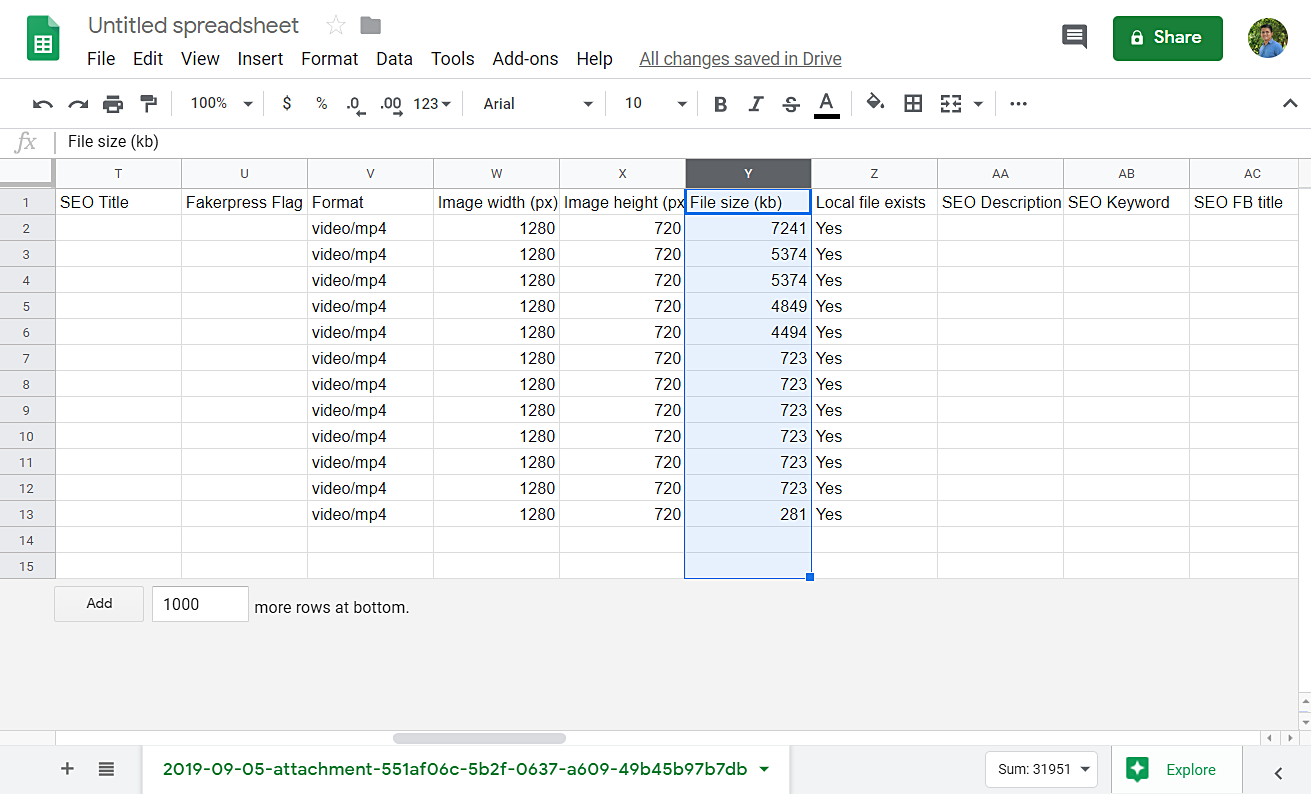
- Go to the File size (kb) column
- Sort the values in that column A to Z.
Now you’ll see which of your videos sizes are bigger and which are smaller.
Done!
Now you can go to WordPress and compress the files to free some space in your server and avoid problems. As you can see, it was really simple and fast. You didn’t have to spend lots of hours searching and comparing your videos.
You can download the plugin here: Download Media Library Spreadsheet Plugin - or - Check the features