Let’s see how to bulk edit Advanced Custom Fields in WordPress users. You’ll be able to bulk update ACF in user profiles from a spreadsheet.
If you manage a website with hundreds or thousands of users, editing user data manually through WordPress can be time-consuming. Opening each profile one by one just to update a few fields can take hours. But what if you could edit all of them at once, just like in Excel or Google Sheets?
The good news: You can bulk edit Advanced Custom Fields (ACF) for all your WordPress user profiles using the WP Sheet Editor – Users Spreadsheet plugin. This method is perfect for administrators, WooCommerce store owners, membership sites, and e-learning platforms that need to update user information quickly and accurately.
Let’s walk through the steps.
Step 1. Create Your Custom Fields with ACF
We’ll start by creating custom fields for user profiles using the Advanced Custom Fields plugin. ACF allows you to extend your WordPress user profiles with any kind of information you want — from contact details to preferences, social links, or internal notes.
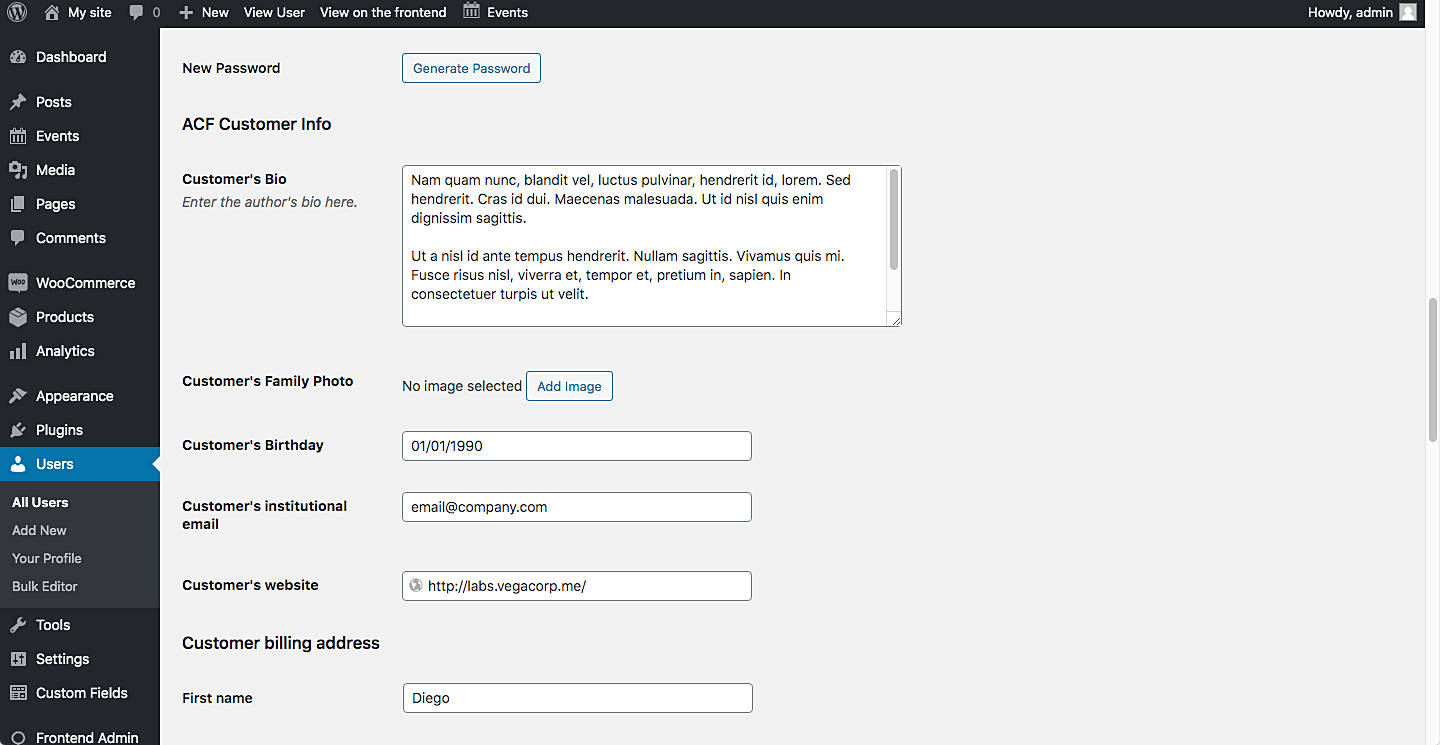
Here’s an example of a field group we created to collect additional customer information:

Some examples of ACF field types you can edit with WP Sheet Editor include:
- Text
- Text Area
- WYSIWYG Editor
- Image
- Gallery
- File
- Checkbox
- Radio Buttons
- Select
- Button Group
- Date Picker
- Time Picker
- Date Time Picker
- Color Picker
- Range
- True / False
- Repeater
- Group
- Flexible Content
- Google Map
- Link
- Page Link
- Post Object
- Relationship
- User
- Taxonomy
- Accordion
- Tab
- Clone
- And more
In this example, we created these custom fields:
- Customer’s Bio (text area)
- Customer’s Family Photo (image field)
- Customer’s Birthday (date picker)
- Customer’s Institutional Email (email field)
- Customer’s Website (URL field)
Each field uses a different ACF type, and we’ll edit them all easily from a spreadsheet in the next steps.
Step 2. Install “WP Sheet Editor – WordPress Users”
Normally, you’d have to open each user profile manually to edit ACF data, which is tedious and time-consuming. But with WP Sheet Editor – Users Spreadsheet, you can view and edit all your user profiles in one editable spreadsheet. You can even apply bulk edits to hundreds or thousands of users at once.
This plugin eliminates repetitive work. Instead of saving changes one by one, you edit all your data and click Save once.
You can download the plugin here:
Download WordPress Users Spreadsheet Plugin - or - Check the features
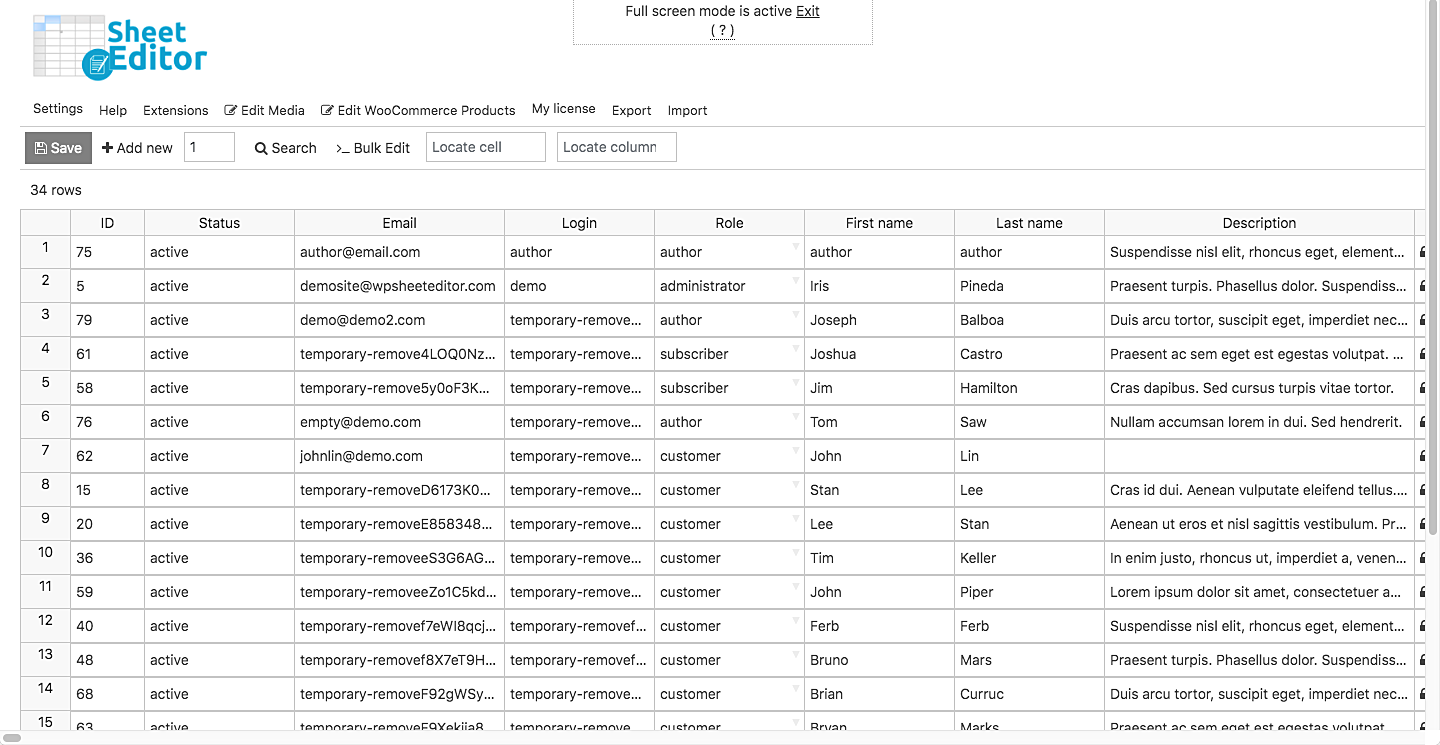
Once installed, go to WP Sheet Editor > Edit Users. You’ll see your user profiles displayed as rows, and all their fields (including ACF custom fields) as columns.
Step 3. Filter only customer profiles
The spreadsheet includes all user roles: Administrators, Editors, Authors, Vendors, Customers, and more. To make sure you only edit customer data, filter the spreadsheet to show only users with the Customer role.
Click on the Search tool in the toolbar.

Select Customer in the Role dropdown and click Run Search. The spreadsheet will now show only your customers.

Step 4. Locate your custom field columns
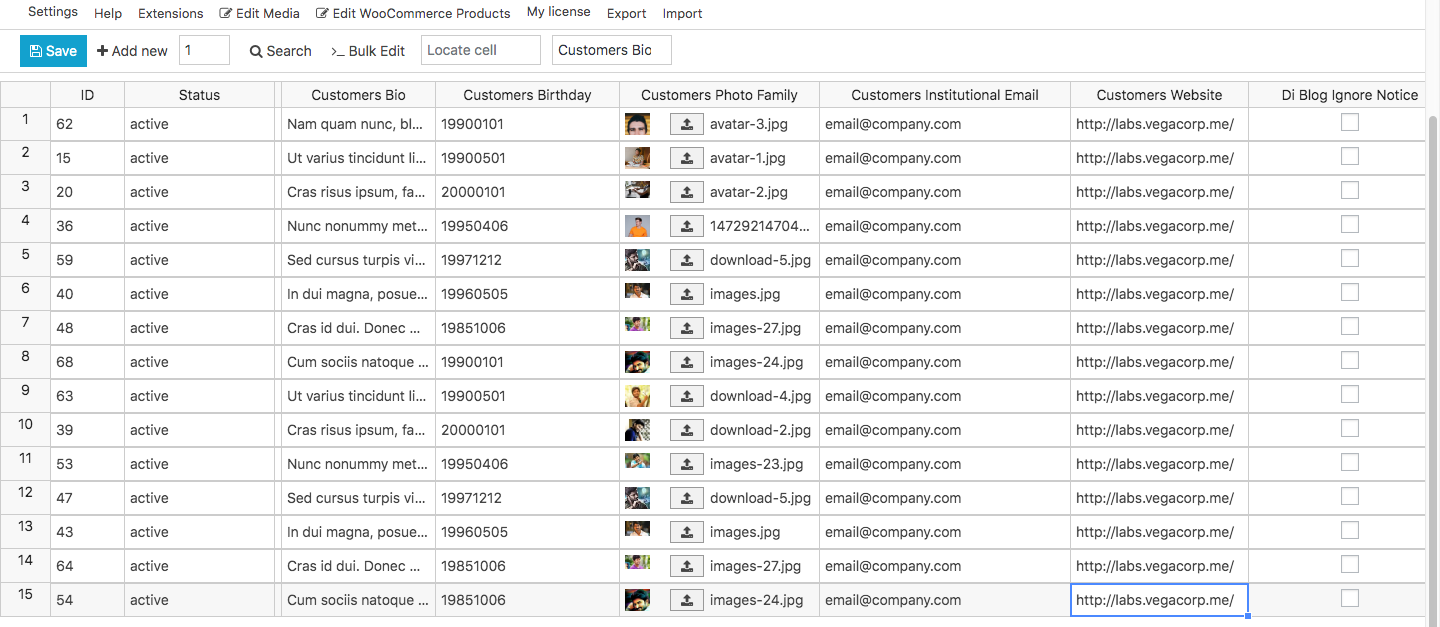
Now, scroll right in the spreadsheet until you find your new ACF columns — for example, “Customer’s Bio”, “Customer’s Birthday”, or “Customer’s Website.”
If you have many columns, use the Locate Column search box to quickly find a column by typing its name (e.g., “bio” or “website”).

How each field type appears in the spreadsheet
Each ACF field type displays differently:
- Image, Gallery, File: You can upload files or paste URLs directly.
- Text and Text Area: Appear as editable cells for plain text.
- Date Picker: Displays a formatted date (you can type or paste dates easily).
- Google Map: Shows three columns (Latitude, Longitude, and Address).
This makes it easy to view and edit all your ACF data without ever leaving the spreadsheet.
Step 5. Edit ACF Fields on the Spreadsheet
Now the fun part: editing! You can edit your ACF fields in two powerful ways: directly on the spreadsheet or using the Bulk Edit tool.
a) Edit ACF fields directly in the spreadsheet
Just click a cell and edit it, exactly like you would in Excel or Google Sheets. You can add or change customer bios, update emails, upload new family photos, or modify websites.
Once you’re done, click Save on the toolbar. All changes will be applied to your WordPress database.
b) Bulk Edit ACF fields for multiple users
If you want to apply the same value to multiple users (for example, add the same website URL or institution name) use the Bulk Edit tool.

Here’s how to bulk edit the Customer’s Website field for all users:

- Select the rows that you want to update: Edit all the rows from my current search (even non-visible rows)
- What field do you want to edit: Customer’s Website, or any of the ACF fields you want to edit.
- Select type of edit: Set value
- Replace existing value with this value: Enter the new website URL
- Click Execute Now
Once the process is complete, all your customers will have their website fields updated at once. No more repetitive profile editing!
Step 6. Done!
The Advanced Custom Fields plugin and the WP Sheet Editor – Users Spreadsheet plugin work together seamlessly, allowing you to manage user data at scale with complete flexibility. You can bulk edit, filter, import, and export any ACF data, no PHP or database work needed.
You can download the plugin here:
Download WordPress Users Spreadsheet Plugin - or - Check the features