Adding products to WooCommerce one by one is not just tedious; it is a massive bottleneck for your business. Whether you are migrating a store, launching a new catalog from a supplier, or simply trying to update stock levels, manual entry is not an option.
You need a way to move data fast. And importing products is the best solution.
WooCommerce comes with a built-in importer that works well for small, simple batches. But:
- What happens when you have 5,000 products?
- What if your CSV file times out halfway through?
- Or what if you need to schedule imports to run automatically from a Google Sheet?
In this comprehensive guide, we will cover the entire landscape of WooCommerce product imports. We will show you:
- The basics: How to use the default native importer (and its GREAT LIMITATIONS).
- Data prep: How to format your CSV files, handle variable products, and manage external images.
- The professional method: How to import thousands of products in seconds using WP Sheet Editor to avoid server timeouts and blind data errors.
Table of Contents
At a Glance: Native WooCommerce importer vs. WP Sheet Editor
Before we dive into the “how-to,” it is important to choose the right method for your specific needs. Use this table to decide which path to take:
| Feature | Native Importer | WP Sheet Editor |
|---|---|---|
| Best for | Small stores (<50 products) | Large stores (THOUSANDS of products) |
| Interface | Blind Upload (upload & pray) | Spreadsheet (view/edit before import) |
| Reliability | Prone to timeouts on large files | Batch processing (prevents timeouts) |
| Data source | CSV files only | CSV, Excel, URL, Google Sheets |
| Automation | None (manual only) | Scheduled imports & recurring syncs with the Automations add-on |
| Variable products | Complex (requires multiple rows) | Simplified (visual management) |
If you are ready to master your product data, let’s get started with the pre-import checklist.
Get the WP Sheet Editor plugin to import WooCommerce products like a pro!
You can download the plugin here:
Download WooCommerce Products Spreadsheet Plugin - or - Check the features
Pre-import checklist: Understanding your data
Most import failures happen before you even open the import tool. They happen inside the CSV file.
If your data isn’t structured effectively, WooCommerce won’t know how to read it. This leads to critical errors like products missing prices, broken images, or variable products appearing as simple products. Before running an import, ensure your file meets the following standards.
1. File format and encoding (crucial)
Your file must be a CSV (Comma Separated Values) file. However, not all CSVs are created equal.
You must save your file with UTF-8 Encoding. This ensures that special characters are preserved (currency symbols like $ | € | £, accent marks like é | ñ, and emojis). If you save as a standard CSV in Excel without UTF-8, these characters may turn into random symbols (e.g., café instead of café).
2. The mandatory columns
While WooCommerce offers dozens of fields, you don’t need all of them to start. To successfully create a product, your CSV generally needs these four core columns:
- Name: The title of the product as it appears in the store.
- SKU: The unique identifier for the product. This is critical for updating stock levels later without creating duplicates.
- Type: Defines if the product is
simple,variable,grouped, orexternal. - Regular price: The cost of the item. Do not include currency symbols here (e.g., write
25.00, not$25.00).
3. How to format images
The importer cannot read images from your computer’s hard drive (e.g., C:/Users/Desktop/image.jpg). The images must be hosted online.
- Direct URLs: Use direct links to the image file, such as
https://yoursite.com/wp-content/uploads/shirt.jpgor an external link from a supplier. - Product gallery: To add multiple images to a single product, place the URLs in the “Images” column separated by a comma (e.g.,
url1.jpg, url2.jpg, url3.jpg).
4. Understanding variable products (parent vs. child)
Importing variable products (e.g., a shirt with Size: S, M, L) is the most complex part of the process. In a CSV, this requires a specific hierarchy:
- The parent row: This is the “container” product. It has the generic name (“Blue T-Shirt”) and the Type set to
variable. - The child rows: These are the actual variations (Small, Medium, Large). They must have the Type set to
variationand must link back to the Parent using the Parent SKU column.
Don’t start from scratch. Here’s a formatted CSV template containing all standard WooCommerce columns, including examples for Simple and Variable products.
Download the sample products CSV
The native WooCommerce importer
WooCommerce includes a built-in CSV importer by default. It is designed for new store owners who need to upload a small catalog (usually fewer than 50 items) to get started.
However, for professional stores, relying on this tool is often a recipe for frustration. Because you cannot see the data once you click “Run,” you are essentially importing blindly.
Here are the major reasons why this method fails for serious users:
- No data preview (blind import): You cannot preview how the data will look before it goes live. If you map “Price” to “Weight” by accident, you will break your store’s data instantly. With WP Sheet Editor you can preview the data mapping before importing.
- Zero error handling: If row #500 has a formatting error, the importer often stops entirely. You have to fix the file and figure out how to restart without duplicating the first 499 products. With WP Sheet Editor, you can start to import from specific rows.
- No automation: There is no way to schedule this. You must manually upload the file every time you need to update stock. With WP Sheet Editor’s Automations add-on, you can schedule automatic imports.
To bypass these limitations, prevent timeouts, and import thousands of products in seconds, use the professional method below.
Importing products with WP Sheet Editor (the professional way)
WP Sheet Editor solves the two biggest problems with the native importer: server timeouts and data verification.
Instead of hoping your server doesn’t crash during a large upload, this plugin handles the import in batches. This ensures that even if you are importing 5,000 products with images, the process won’t time out or freeze your site.
Furthermore, you can Preview before importing. That’s the last step in the import process before clicking to run the import. This allows you to verify that prices, images, and attributes are mapped correctly.
Get the WP Sheet Editor plugin to import WooCommerce products like a pro!
You can download the plugin here:
Download WooCommerce Products Spreadsheet Plugin - or - Check the features
Importing WooCommerce products with variations
We have prepared a tutorial where you can learn how to import WooCommerce product variations from a CSV file.
Read how to import product variations
Method 1: Create new products from a CSV or Excel file
If your WooCommerce store is empty or you want to add new products alongside existing ones, you can easily import them using a CSV or an Excel file. This method helps you create multiple products at once, saving time and effort.
First, you need to prepare the CSV/Excel file you are going to import. You have two options to do this.
- You can download a CSV sample by clicking here.
- You can prepare the CSV file yourself, even if the file only includes some basic fields/columns such as product name, price, description, etc.
As you can see in the screenshot below, we have created a CSV file with the following fields or columns:
- Name: Product title/name
- Regular Price: Enter the product price
- Description: Product short description
- Stock: Enter the number of products you’ll have in stock

We will use that CSV file to import and create the WooCommerce products on our WordPress site.
To do this, we need to open the Import tool on WP Sheet Editor.

We have no products, so we’ll create new products using the CSV we’ve prepared.
You need to select these values in order to create products from a CSV or Excel file:
- Source: CSV/Excel file from my computer
- Click on Choose file and locate the file on your computer.
- Click on Next.

Now you can map the columns in the file with the columns/fields on WordPress/WP Sheet Editor.
Once you’ve mapped the columns, click on Next.

Since we’re creating new products, we will select Import all rows as new and click on Next.
Note – You also have the options to Create new items and update existing items or Only create new items and ignore existing items.

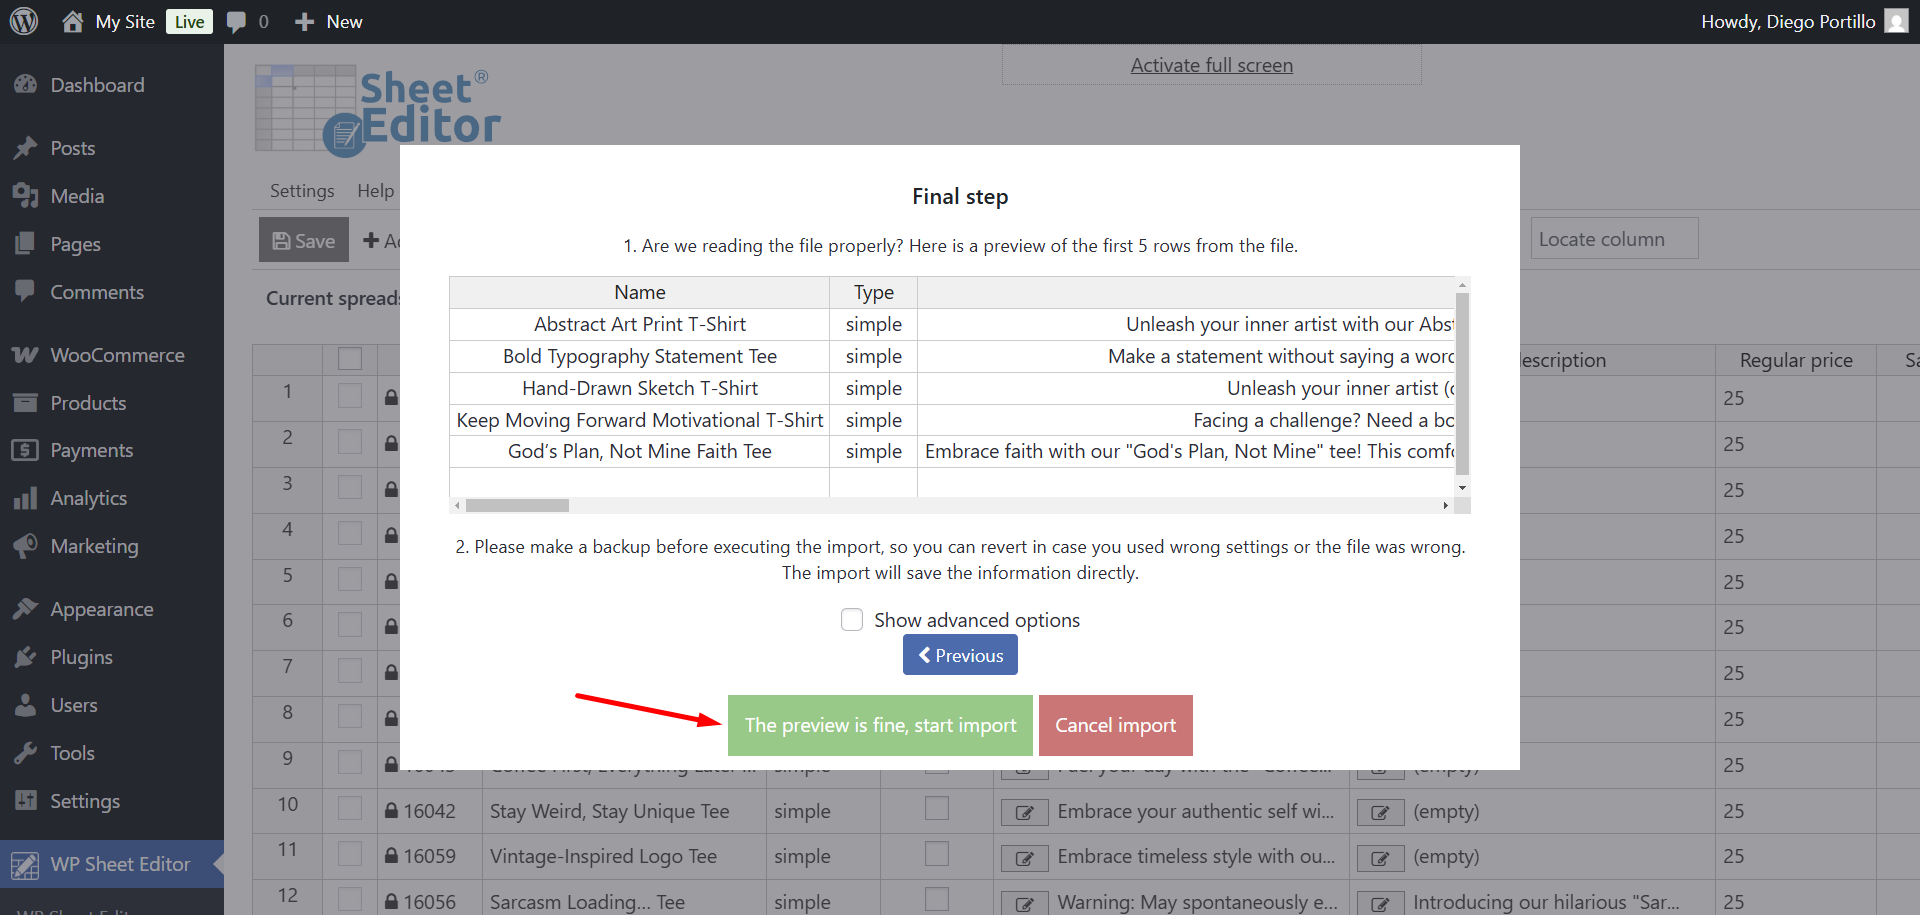
Finally, you’ll see a preview. If everything looks OK, click on The preview is fine, start import.

Once the products are imported, you’ll see how many products were updated and/or created.

The products have been created successfully from the CSV file.

Now you can start using WP Sheet Editor to edit other fields such as featured images, categories, short descriptions, product type, etc.
If you go to Products > All products, you’ll see all the products that you just created from the CSV file.

Method 2: Update existing products by importing CSV
If your goal is to update existing products rather than creating new ones, WP Sheet Editor makes it easy to import and update product details using a CSV file. This method allows you to quickly refresh your product information without starting from scratch.
Just follow these steps:
First, you need to edit the products in a CSV file. In this example, we have exported our WooCommerce products and edited prices, stock, etc.

Second, you need to open the Import tool.

Third, select which CSV file you will import:
- Source: CSV/Excel file from my computer
- Click on Choose file and locate the file on your computer.
- Click on Next.

Fourth, you need to select if you want to Import all the rows or Select individual columns to import. We’ll import all the rows in this example.

Fifth, you need to select how you will update the existing products:
- Do you want to update or create items: You have 2 options in this case:
- Create new items and update existing items
- Update existing items, ignore new items (this is the option we will select in this example)
- Since we’re updating existing products, we need a way to match the data in the CSV with the data on WordPress. In this case, we’ll use the product IDs as an identifier, so we need to select these values:
- CSV Field: record_id
- WordPress Field: ID
- Click on Next.

Now you’ll see a preview. If everything is OK, click on The preview is fine, start import.

Once the import process is complete, you will see how many items or products have been updated and / or created.

Method 3: Import both new and existing products (CSV)
Let’s see how to import both new and existing products (create and update products) from a CSV file.
On the products’ spreadsheet, you need to open the Import tool.

Now select these values:
- Source: CSV/Excel from my computer
- Click on Choose File and select the CSV from your computer.
- Click on Next.

You can click on Import all the columns or Select individual columns to import.

Now you need to set up the import to both create and update products:
- Do you want to update or create items: Create items and update existing items.
- CSV Field | WordPress Field: You can match existing products using the product ID, SKU, and any other value.
- Click on Next.

If everything is OK, you need to click on The preview is fine, start import.
Once the products have been imported, you’ll see how many products were updated and how many were created.

Method 4: Import products from URL
Sometimes your CSV file is already on your WordPress Media Library. WP Sheet Editor allows you to import products directly from a URL without downloading the file to your computer first.
This is particularly useful if you have a large CSV file stored in your Media Library.
Step 1: Get the CSV URL
If your file is in the Media Library:
- Go to Media > Library.
- Click on your CSV file.
- Click the Copy URL to clipboard button in the details window.
Step 2: Setup the Import
Open the Import tool in WP Sheet Editor and configure the following:
- Source: Select CSV/Excel file from URL from the dropdown list.
- File URL: Paste the link you copied from the Media Library (or any external CSV link).
- Click Next.

Step 3: Map and Run
From here, the process is identical to the standard CSV import:
- Map the columns: Ensure your CSV columns match the WordPress fields.
- Select import mode: Choose if you want to Create new items, Update existing items, or both.
- Run the import
Method 5: Schedule WooCommerce product imports
With the new WP Sheet Editor – Automations addon, you can schedule imports for the future, as well as exports, bulk edits, cell changes, etc.
This is great because you can schedule the automatic import of products and forget about it. When the scheduled time comes, the import will run smoothly, and you will receive an email notifying you that the import ran automatically.
You can get the add-on here:
To schedule an auto import, click on Import.
Now select these values to schedule the automatic import of WooCommerce products:
- Tick the Run this in the future checkbox.
- Select the date and time: You need to select when you want this import to run automatically.
- Notify this email address when the process finishes: Add an email address where you want to get a notification.
- You can select Run once or Run in recurring intervals.
- Note. If you create a recurring import, you need to select how often the import will run. In this example, we selected Run once, so we will create a recurring import.
- Name: Add a name for this scheduled import.
- Source: In this example, we will run the import from URL to use a CSV file that is in the Media Library.
- File URL: Here we need to paste the URL of the CSV file saved on the Media Library.
- Click on Next.

You can click on Import all the columns or Select individual columns to import.

Now you need to set up the import to create and/or update products:
- Do you want to update or create items: In this example, we will select Create new items and update existing items.
- CSV Field | WordPress Field: You can match existing products using the product ID, SKU, and any other value.
- Click on Next.

If everything is OK, you need to click on The preview is fine, start import to schedule the import for a future date and time.

The import will be added to the list of scheduled imports, so you can click on View scheduled imports to open the list.

And here you can see that the import has been scheduled to run automatically on the selected date and time.

Method 6: Import WooCommerce Products from FTP server
If your supplier updates a CSV file on an external server daily, manually downloading and uploading it is inefficient.
Fortunately, WP Sheet Editor and its Automations add-on allow you to connect directly to an FTP server to import product data. Simply select FTP as your source in the Import tool, enter your credentials (host, username, password, and file path), and the plugin will fetch the file remotely.
This method is ideal for automating inventory updates from dropshippers or external warehouses without ever touching a file.
Read: How to import WooCommerce products from FTP
Method 7: Import products directly from Google Sheets
Here’s a video tutorial on how to import WooCommerce products from Google Sheets:
With our Google Sheets Sync service, you can connect your WordPress website directly to your Google Sheets account and schedule automatic exports and imports. You don’t have to download and upload files. Simply work in Google Sheets and import product data into WooCommerce.
You can sign up to the service here:
Sign up to the Google Sheets Sync Service - or - Check the features
Here are several tutorials that show you how to import WooCommerce products from Google Sheets:
- Import products in real time from Google Sheets
- Schedule automatic import from Google Sheets
- Recurring import from Google Sheets to WooCommerce
Frequently asked questions on importing products
How do I import thousands of products in WooCommerce?
The native importer often fails with thousands of products due to server timeouts. To import large catalogs, it is best to use a tool like WP Sheet Editor, which uses batch processing to prevent crashes.
Can I import WooCommerce products from a URL?
Yes. While the default importer requires a CSV upload, WP Sheet Editor allow you to import directly from a CSV URL or connect to Google Sheets (via Google Sheets Sync) to sync products without handling files.
How do I update existing stock without deleting products?
You can use the “Update existing items” option in the import tool. Ensure your CSV has a unique identifier (SKU or ID) and map only the fields you want to update (e.g., Stock and Price). This leaves titles and images untouched.
Can I import product images from external URLs?
Yes. Here’s a guide to import images from external URLs.
Start importing WooCommerce products!
With these five methods, you can easily import WooCommerce products from CSV files or from Google Sheets. You can import products immediately or schedule auto imports with a few clicks. Forget about having to create or edit products one by one and use the power of imports to save time and get more productive.