Are you publishing great content consistently, but your search engine rankings are stuck? You might be suffering from a silent SEO killer: keyword cannibalization. This happens when two or more posts on your WordPress site target the exact same search intent. Instead of dominating the search results, your articles end up competing against each other, confusing Google, and splitting your ranking power.
Typically, finding cannibalization issues requires expensive third-party SEO software or hours of manually mapping your URLs and focus keywords in Excel. It is a tedious, technical process that most website owners simply avoid.
Fortunately, there is a smarter way. With WP Sheet Editor – AI, you can turn your WordPress dashboard into a powerful SEO auditing tool. By using artificial intelligence to analyze your content in bulk, we can force an LLM (like GPT-4, Gemini, Claude, Grok, DeepSeek) to extract the “Core Search Intent” of every single post. Once we have that data in a spreadsheet, spotting cannibalization becomes as easy as sorting a column A to Z.
In this tutorial, we will show you how to build an automated keyword cannibalization detection system in a few minutes.
Table of Contents
Requirements for auditing keyword cannibalization in WordPress
To follow this guide and uncover hidden SEO conflicts in your blog, you need the following tools active on your site:
1- WP Sheet Editor – Post Types
This plugin allows you to view all your WordPress posts, pages, and their underlying data in a fast, flexible spreadsheet. We will use it to create a custom audit column and sort our content.
You can download the plugin here:
Get the WordPress Post Spreadsheet - or - Check the features
2- WP Sheet Editor – AI
This extension connects your content library to generative AI models. It allows us to process hundreds of posts simultaneously, extracting complex SEO insights without crashing your server.
Ready to automate?
3- An AI API Key
You need an active account with OpenAI, OpenRouter, or any other OpenAI-compatible provider. If you haven’t connected your API key yet, check out our setup guide.
Step 1: Create a global prompt for Search Intent extraction
We need to instruct the AI to read your articles and distill them down to their absolute core topic.
Go to WP Sheet Editor > AI > Settings > Prompts and click Add new.
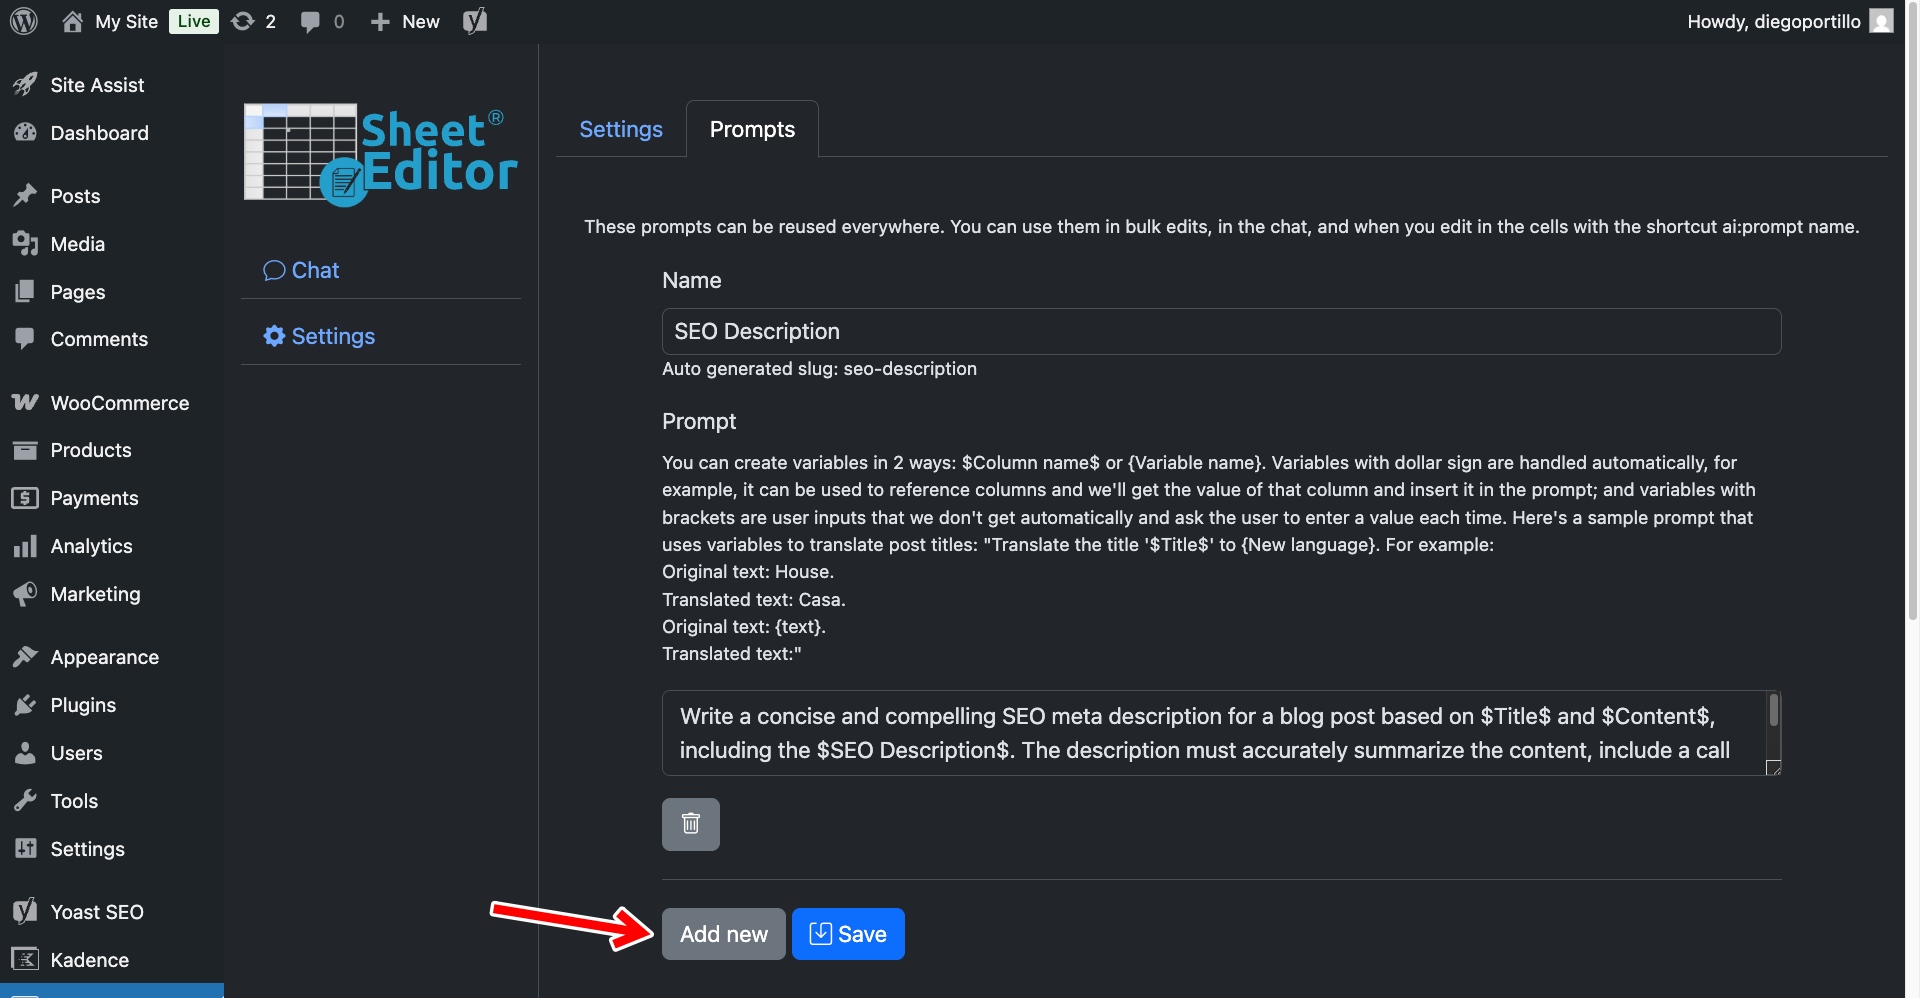
Configure the prompt using these exact instructions:
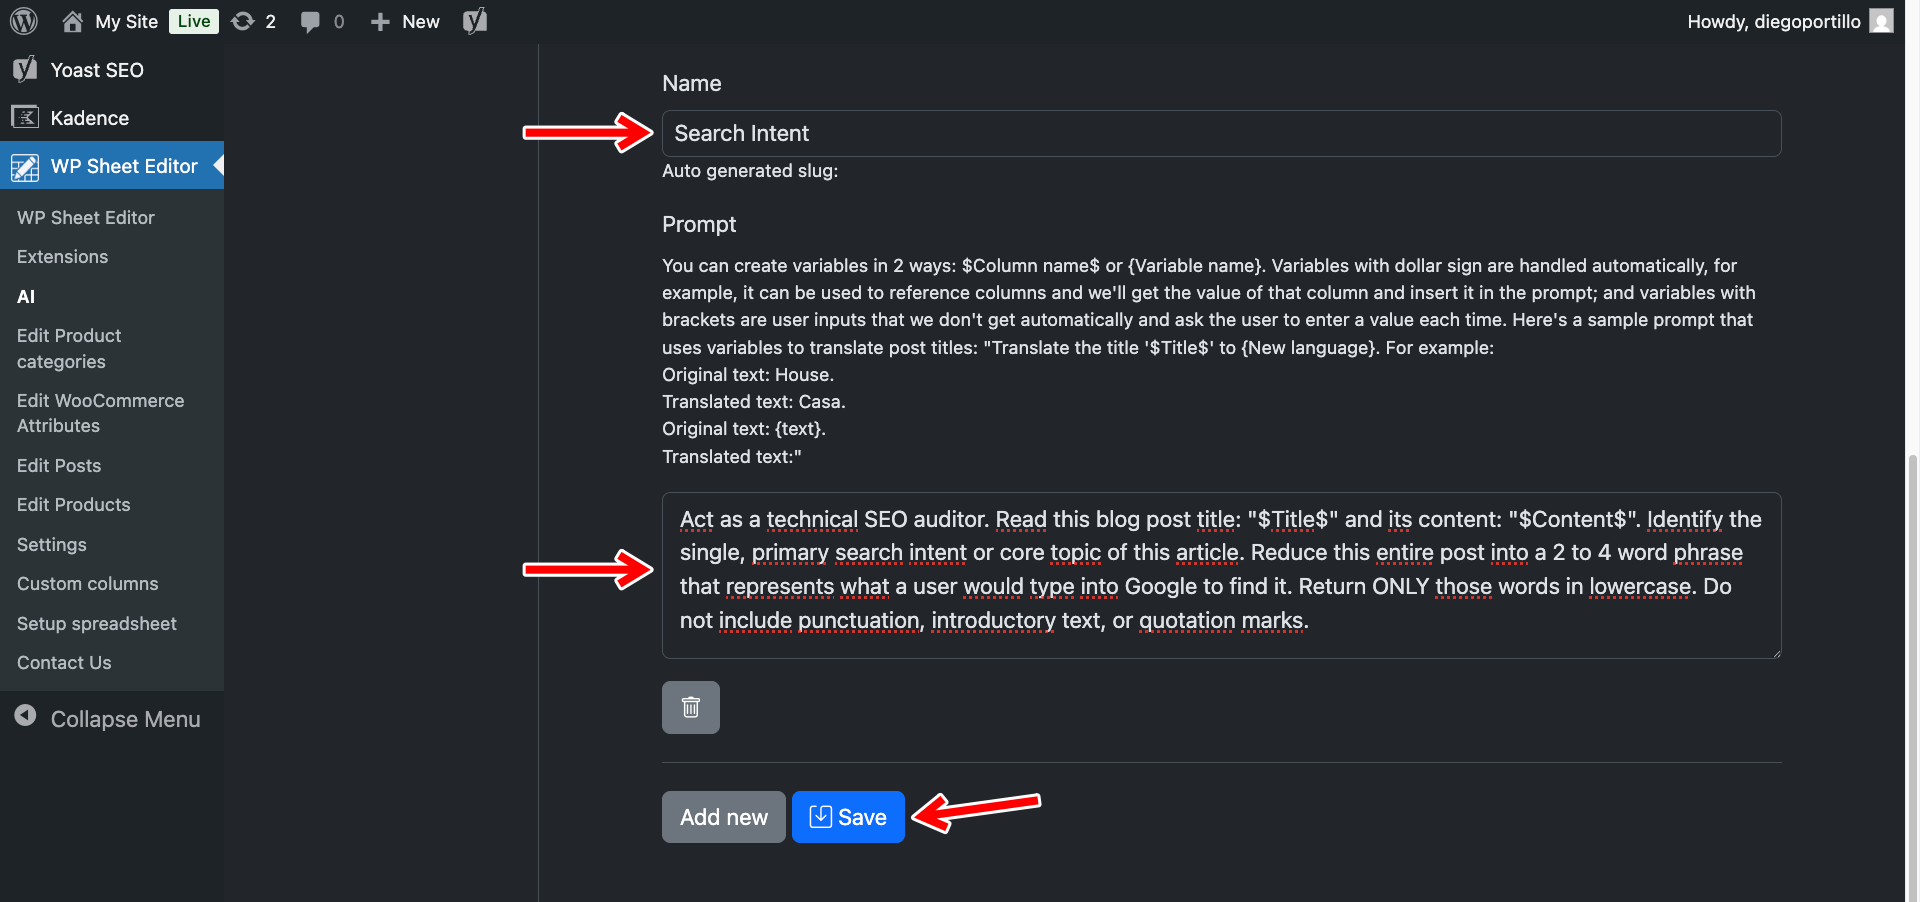
- Name your prompt:
Search Intent - Enter this template:
Act as a technical SEO auditor. Read this blog post title: "$Title$" and its content: "$Content$". Identify the single, primary search intent or core topic of this article. Reduce this entire post into a 2 to 4 word phrase that represents what a user would type into Google to find it. Return ONLY those words in lowercase. Do not include punctuation, introductory text, or quotation marks.
- Click Save.
The plugin will automatically assign this the shortcut search-intent.

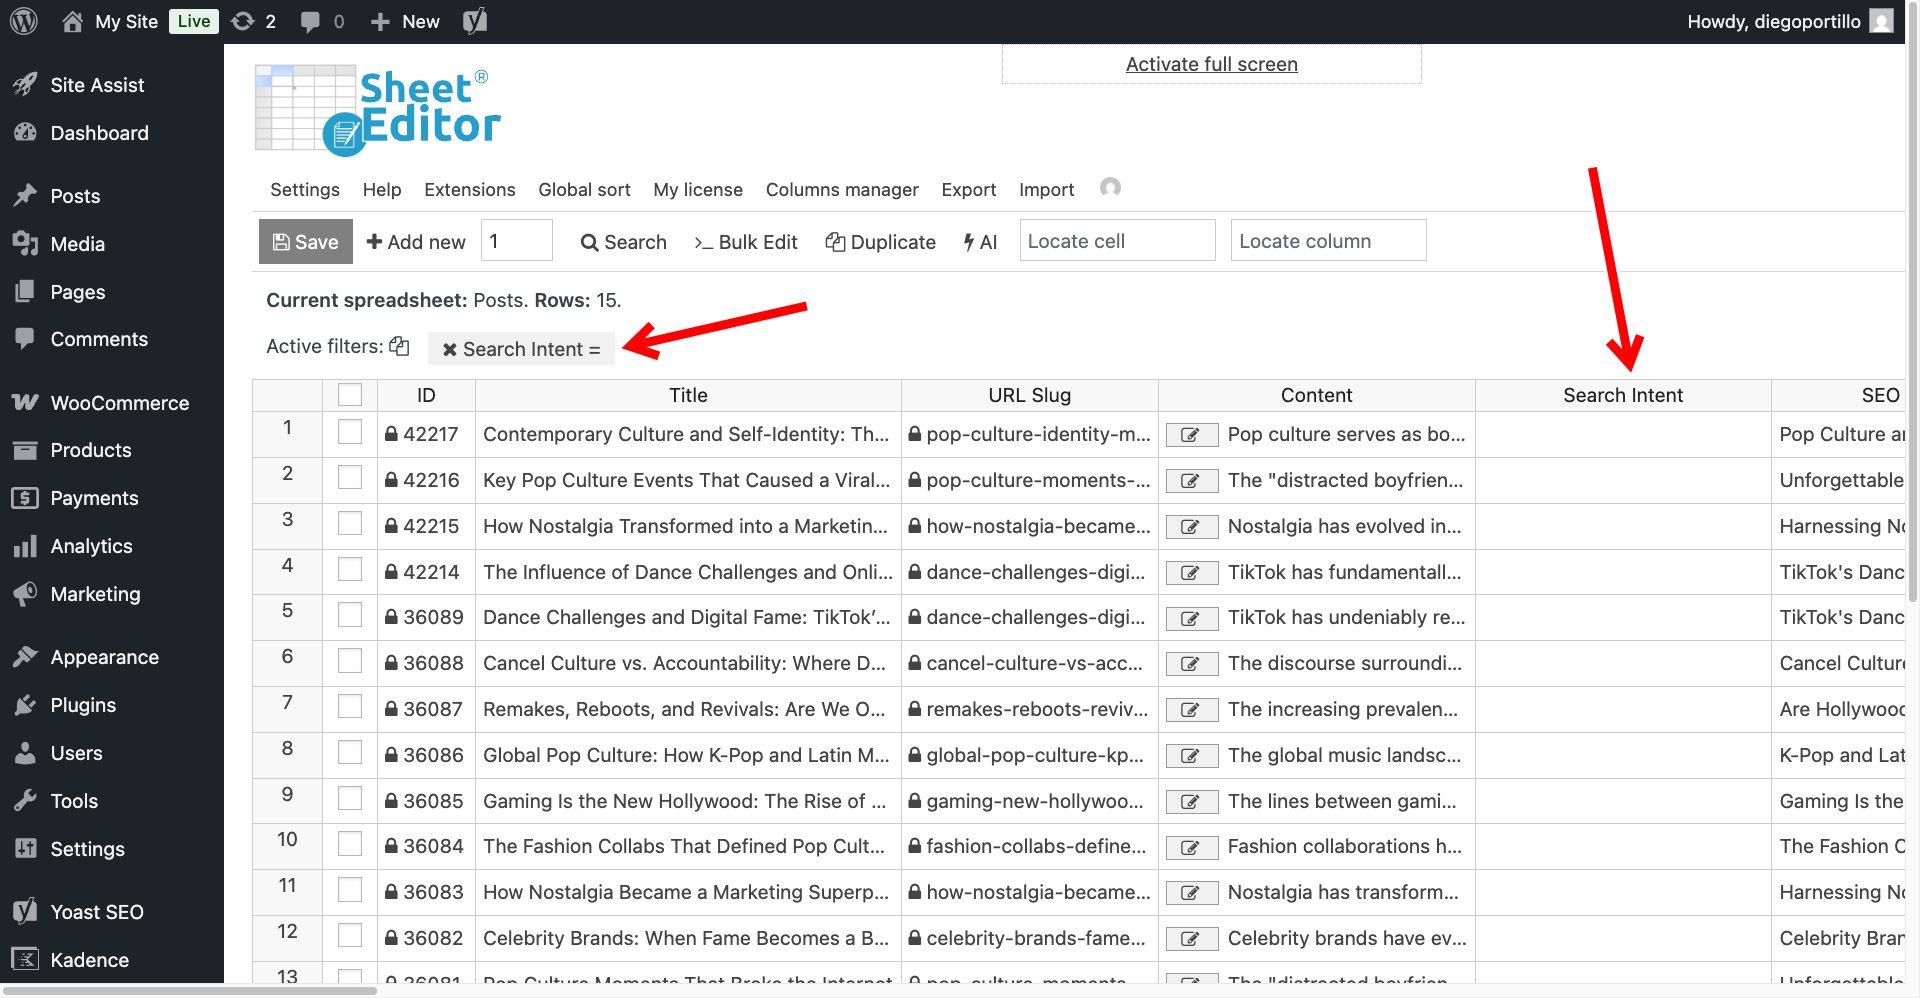
Step 2: Create a custom column for your AI analysis
To detect overlapping content, we first need a place to store the AI’s analysis without messing up your live website data.
To do this we will create a temporary custom column just for this audit.
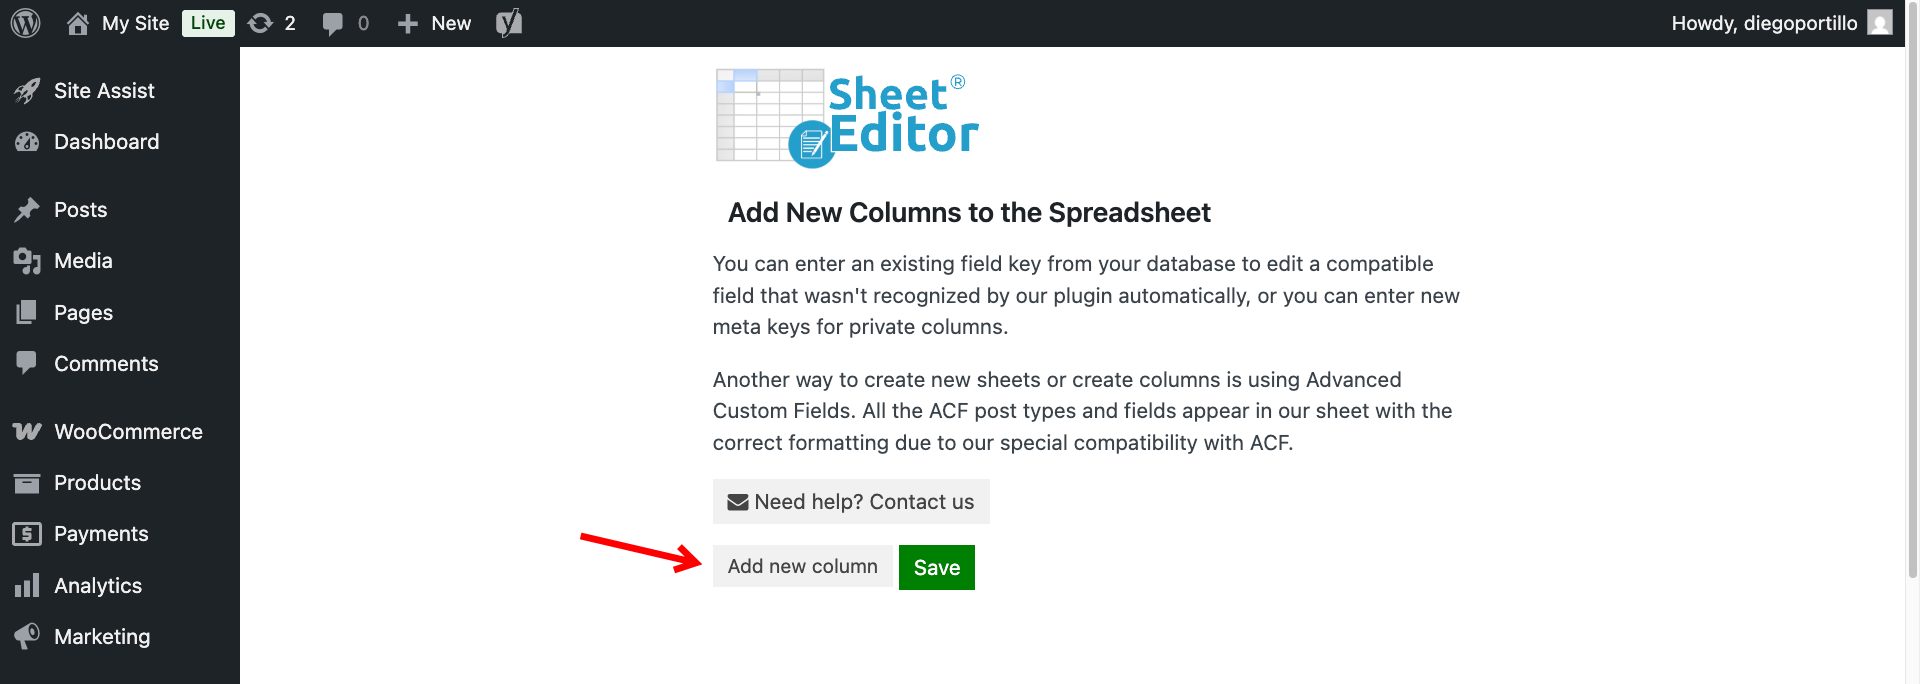
Navigate to WP Sheet Editor > Custom columns.
Once there, click on the Add new column button.
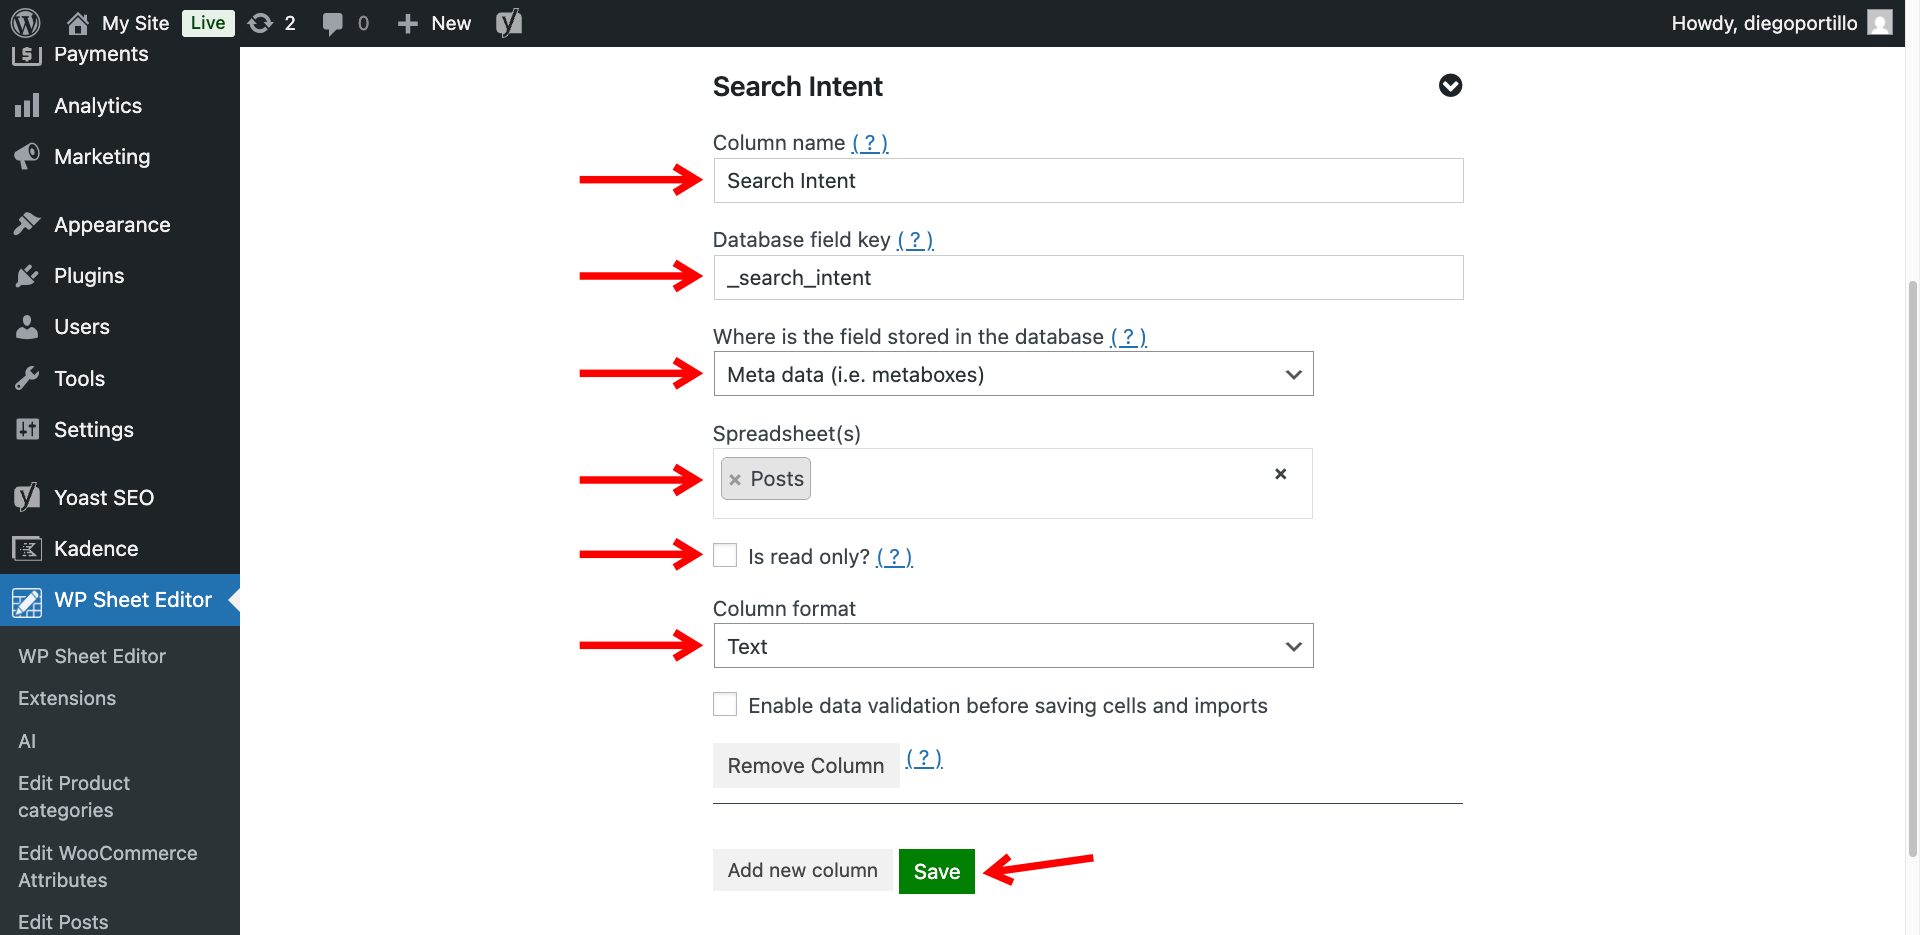
Now select these values to create the Search Intent column:
- Column name: We will name it “Search Intent”.
- Database field key: We will enter “_search_intent”
- Where is the field stored in the database: Meta data
- Spreadsheet(s): Posts
- Is read only: No
- Column format: Text
- Enable data validation before saving cells and imports: No
- Click on Save.
Once you have created the new custom column, you need to make sure it’s displayed in the spreadsheet.
Navigate to WP Sheet Editor > Edit posts and open the Columns manager.

Locate the Search Intent column and move it from the Disabled to the Enabled list.
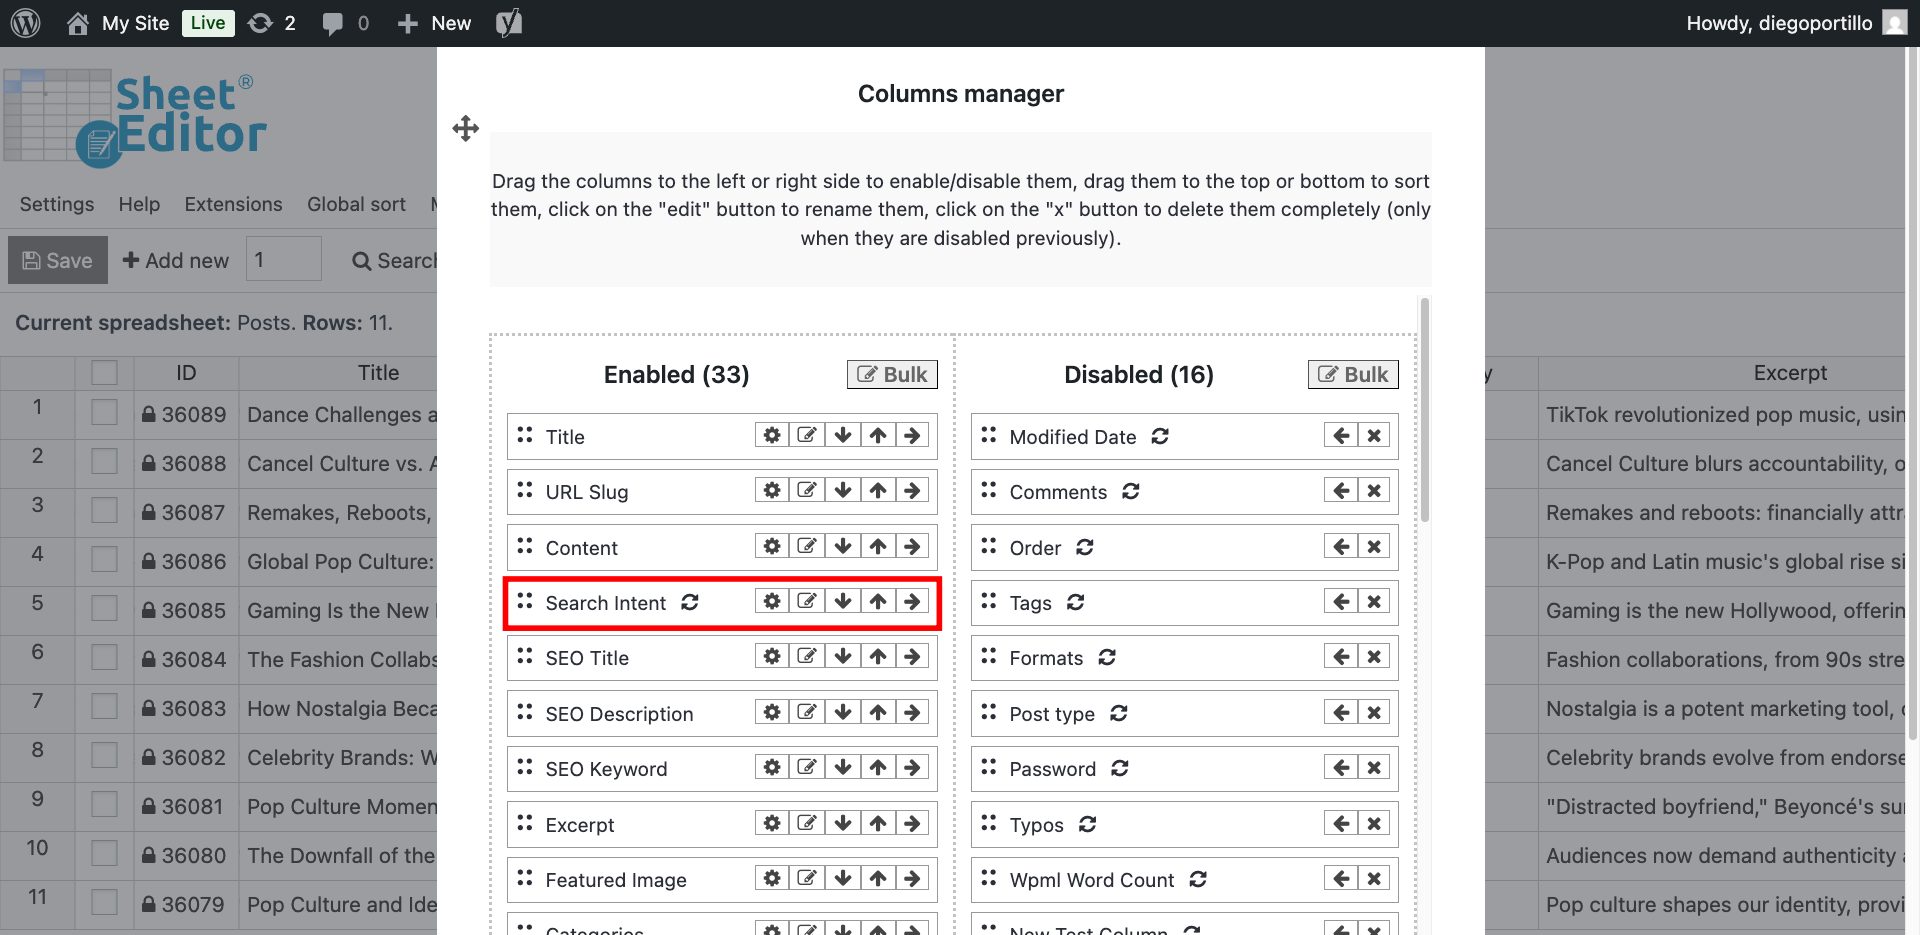
Once you do that, save the changes, and the spreadsheet will display the new custom column.
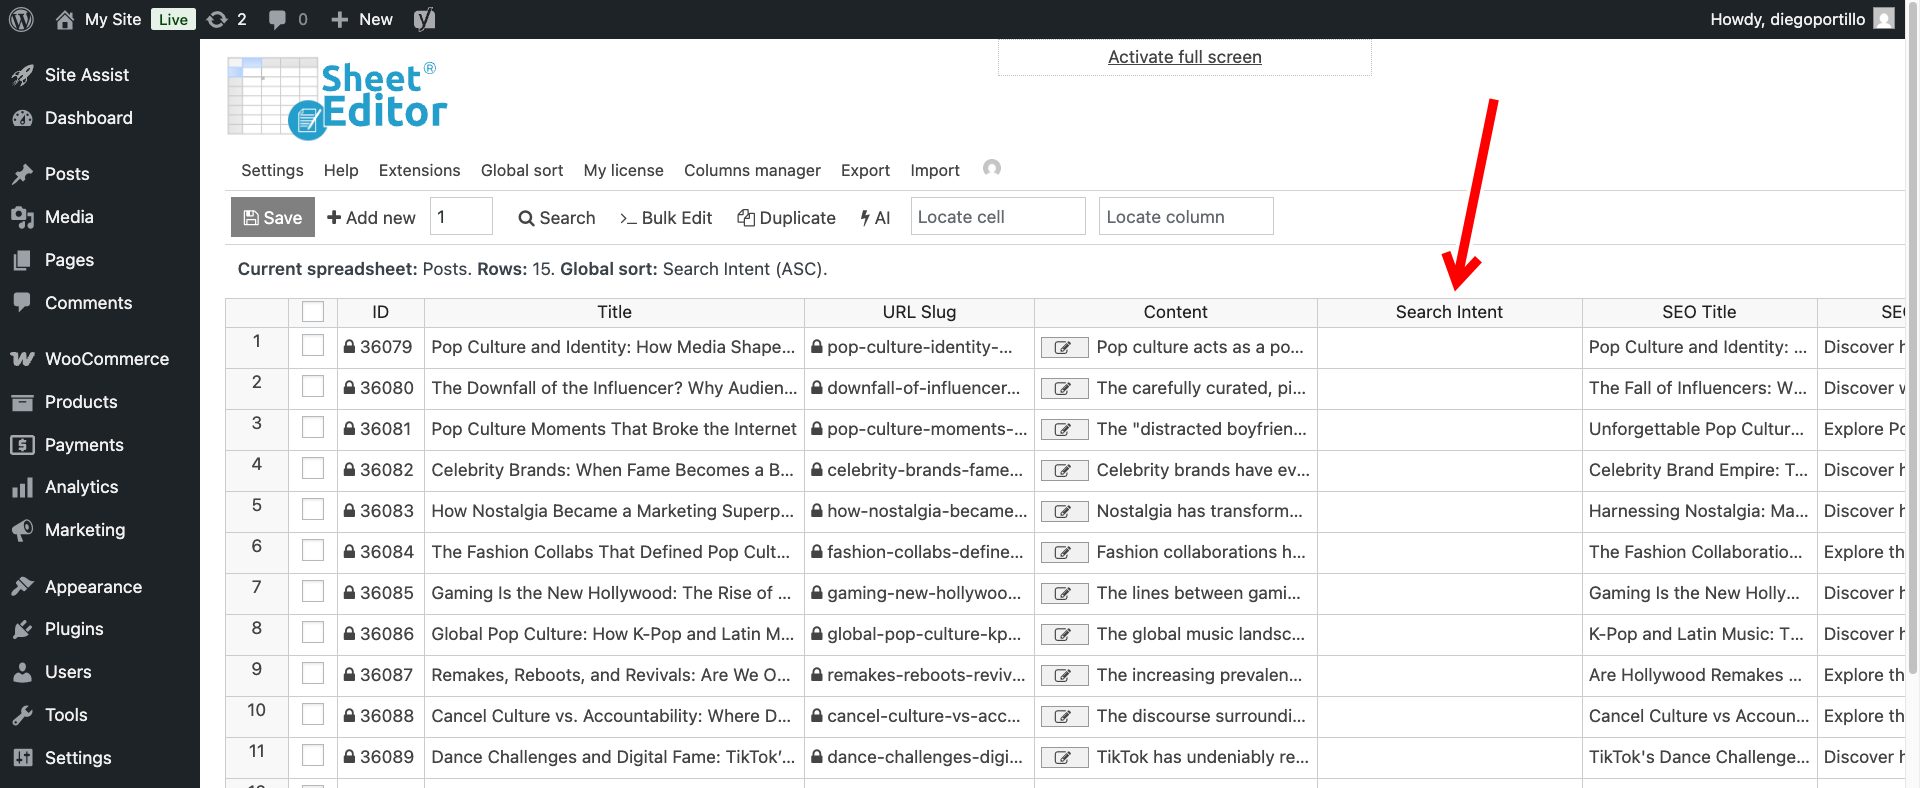
Step 3: Bulk audit search intent
We now have all the necessary elements to evaluate the search intent that our WordPress posts appeal to. As we indicated in the prompt, we will use the title and content of the post as context to evaluate the search intent.
Here we show you how you can evaluate search intent both from the spreadsheet and in bulk.
Option 1 – Audit search intent in the spreadsheet
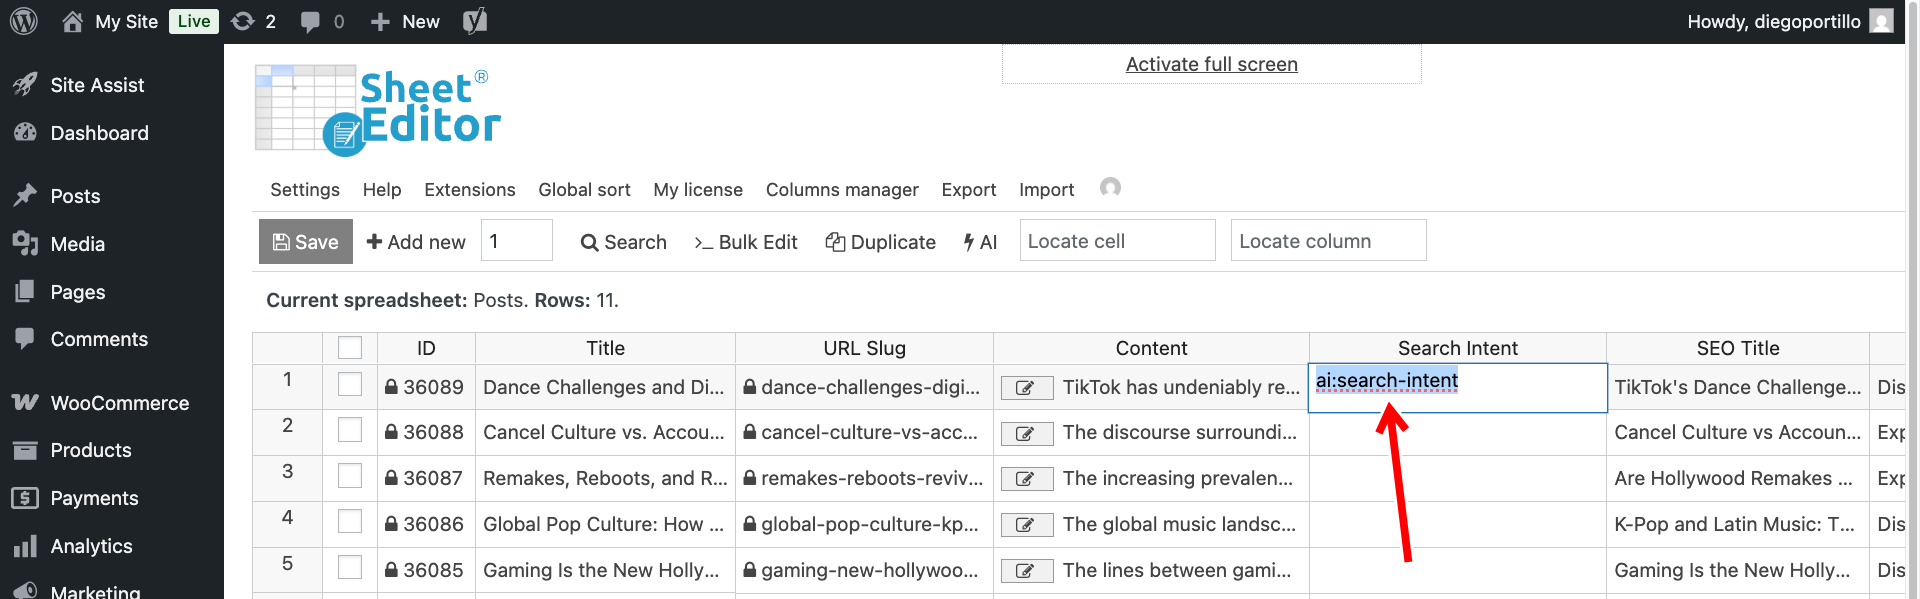
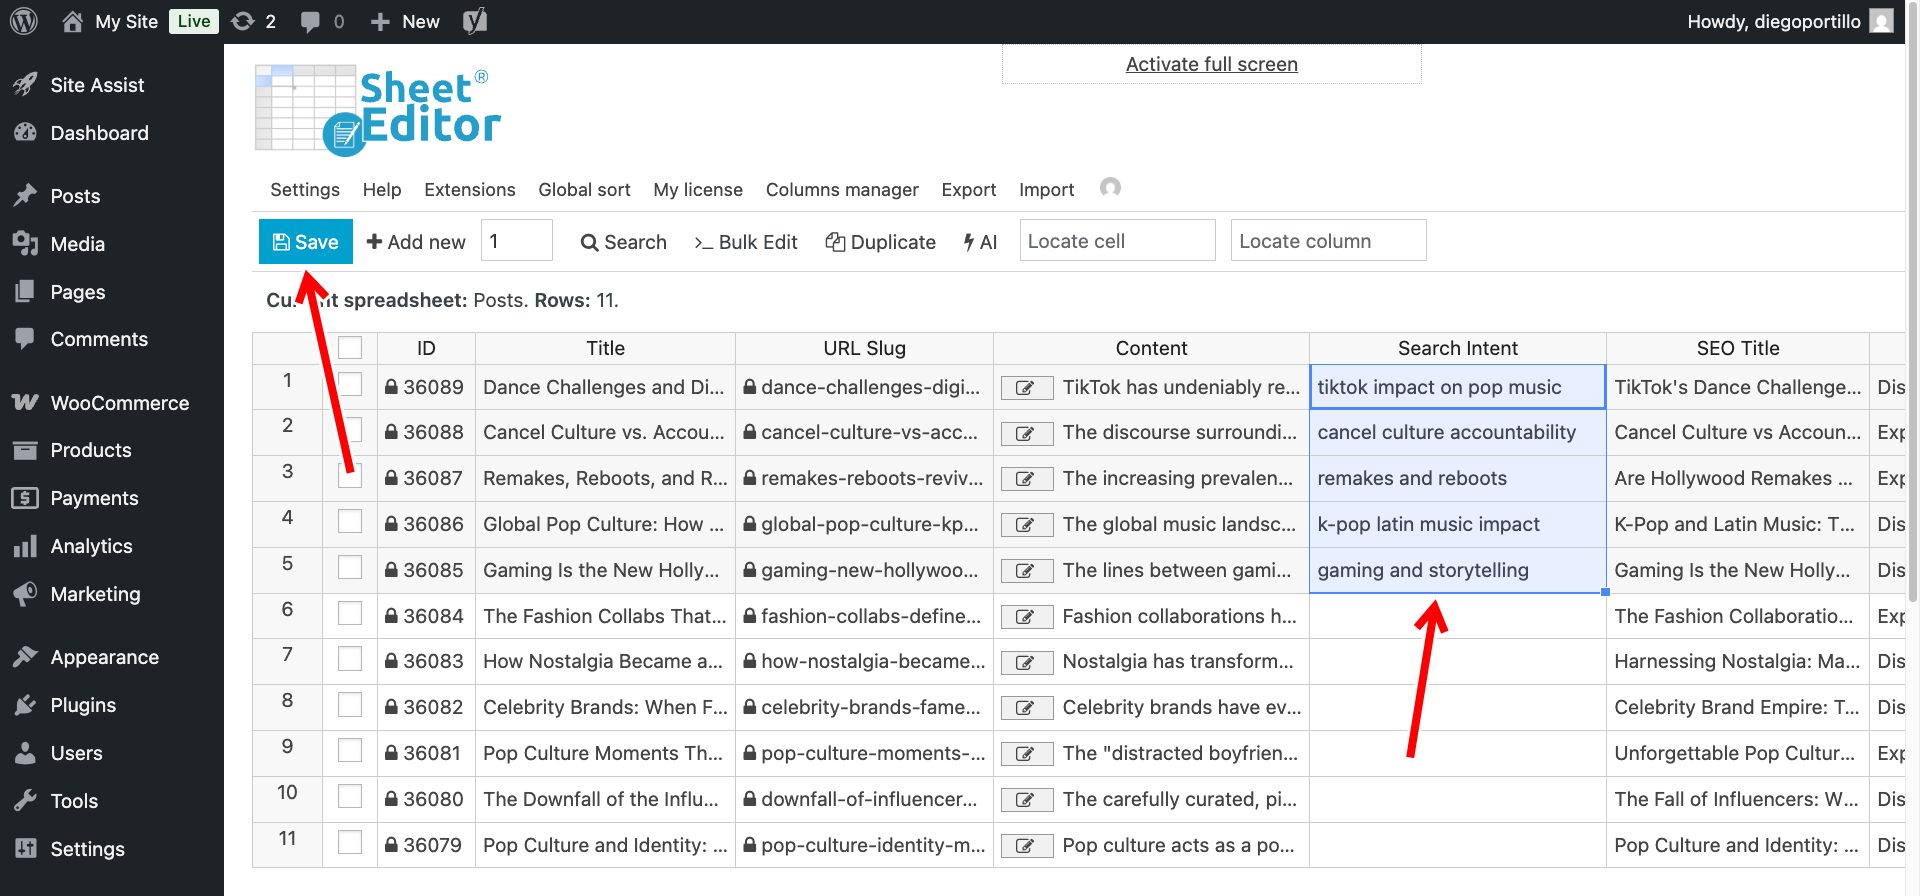
To audit search intent from the spreadsheet, locate the Search Intent column and enter the full prompt or global prompt shortcut in the cells of that column.
In this case, we will use the prompt shortcut:
ai:search-intent
While the AI is working, you’ll see a loading icon in the spreadsheet cell.
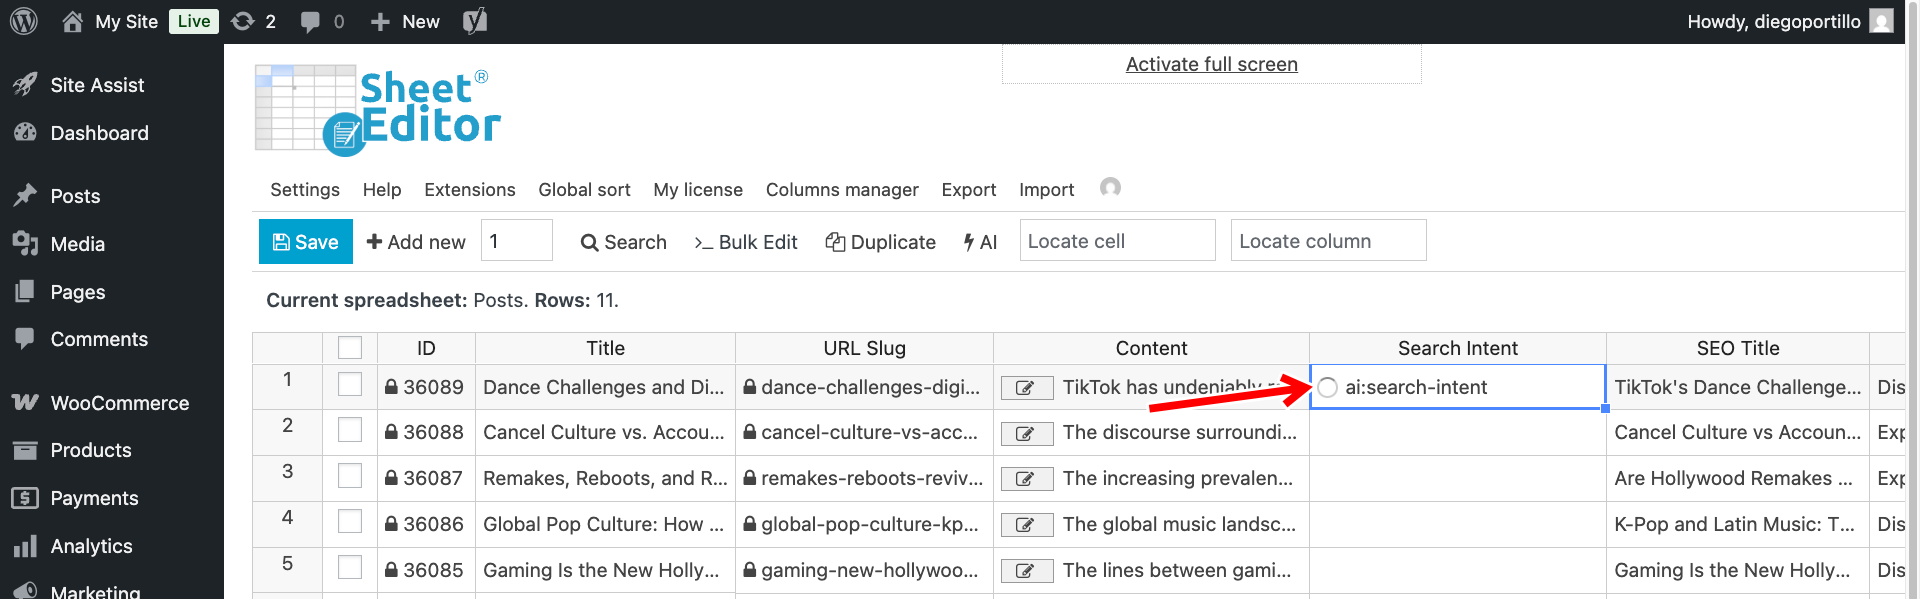
If you want to audit multiple posts at the same time, paste the shortcut into several cells.
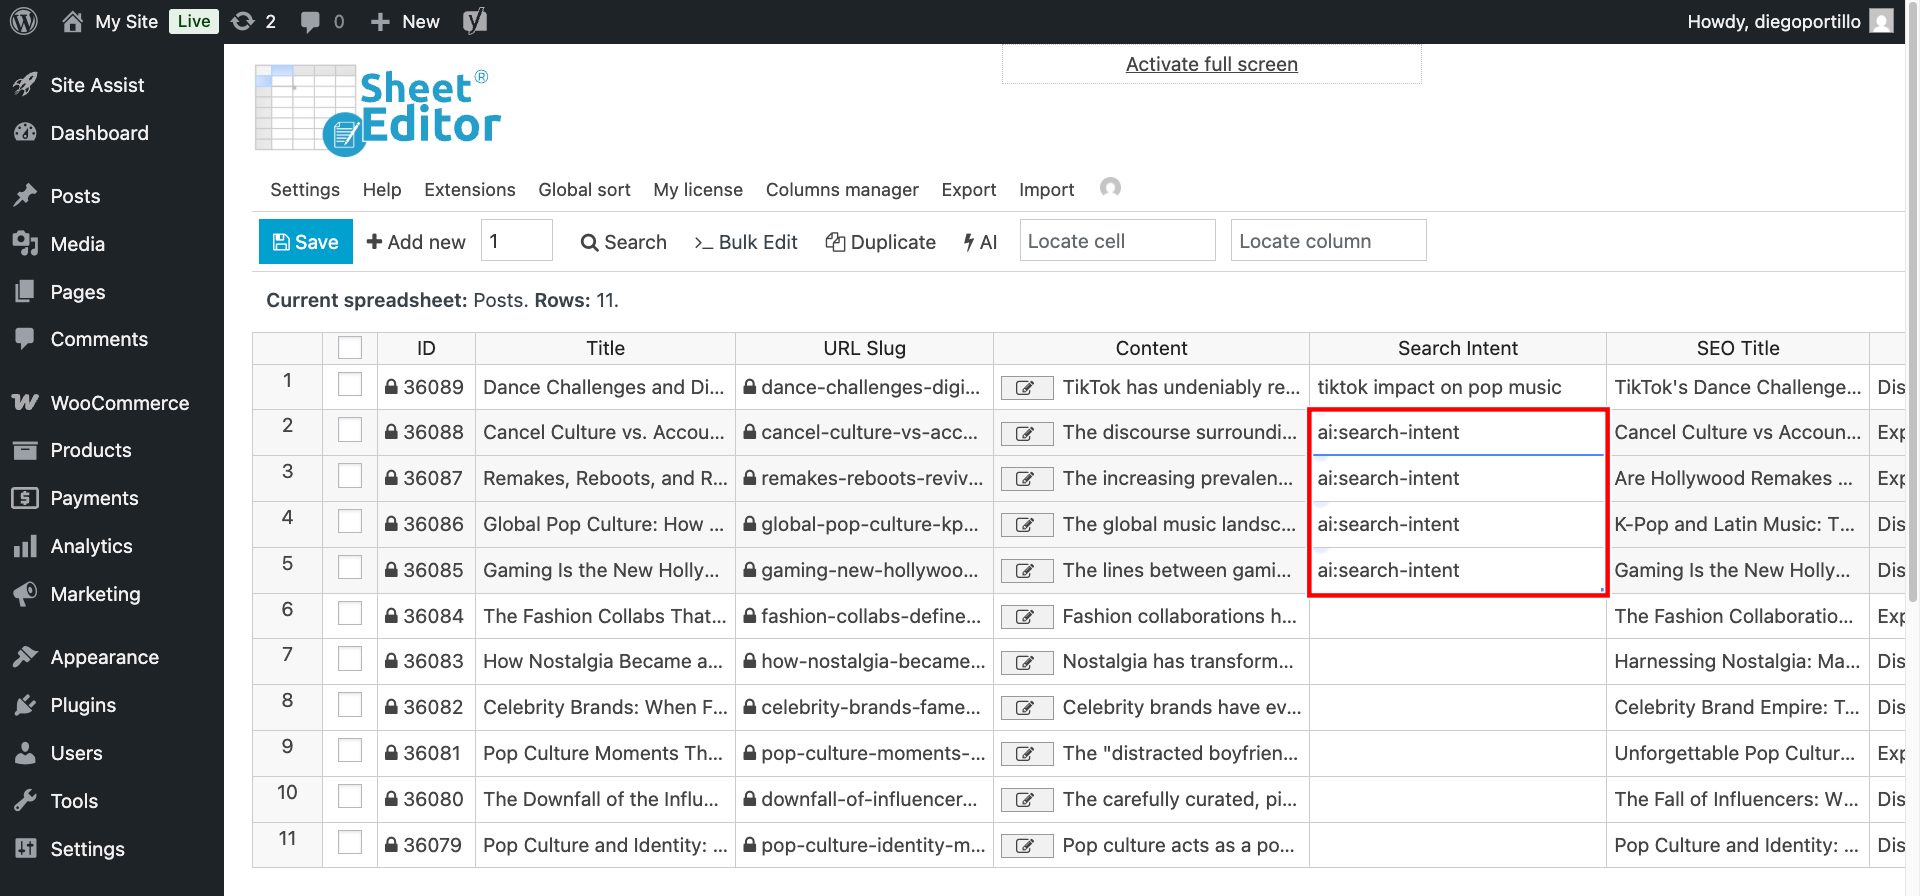
When you have finished auditing the search intent, click Save to keep the results returned by the AI.
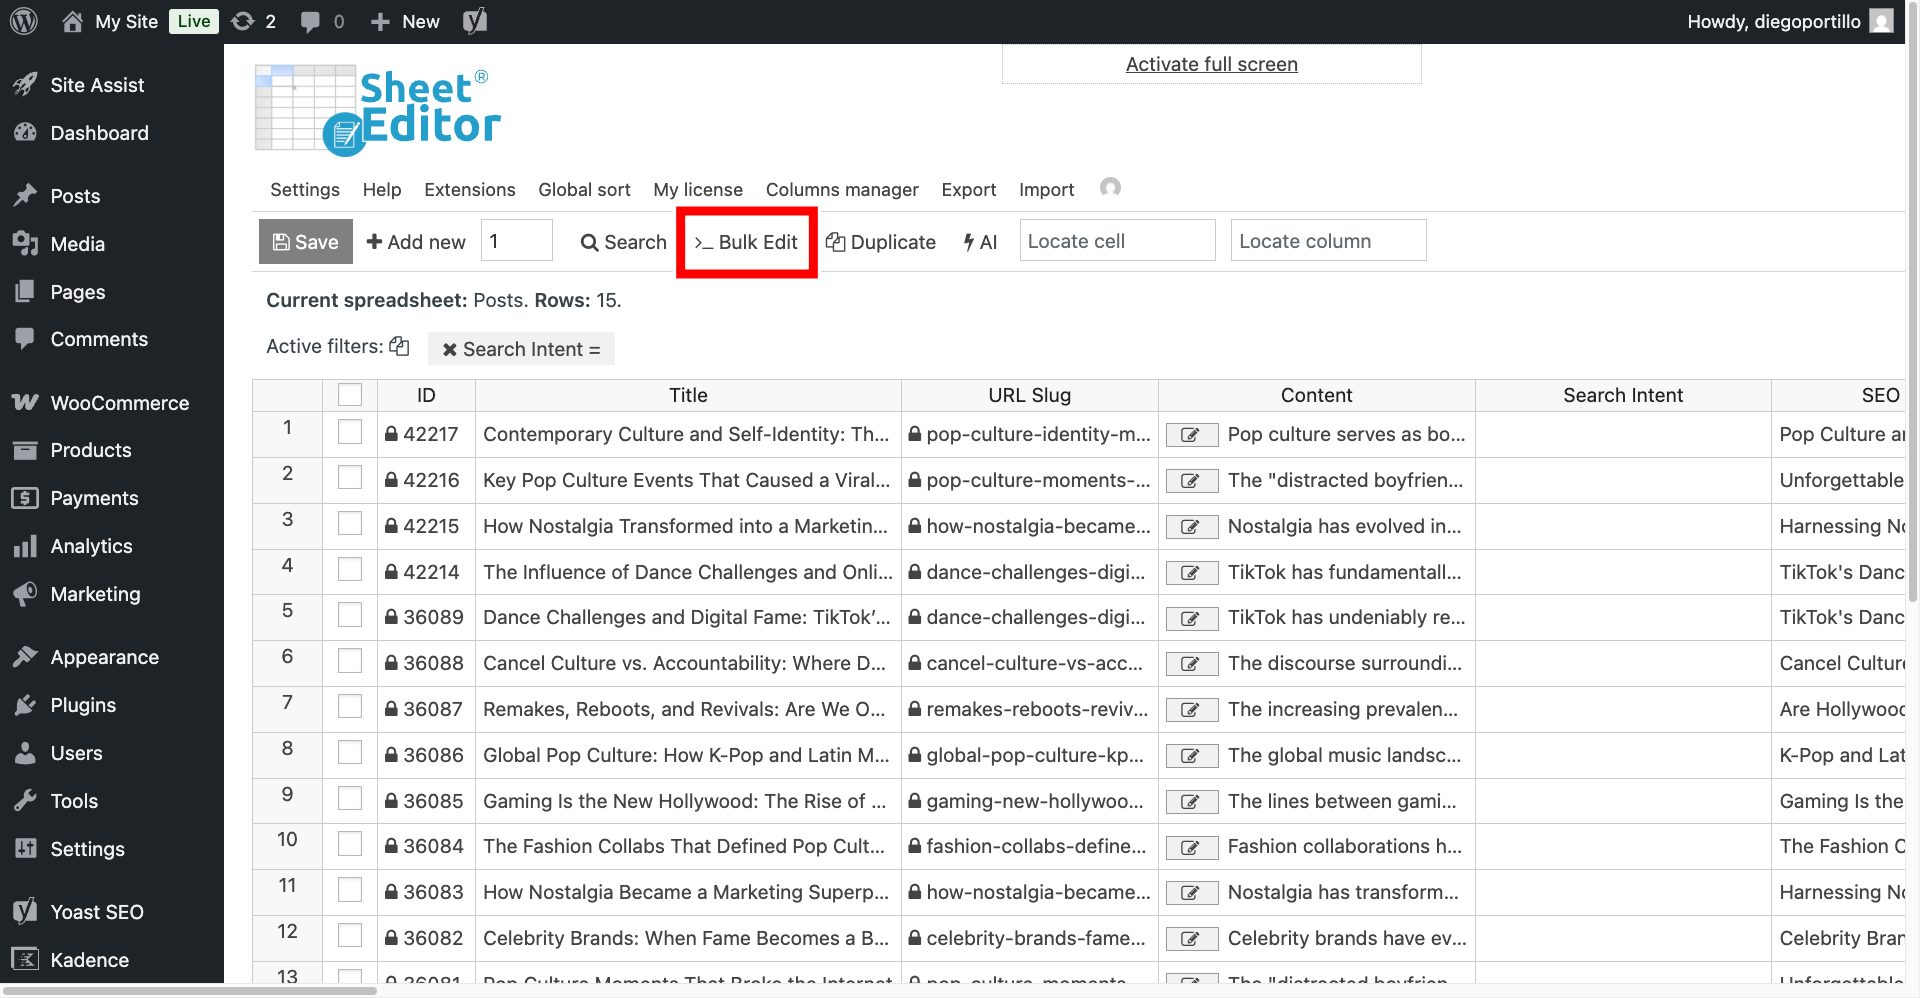
Option 2 – Audit search intent in bulk
You can audit search intent in bulk across all posts (open the Bulk Edit tool directly) or you can filter all posts where the search intent column is empty.
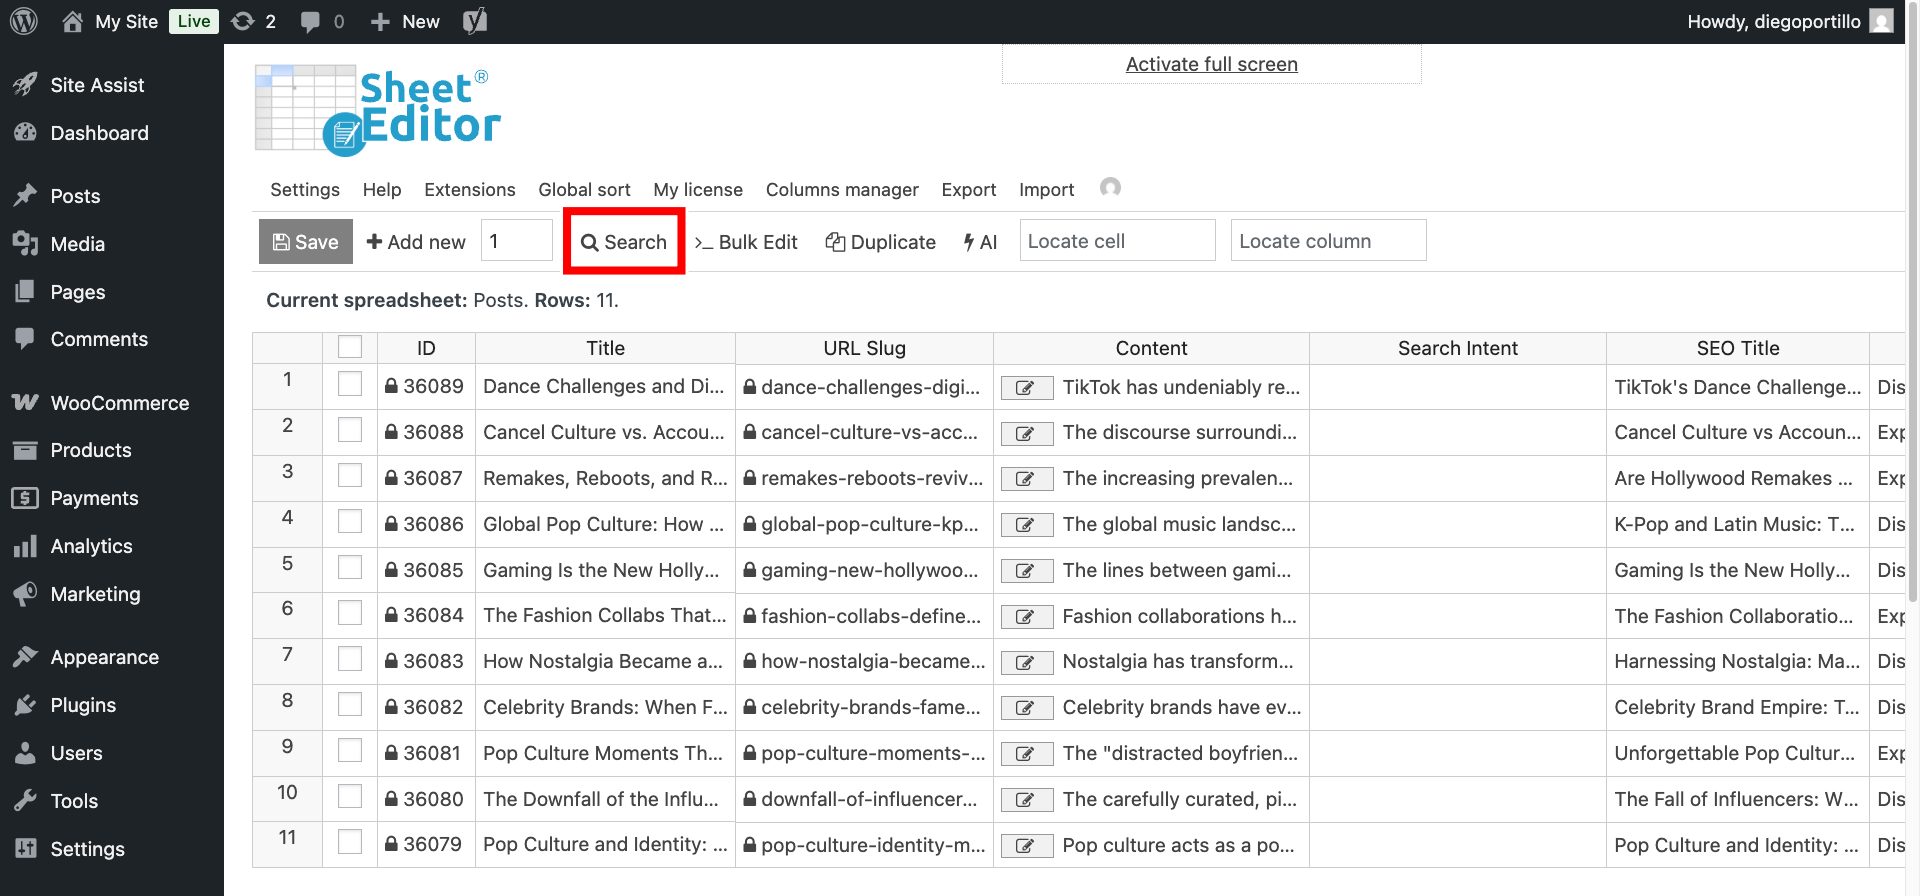
To search for WordPress posts where Search Intent = Empty, open the Search tool.
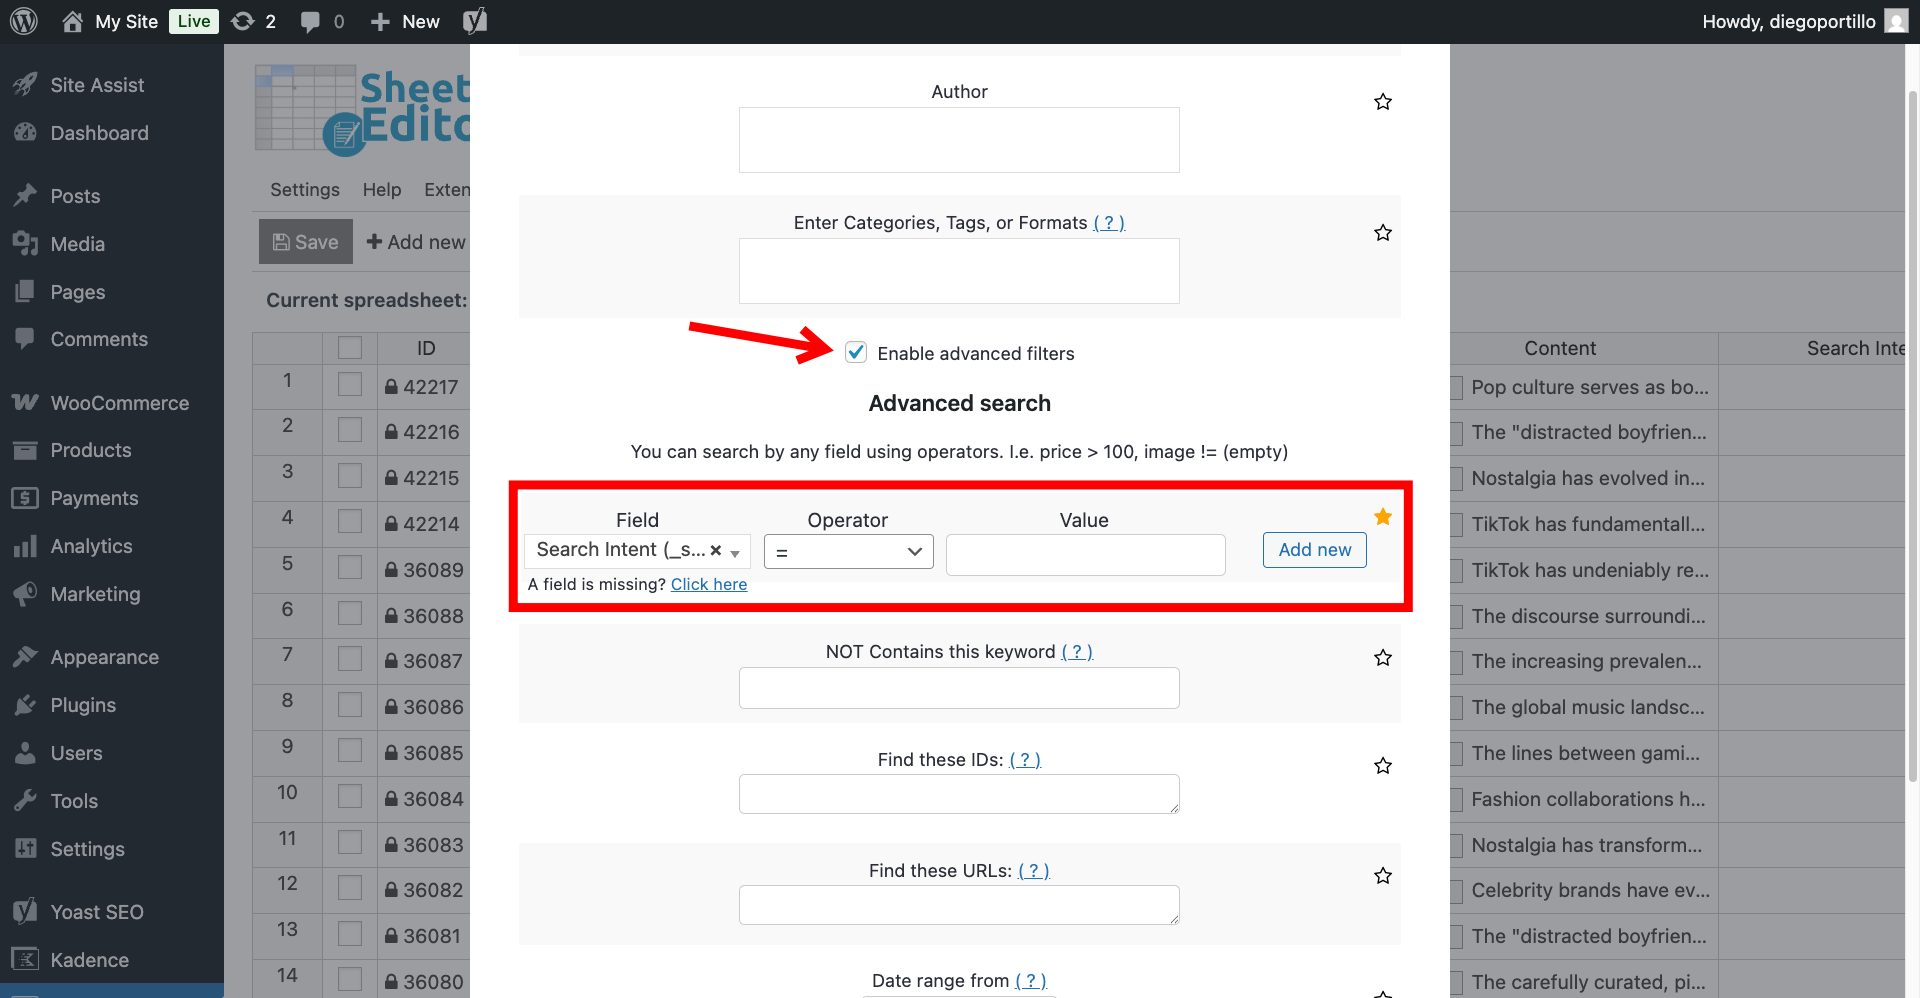
Now select these values in the Search tool:
- Tick the Enable advanced filters checkbox.
- Field: Search Intent
- Operator: =
- Value: Leave this field empty.
- Click on Run search.
Now the spreadsheet will display all WordPress posts that have no value in the Search Intent column.
Next, open the Bulk Edit tool.
Configure the bulk AI search intent audit with these parameters:
- Select the rows that you want to update: Choose “Edit all the rows from my current search”.
- What field do you want to edit: Select the custom
Search Intentfield we created in Step 2. - Select the type of edit: Choose AI command: Search Intent.
- AI Provider: Choose your preferred model; we will use GPT-4-o through OpenRouter.
- Click Execute Now.
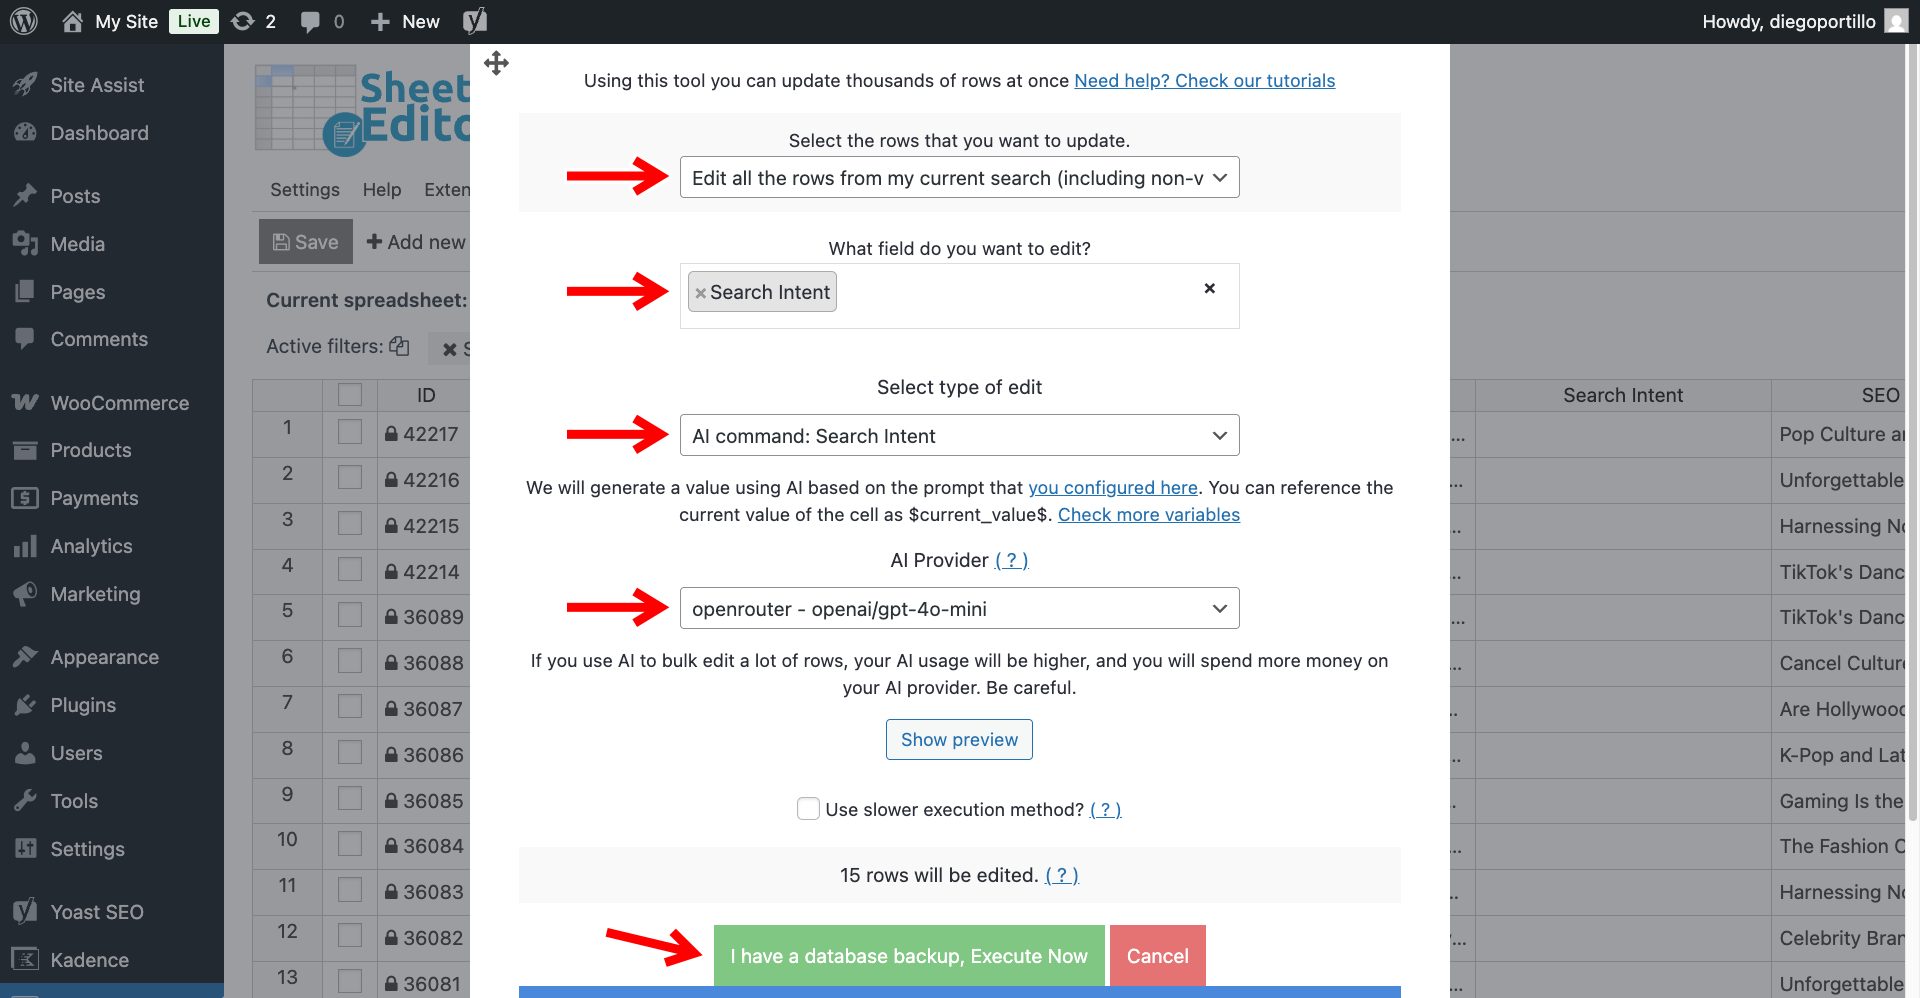
The AI integration will process your entire content library, reading every post and extracting its primary keyword footprint.
Step 4: Find the cannibalization issues
You will now see that your Search Intent column is completely filled with short, descriptive keyword phrases.
Here is where the magic happens:
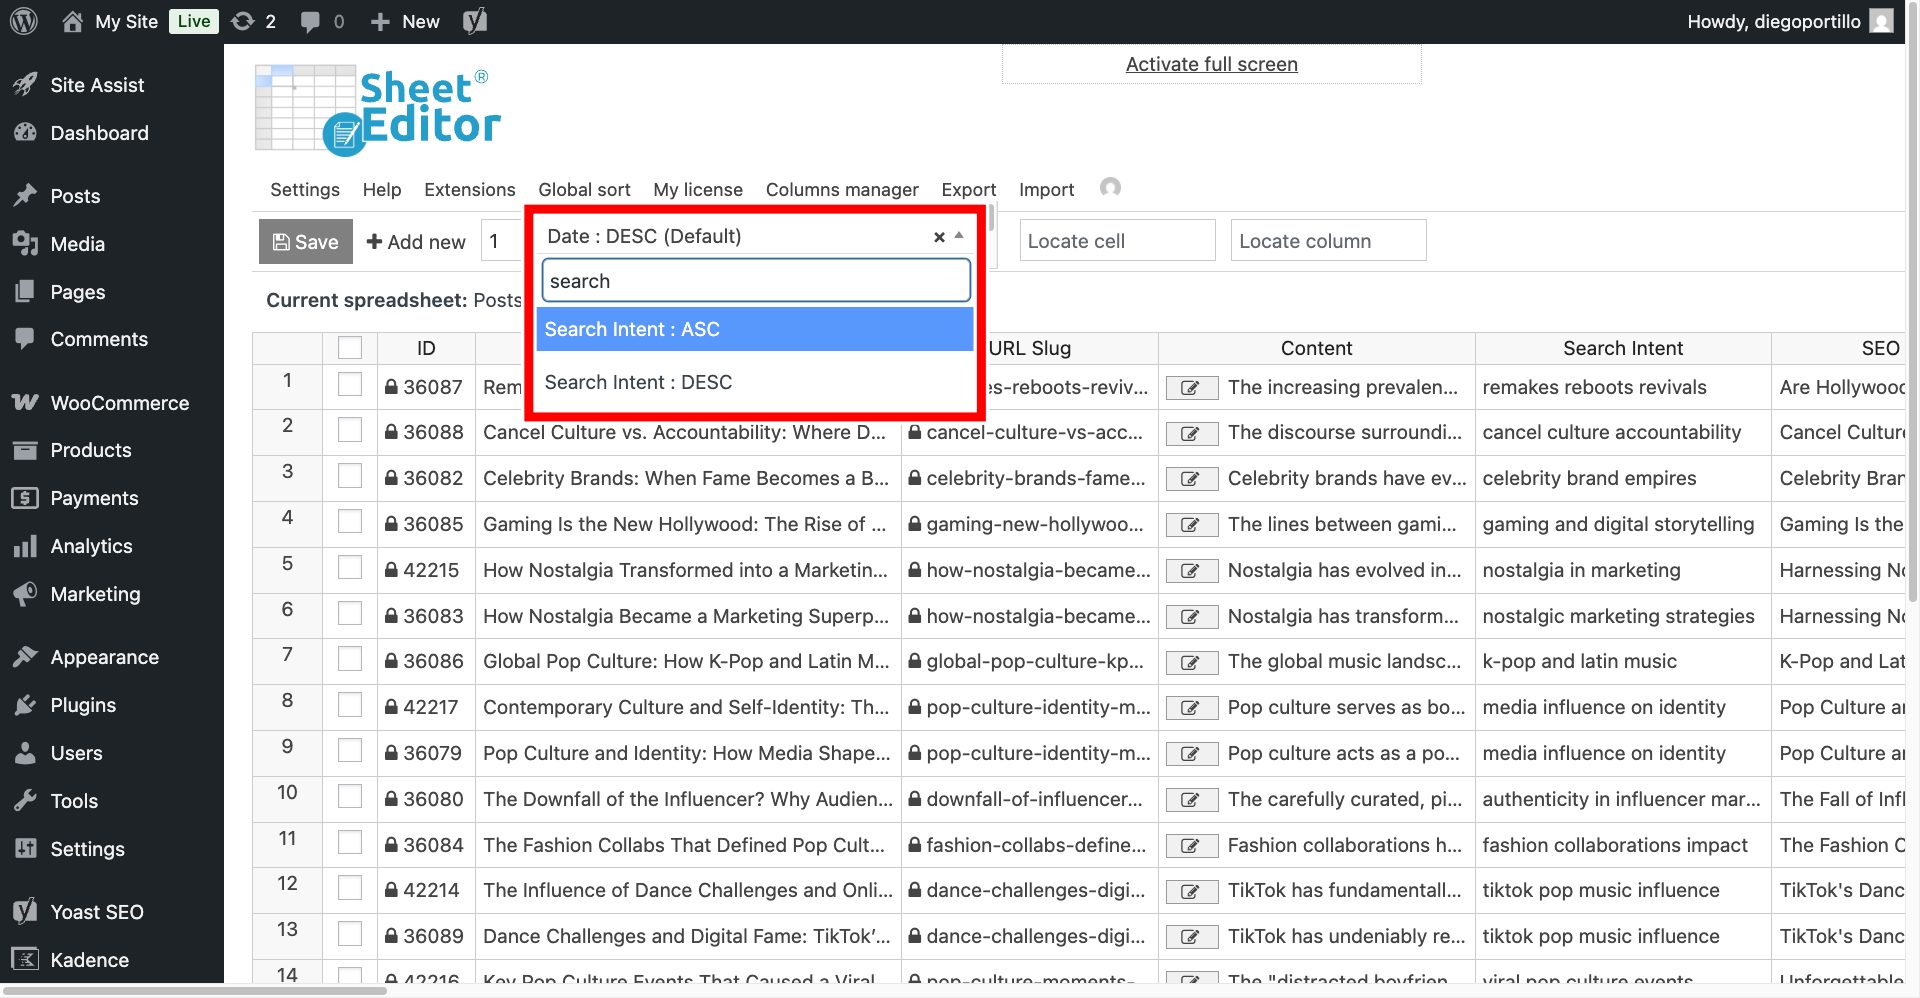
- Click on Global sort in the top toolbar.
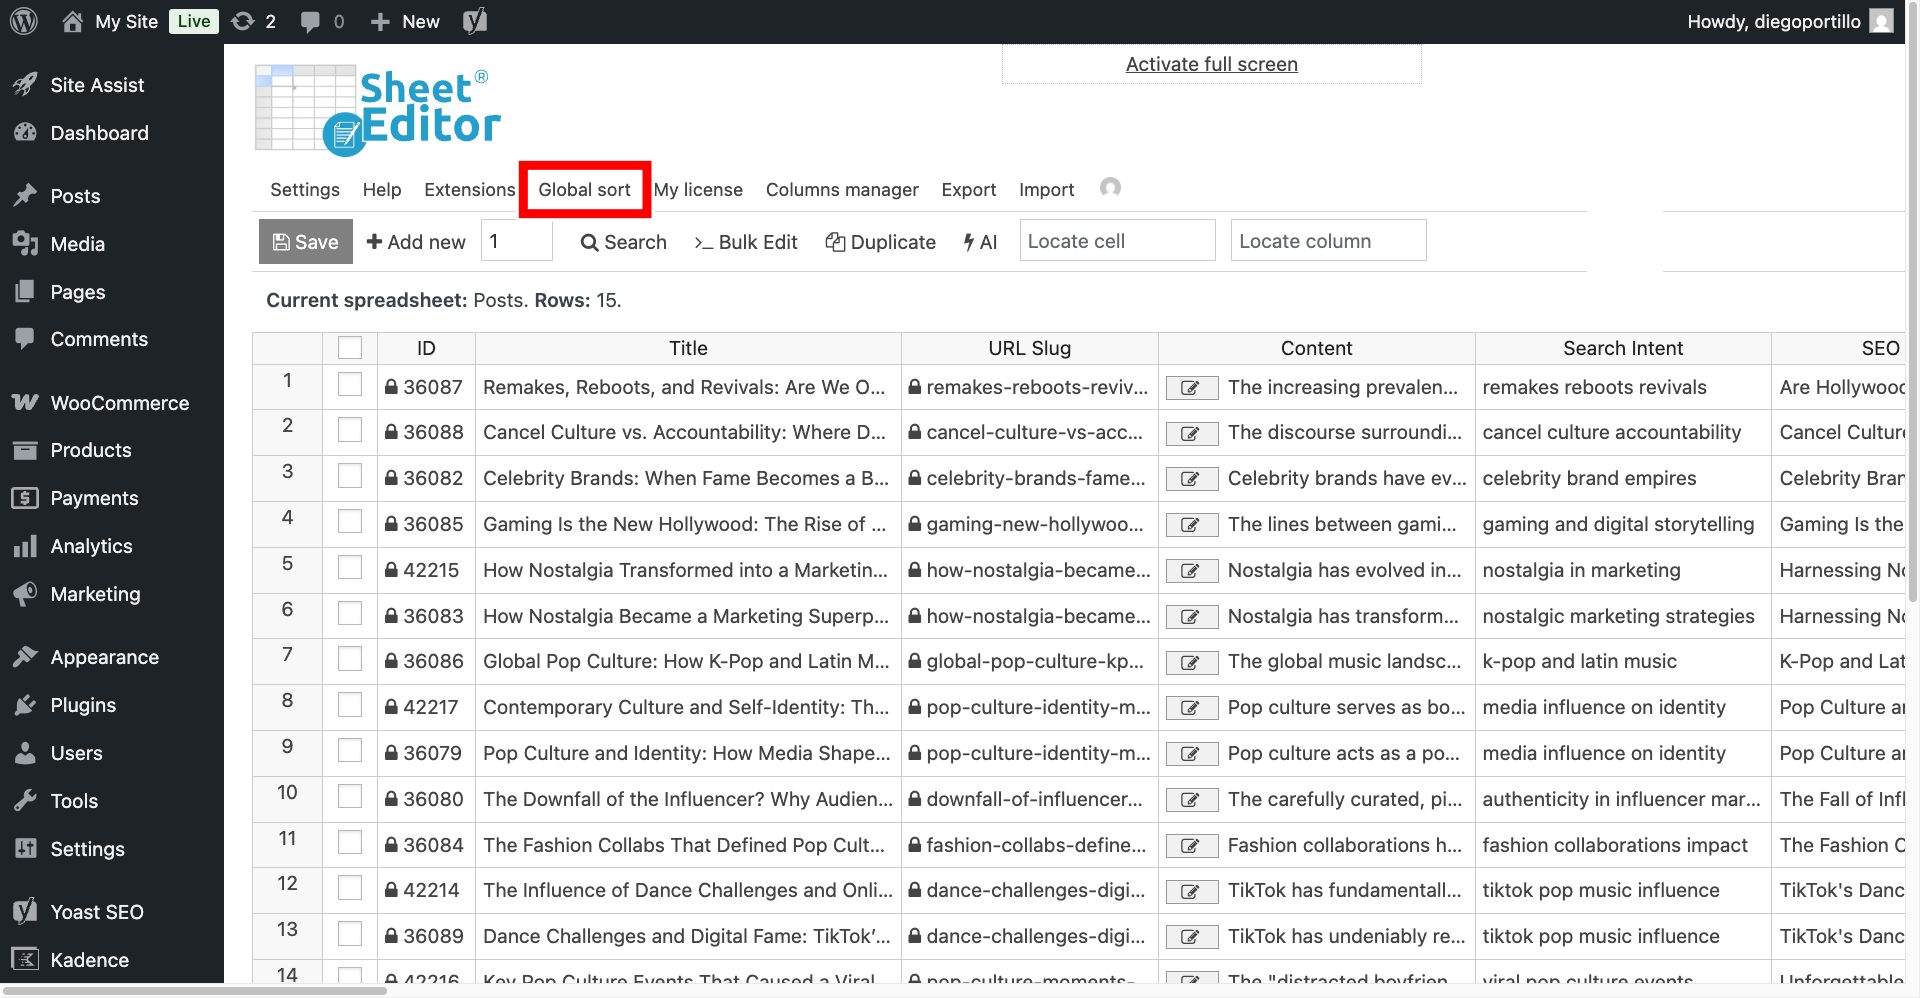
Select Search Intent: ASC to sort your products by search intent A to Z.
Scroll down your spreadsheet. Because the posts are now organized alphabetically by their core topic, any posts suffering from keyword cannibalization will be grouped right next to each other!
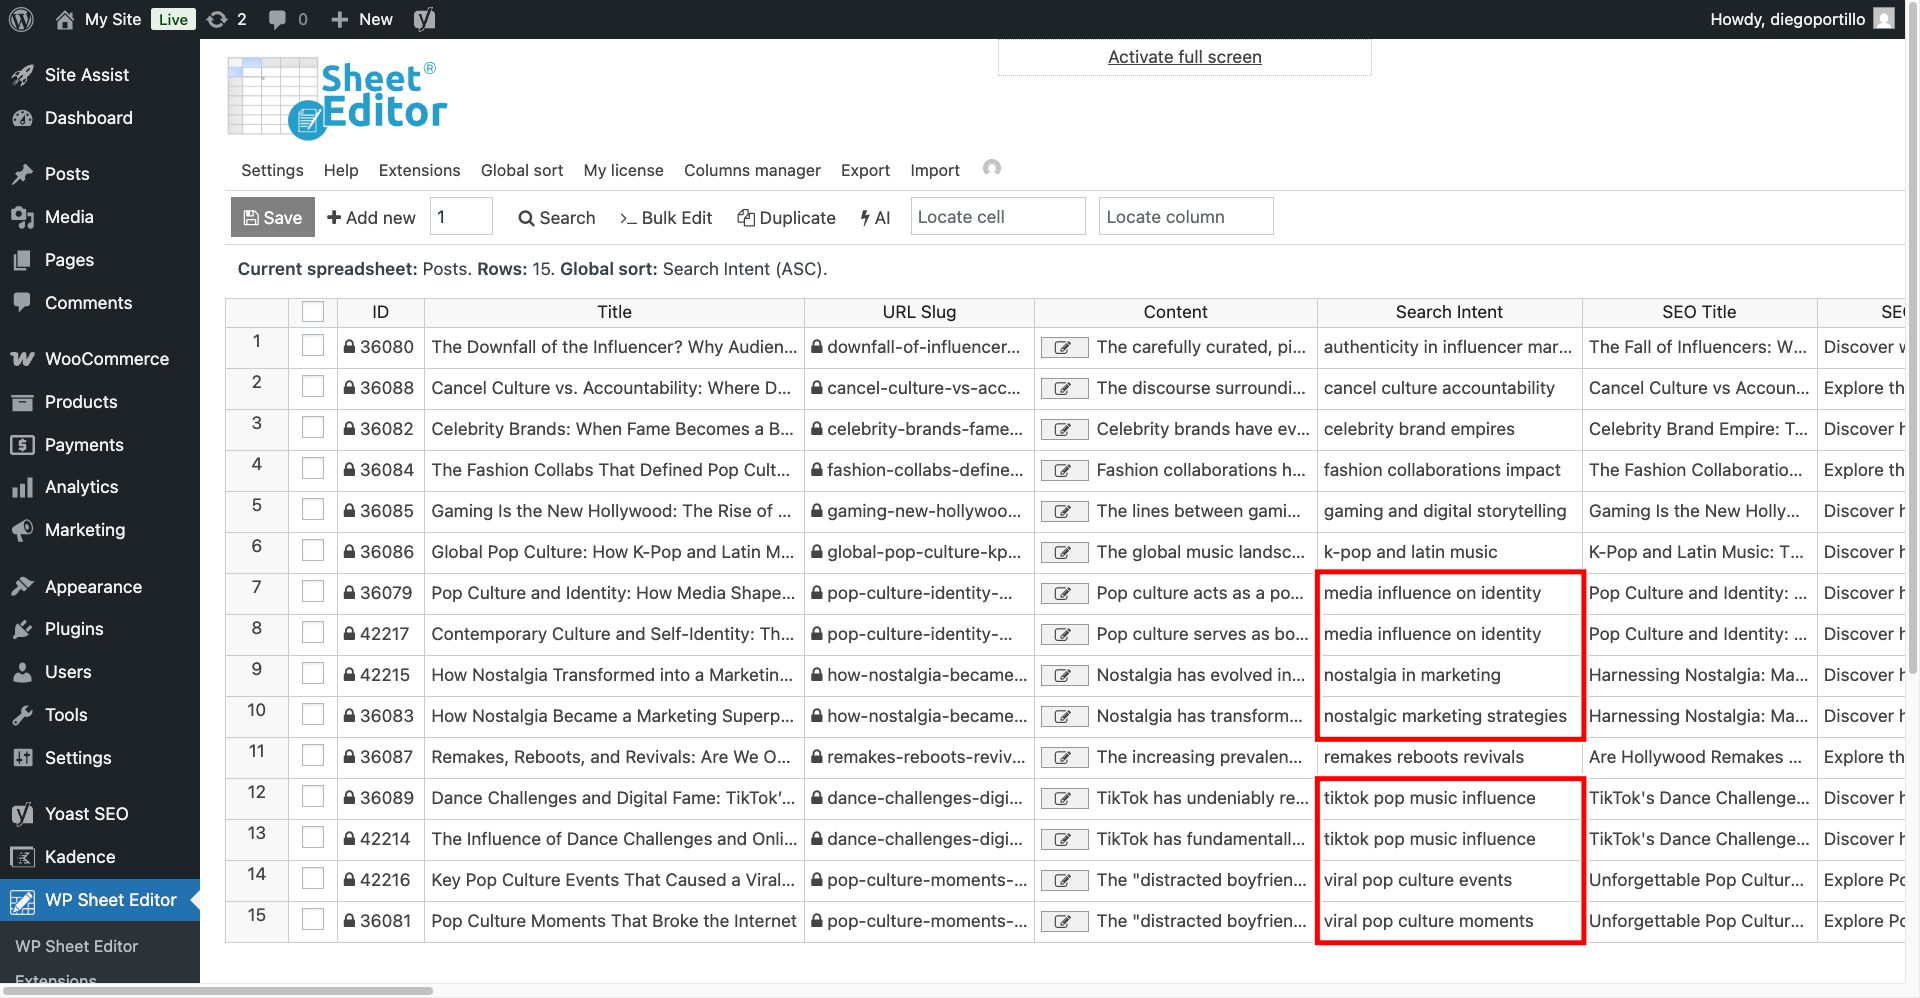
For example, if you see separate posts that the AI labeled as “media influence on identity”, you immediately know you have a cannibalization problem. Those posts are fighting each other in the search results.
How to fix what you find
When you spot these overlapping groups in WP Sheet Editor, you have a few options to fix them directly from the spreadsheet:
- Merge and redirect: Pick the strongest post, copy the best content from the weaker ones into it, and then set up 301 redirects for the losers.
- Re-optimize: Change the focus of the competing posts. Use the spreadsheet to quickly rewrite their Titles and SEO descriptions to target a different, long-tail variation of the keyword.
- Delete: If a competing post is outdated and receives zero traffic, simply use the spreadsheet to delete it or switch its status to Draft.
Stop paying for expensive monthly subscriptions just to find basic site structure errors. By combining WP Sheet Editor and generative AI, you can audit your entire content strategy, eliminate keyword cannibalization, and consolidate your SEO authority in a few clicks!