Managing inventory in a busy WooCommerce store can quickly become overwhelming, especially when dealing with fast-moving items, supply chain delays, and seasonal demand. Knowing when to allow backorders and setting up the correct low stock alerts is critical to avoid overselling or losing out on potential revenue.
By default, WooCommerce allows you to manage inventory at the product level. You have to open a product, go to the Inventory tab, check “Manage stock”, input the “Stock quantity”, choose whether to “Allow backorders” (Do not allow, Allow but notify customer, or Allow), and set a “Low stock threshold”. If you need to enable backorders for 300 products because a supplier shipment was delayed, doing this one by one is simply not a viable strategy.
In this tutorial, we will show you how to sync your WooCommerce backorder settings and stock alerts to Google Sheets. This workflow allows you to bulk update inventory rules, set low stock thresholds for thousands of products at once, and collaborate with your procurement team in a single, familiar spreadsheet.
Why manage WooCommerce backorders and stock alerts from Google Sheets?
Exporting your inventory management data to Google Sheets offers several strategic advantages:
- Bulk updates: Toggle backorders on or off for entire product categories in seconds using drag-and-fill.
- Fast auditing: Filter your spreadsheet to instantly see which products are running low on stock and require immediate reordering from your suppliers.
- Smart thresholds: Use spreadsheet formulas to calculate and set custom “Low stock amounts” based on historical sales velocity rather than guessing.
What you need to manage backorders and stock
To follow this guide, we will use these WP Sheet Editor tools besides the WooCommerce plugin:
WP Sheet Editor – WooCommerce Products: This plugin generates a spreadsheet inside your WordPress dashboard where you can view and edit all your WooCommerce products and their inventory fields.
You can purchase the plugin here:
Get the WooCommerce Products spreadsheet - or - Check the features
Google Sheets Sync: This service connects your WordPress site directly to your Google Sheets account for seamless two-way exports and imports.
You can sign up to the service here:
Sign up to the Google Sheets Sync Service - or - Check the features
Step 1. Connect WordPress to Google Sheets
When you subscribe to the Google Sheets Sync service, you will receive a helper plugin that connects your WordPress site with your Google account.
Follow our installation guide to complete the setup and authorize the Google API connection.
Step 2. Create a live sync for inventory data
First, we need to send our existing products to Google Sheets and make sure we create a bidirectional real-time sync so that the changes we make on WordPress are reflected in Google Sheets, and vice-versa.
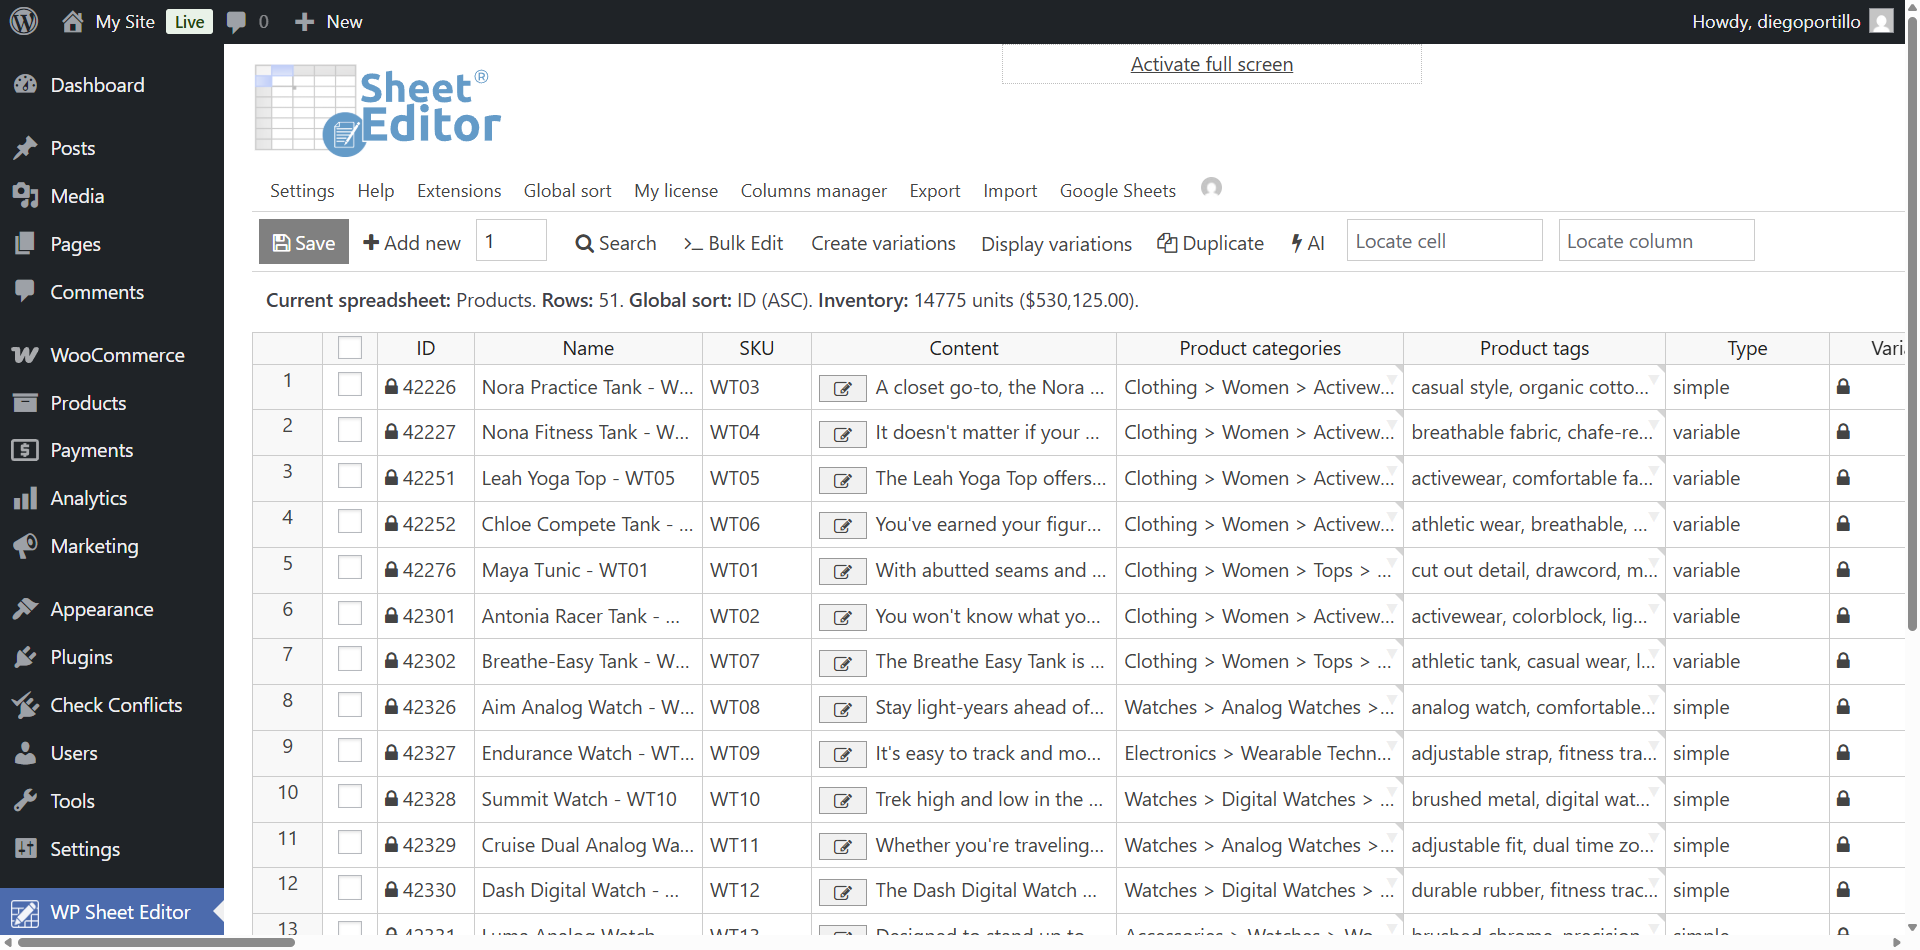
Open the WooCommerce products spreadsheet by going to WP Sheet Editor > Edit Products.
You’ll see all your WooCommerce products displayed in the spreadsheet.
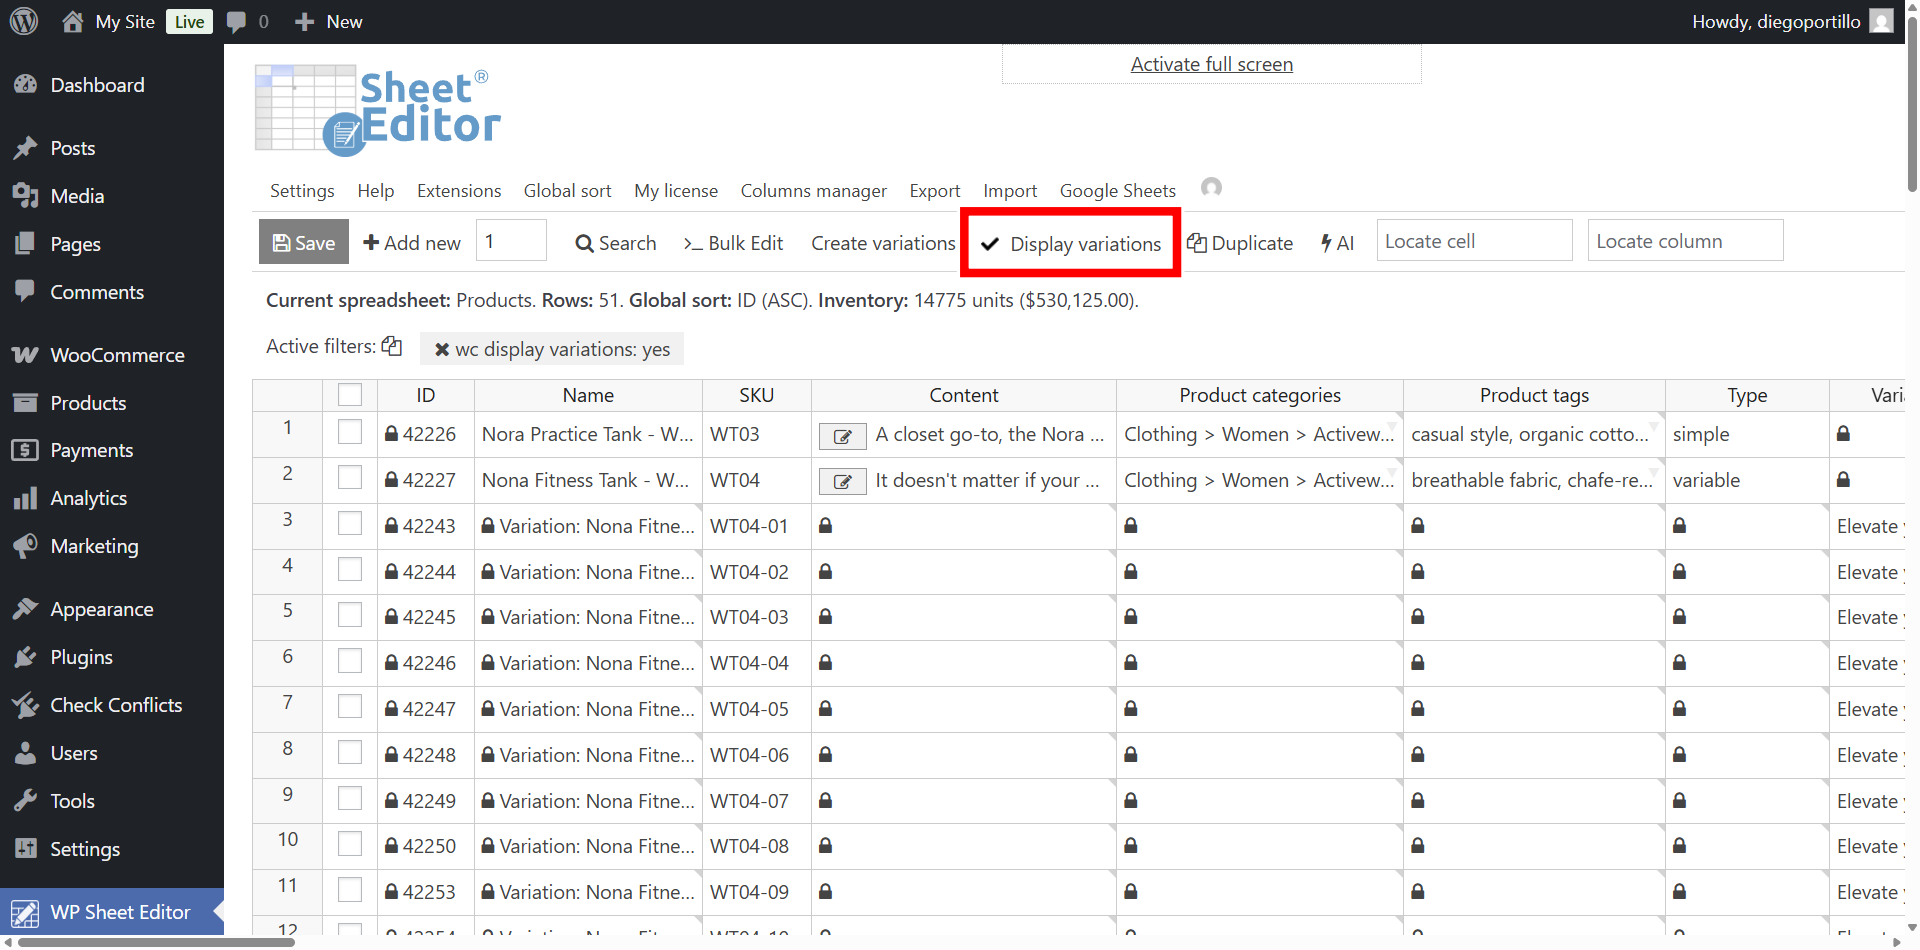
Make sure you click on Display variations if you want to sync variations together with their parent products.
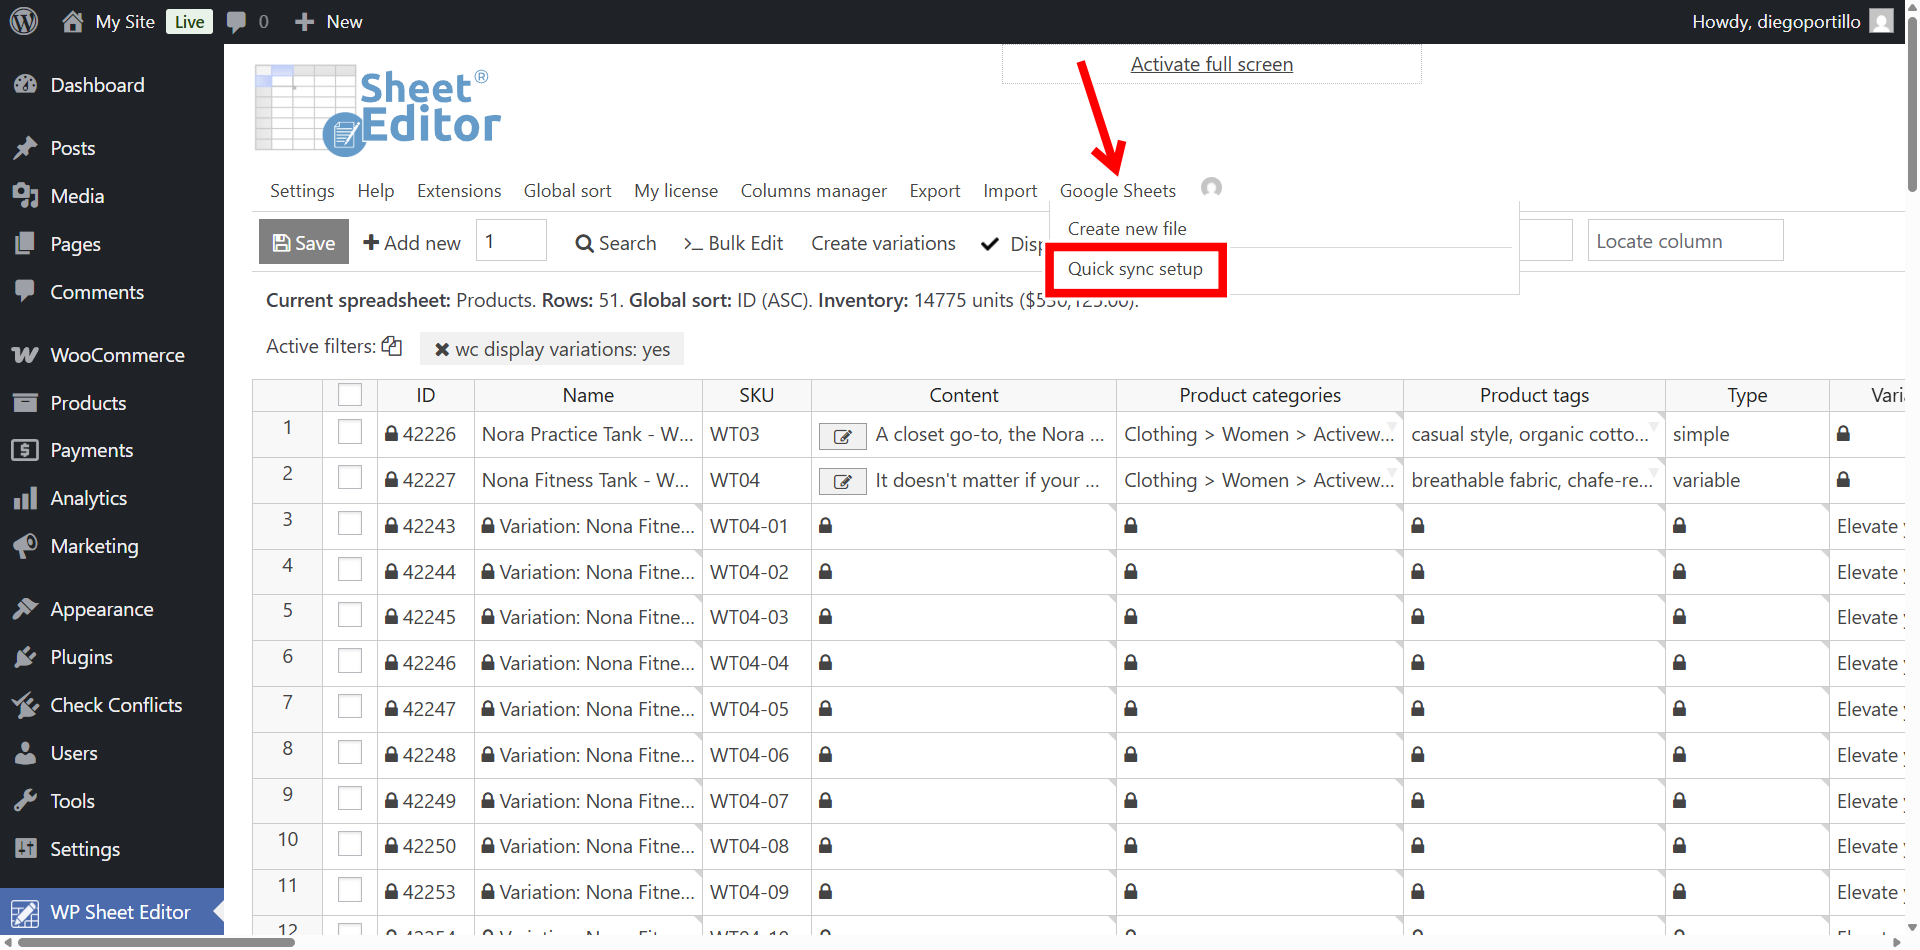
Now hover your mouse cursor over the Google Sheets tool, and select Quick sync setup.
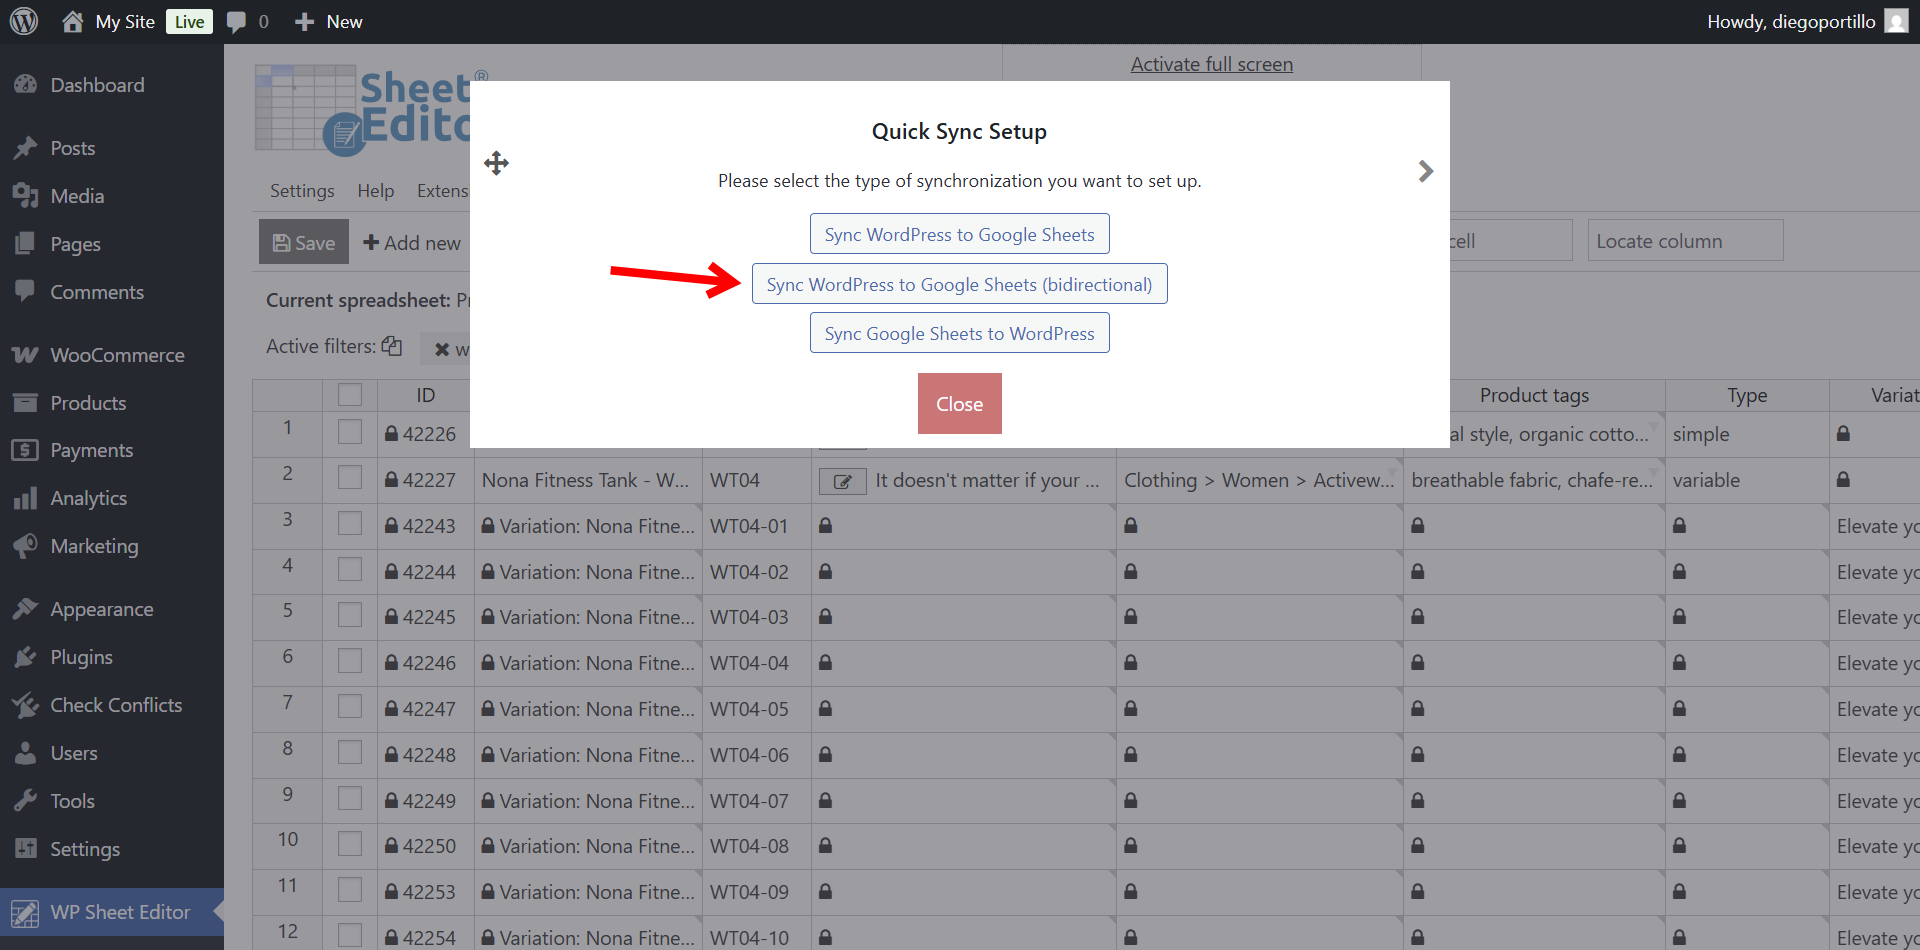
Now select Sync WordPress to Google Sheets (bidirectional).
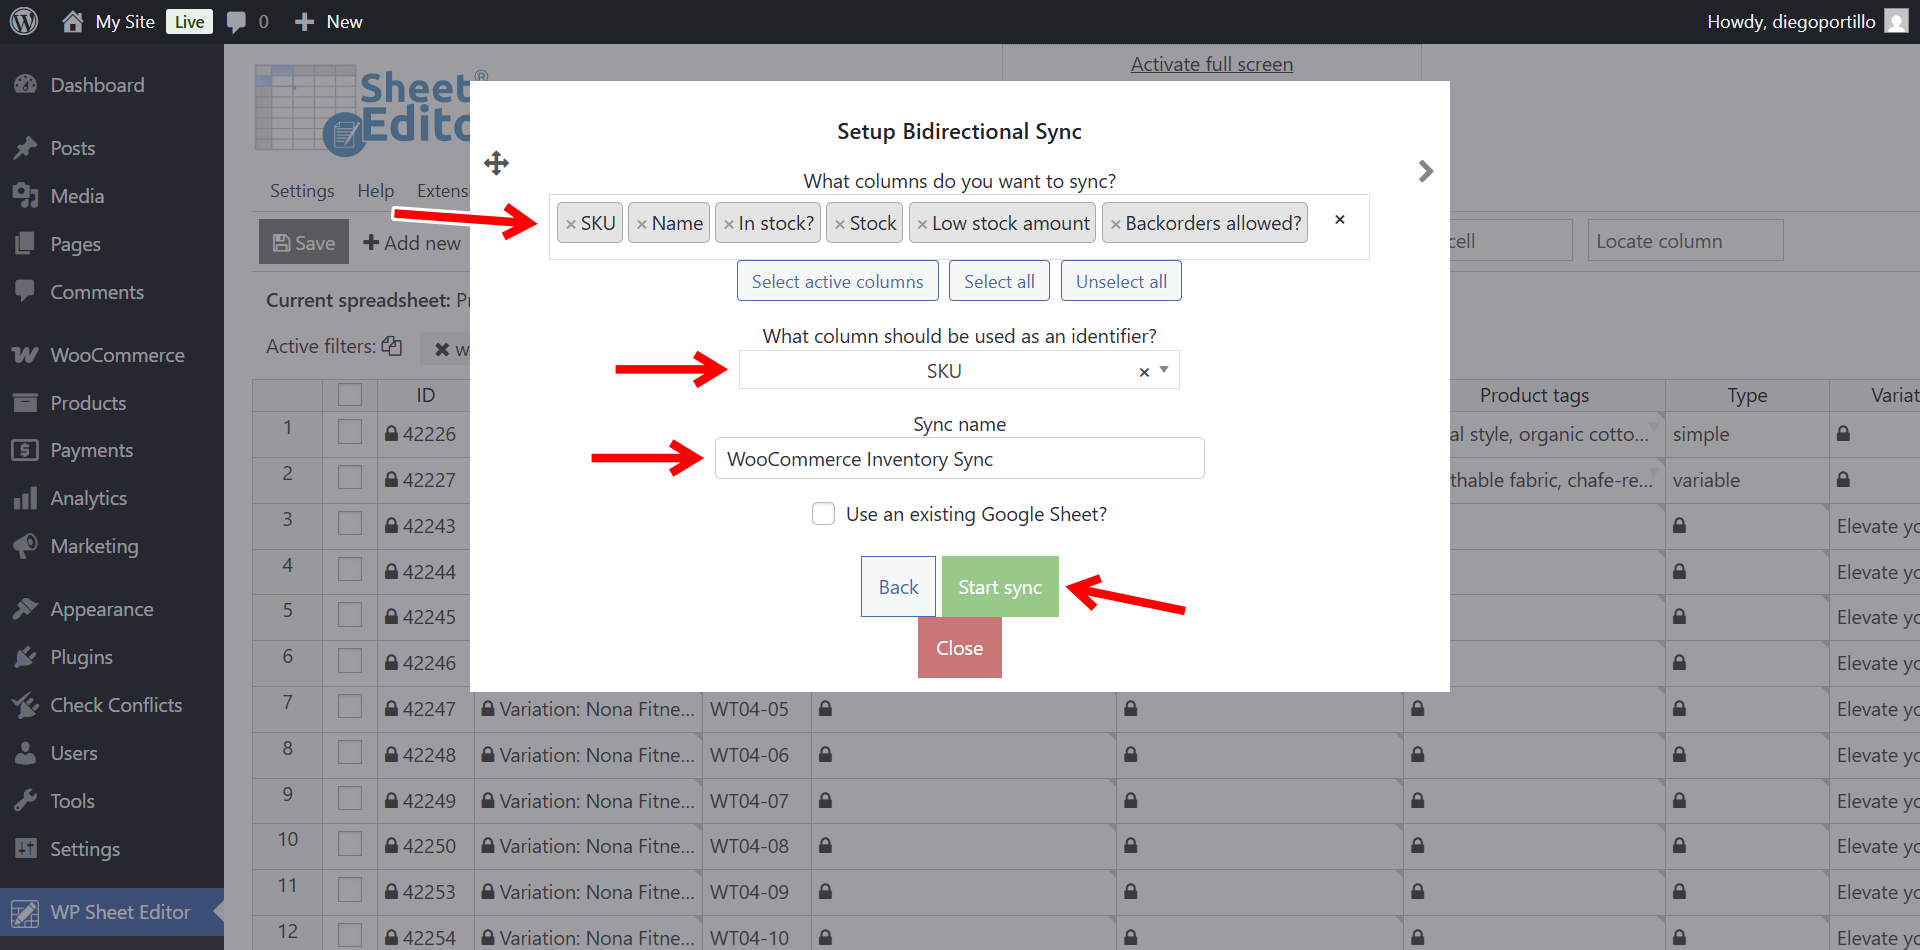
Select the following settings in the export popup:
- What columns do you want to export: You can select the specific columns you need for inventory management. Make sure to include:
- Name
- Type
- SKU
- Manage stock
- Stock
- Backorders
- Low stock amount
- Which rows do you want to export?: We will export all the products, so let’s select “All rows from my current search”.
- What app will you use to edit this file?: Select Google Sheets.
- Name of this export: Type a name for your Google Sheet (e.g., “WooCommerce Inventory Sync”).
- Click on Start sync.
Now you can go to Export > View scheduled exports to view the new job.
Once the initial export is complete, you’ll be able to open the new Google Sheet by clicking on the scheduled export name.
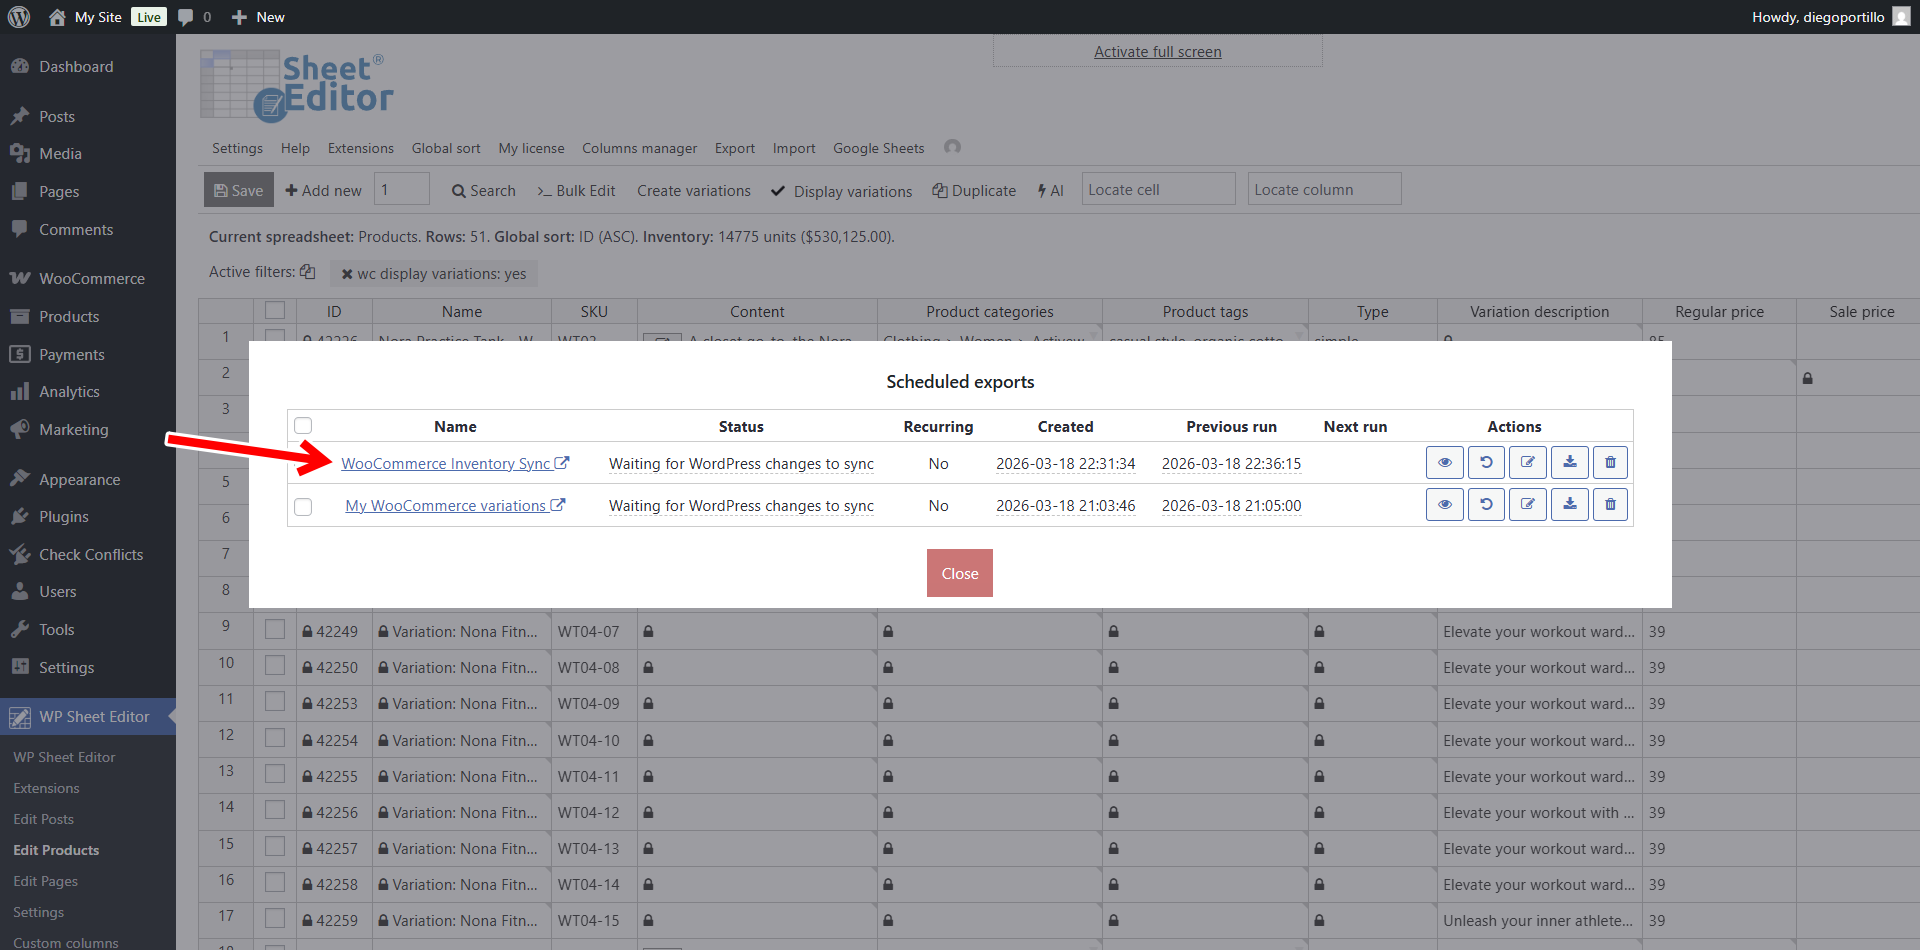
Since this is a bidirectional sync, the plugin will automatically create an import to monitor the changes made in Google Sheets.

Step 3. Manage backorders and stock alerts in Google Sheets
Once the export is complete, click on the link provided to open your new Google Sheet.
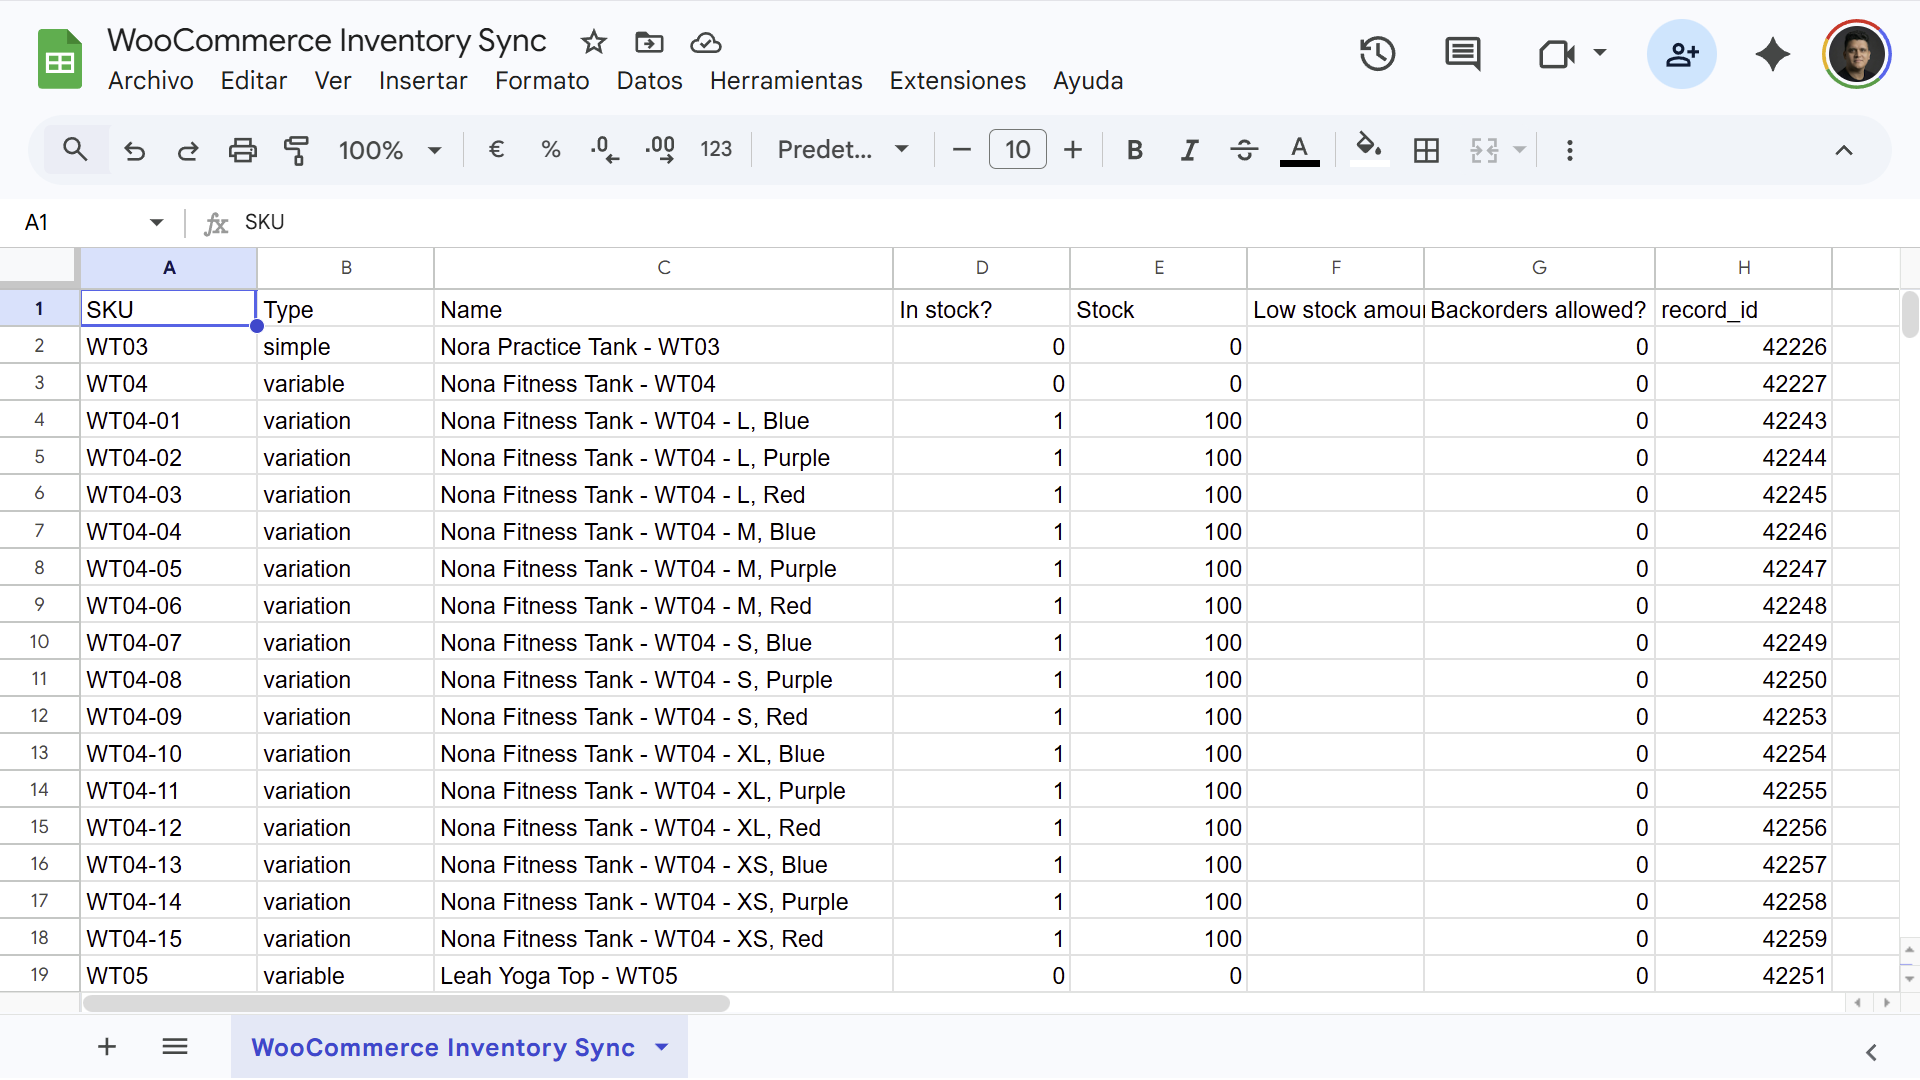
Locate the inventory columns. WooCommerce uses specific text values for these fields that you must use to ensure they sync correctly:
- In stock: Enter 1 to set it to in stock or 0 to set it to out of stock.
- Stock: Input the numeric value of your current physical inventory.
- Backorders: You can input any of the following values:
- 0: Do not allow backorders.
- notify: Allow backorders, but notify the customer that the item is on backorder.
- 1: Allow backorders seamlessly without notifying the customer.
- Low stock amount: Input the numeric threshold (e.g., 2) at which WooCommerce will trigger a low stock email alert.
You can now use Google Sheets to streamline your inventory management. For instance, if you know a supplier is facing a month-long delay, you can quickly filter for all their products and change the Backorders column to notify for hundreds of items at once.
Step 4. Import changes back to WooCommerce
As we established during the export step, this is a bidirectional sync. The plugin will automatically import the changes made in your Google Sheet into WordPress.
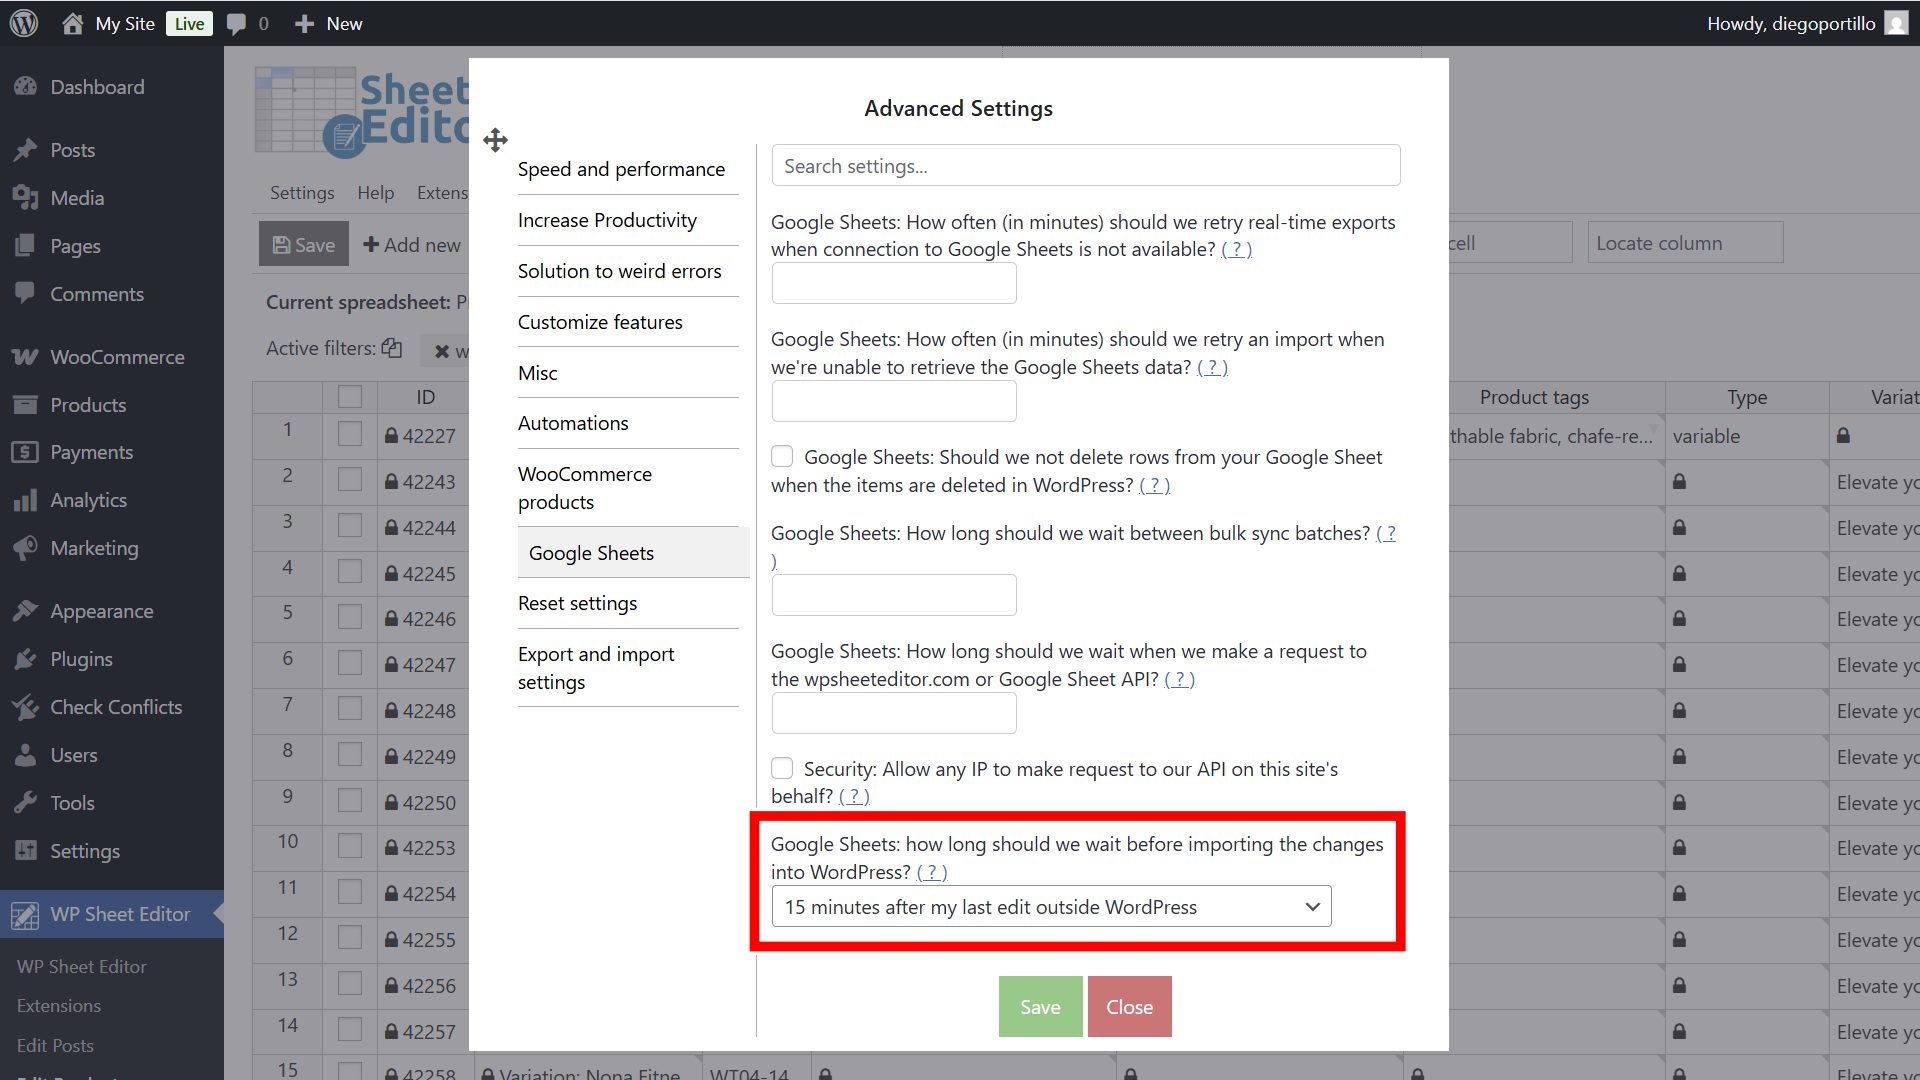
To avoid importing incomplete data while you are still working, WP Sheet Editor has a built-in delay. It will wait for a specified period after you have finished editing in Google Sheets before pushing the updates to your live store.
To configure this, go to Settings > Advanced Settings > Google Sheets and select your preferred delay time in the Google Sheets: How long should we wait before importing the changes into WordPress dropdown.
Manage your WooCommerce inventory in Google Sheets
Controlling stock levels, configuring backorder permissions, and setting up low stock alerts shouldn’t eat up your entire day. By integrating your WooCommerce store with Google Sheets, you can audit your inventory, prepare for supply chain shifts, and update product availability with complete efficiency. Using WP Sheet Editor and the Google Sheets Sync service eliminates manual data entry, making large-scale inventory management simple.