In this tutorial, we’ll show you how to import translations of WooCommerce products using a CSV edited with Excel, Google Sheets, or any CSV file editor. This is very useful because sometimes we hire translators who can’t use WordPress. In those cases, the best option is to give them a CSV file where they can edit the products and then we quickly import them into WooCommerce.
NEW: WPML: Translate WooCommerce Products Using Generative AI
WPML doesn’t allow us to import translations and other importers are very difficult to use.
But don’t worry. We’ll use the WooCommerce Products Spreadsheet plugin to export and import all translations of our products in a very easy way.
This plugin allows you to manage the products in your WooCommerce store using an intuitive spreadsheet. You can filter products by category, attribute, tag, price, etc. In addition, you can apply massive changes to thousands of products quickly, create thousands of variations and duplicate products, export and import products, etc.
You can download the plugin here: Download WooCommerce Products Spreadsheet Plugin - or - Check the features
Once installed and activated, you need to follow these steps to export and import product translations.
Step 1. Create the product translations
You can create multi-language translations of thousands of products in seconds using the WooCommerce Products Spreadsheet plugin.
For that, we need to use the “Bulk Edit” tool to generate duplicates from the original language into the other languages.
You need to follow the first three steps of the following tutorial:
Step 2. Export the product translations you’ll edit in the CSV
When you have finished the step 1, now you have copies of the original products in the other languages.
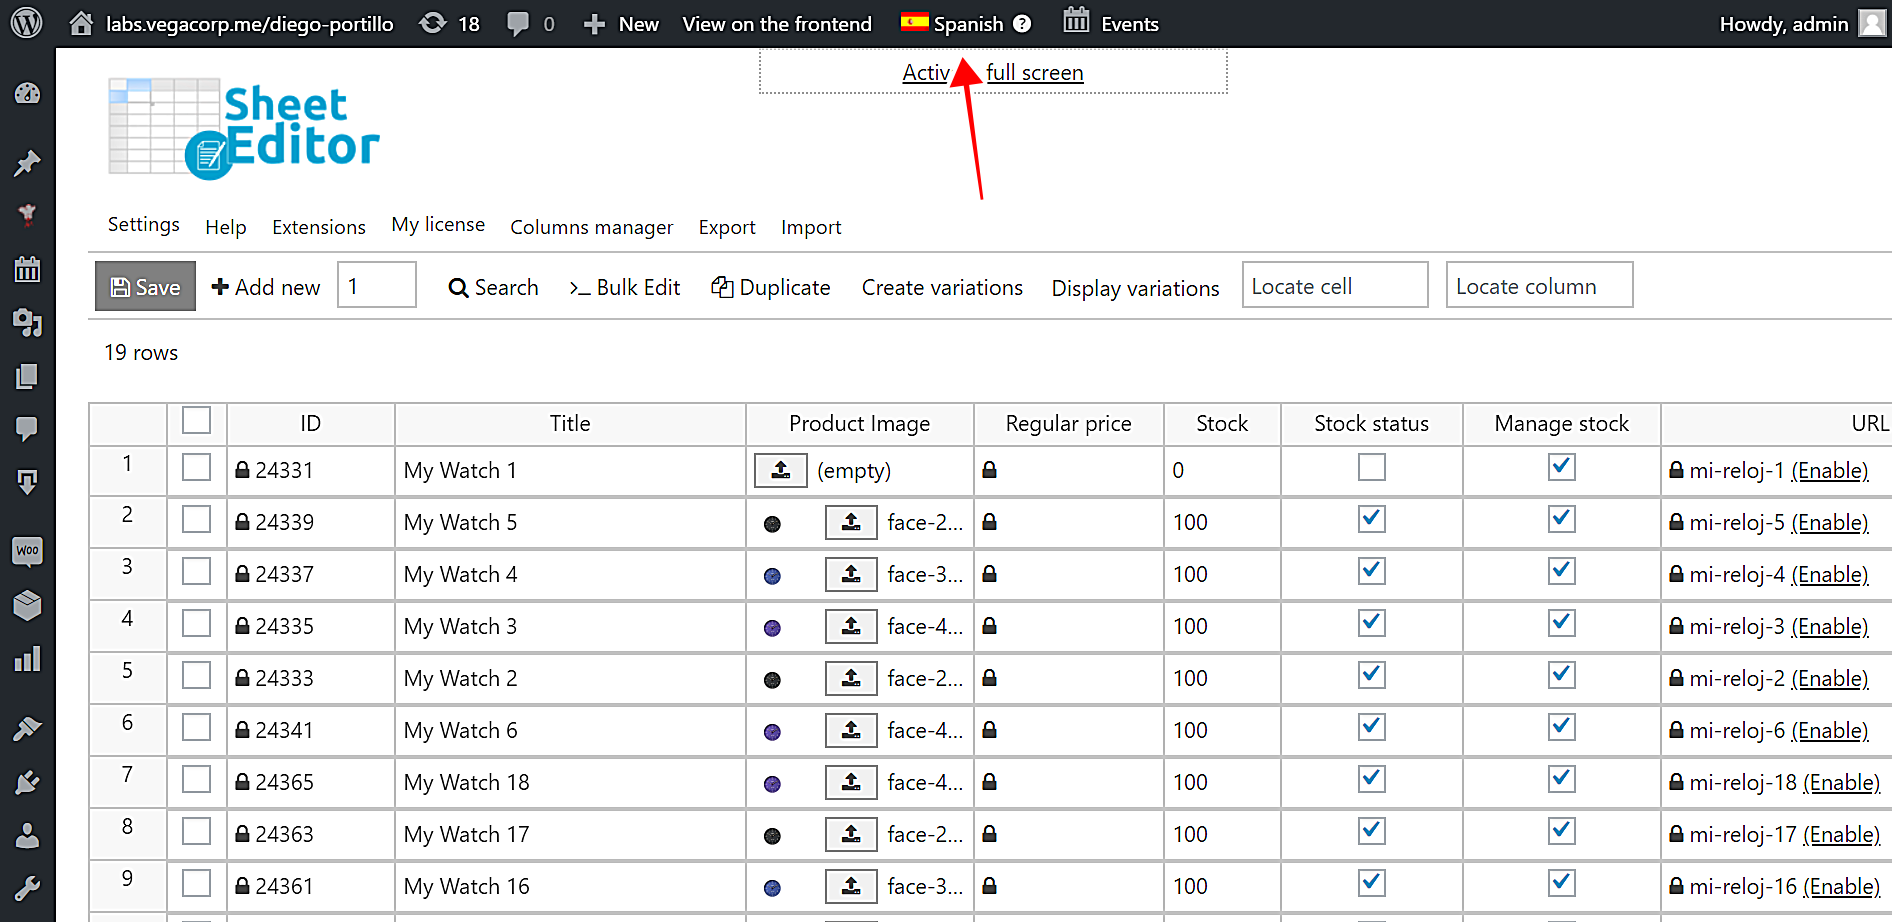
Now you need to change the WPML language into the language that you want to translate. For example, if you want to export all the Spanish translations, you need to select Spanish in WPML.
Step 3. Export the product translations to a CSV file
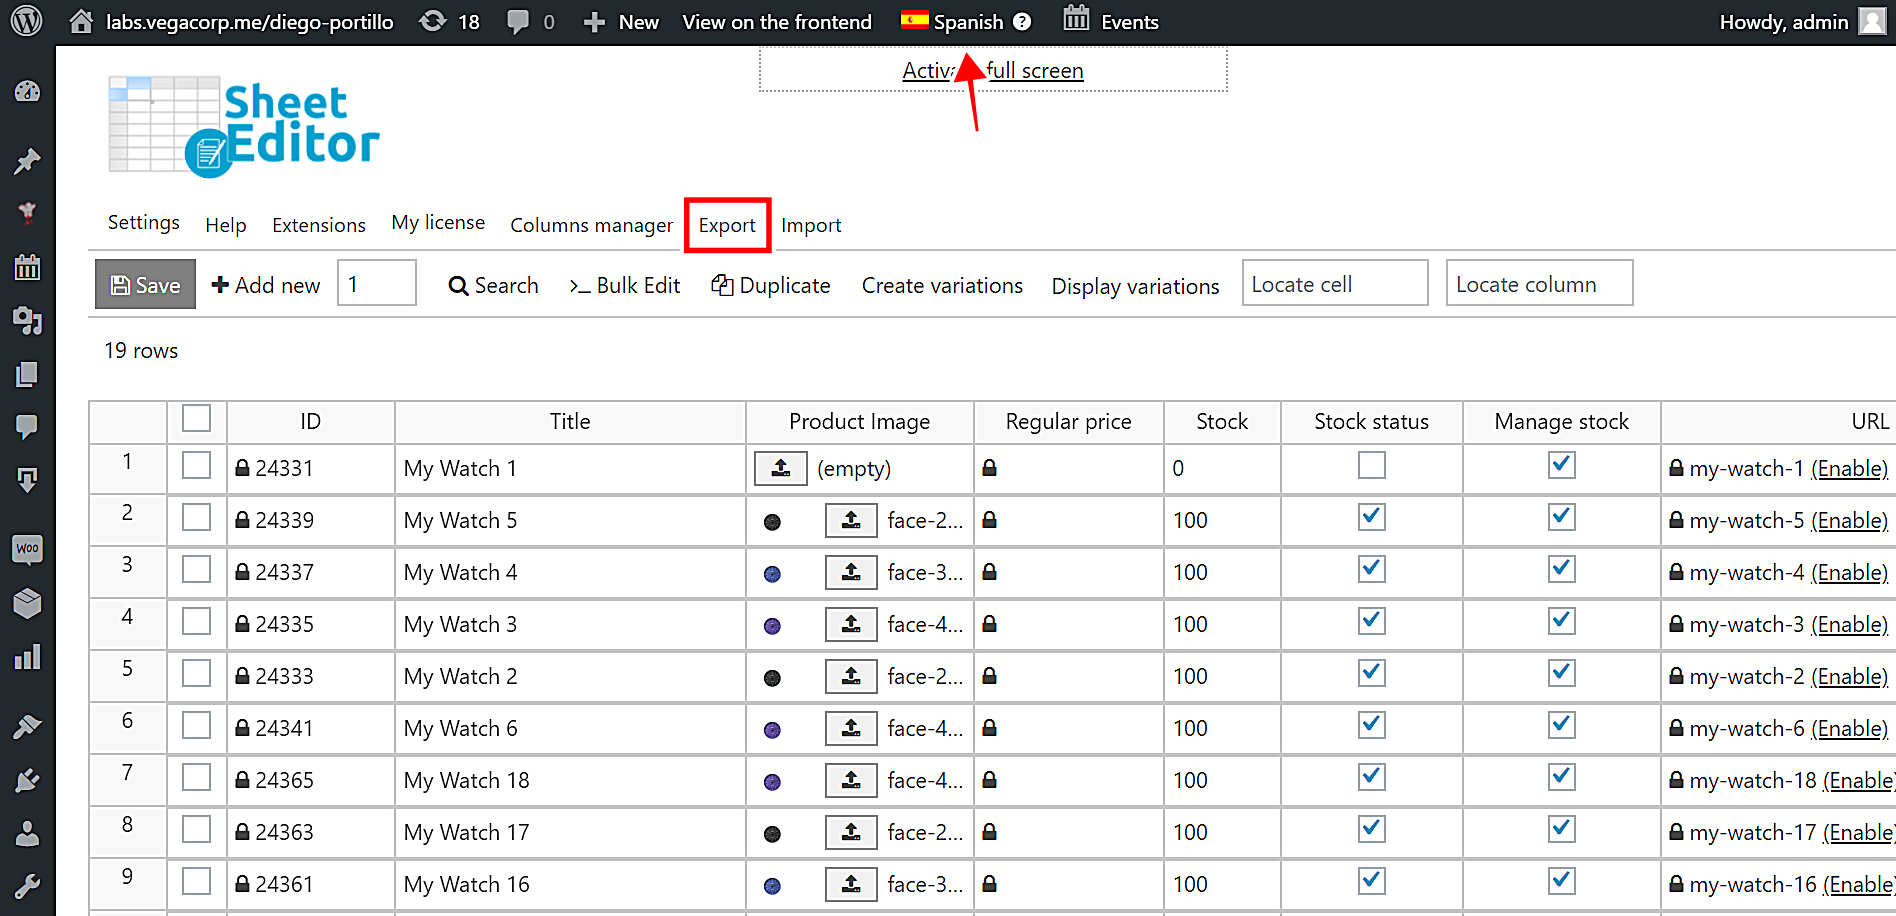
Once you select the language of the translations you’ll export, you need to open the Export tool with one click on the top toolbar.
After that, select these values to configure the export:

- What columns do you want to export: You can select all the columns that you want to translate. For example, ID, Name, Short Description, Description, URL Slug
- I understand it will export all the rows from my current search: Tick this checkbox.
- Name of this export (optional): You can save this for future exports.
- Click on Start New Export to download the CSV file to your computer.
This is how the CSV file containing the selected columns will look in Excel.

Step 4. Import the product translations from the CSV file
Before importing product translations, you need to translate the categories and tags because you need to make sure the products are assigned the right categories and tags.
Here’s a tutorial that will show you how to translate categories and tags.
Once your translator has edited the CSV file, and you’ve translated the categories and tags, you can import it back to WooCommerce. For that, you need to open the Import tool with one click on the top toolbar.
Remember, you must select the right language in the WPML toolbar. We are importing translations in Spanish, so we have selected Spanish in the toolbar.

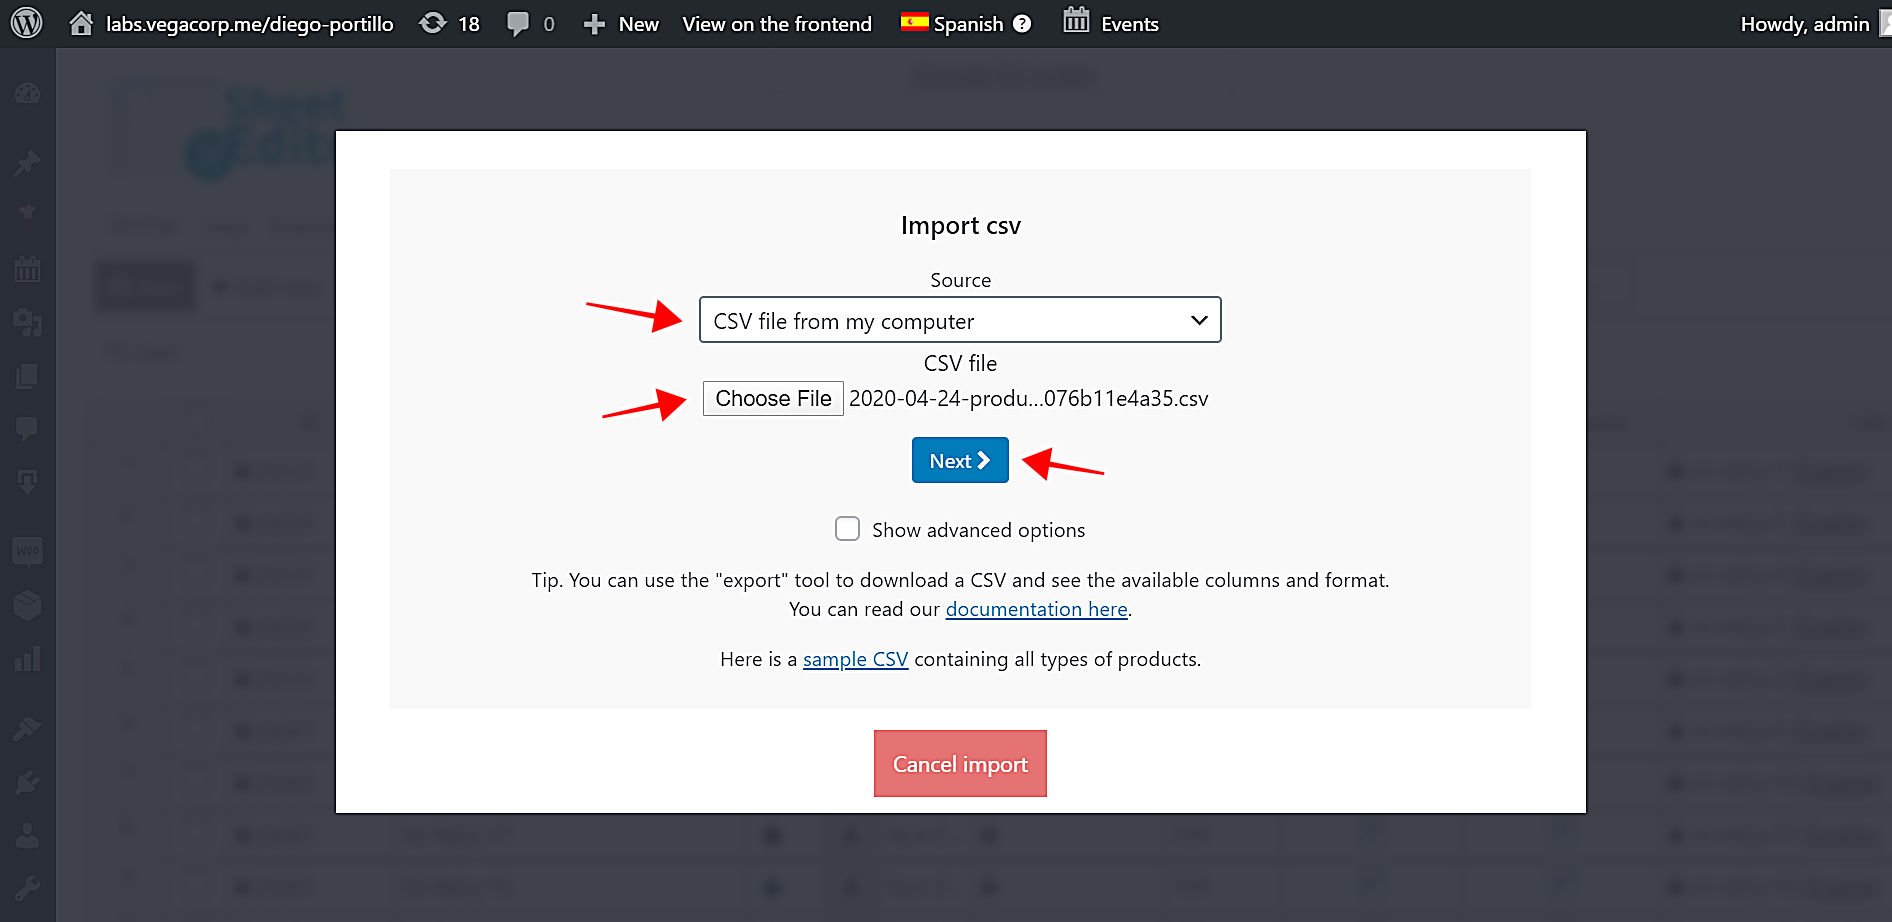
Once you open the Import tool, you need to select the CSV file you’ll import.
- Source: CSV file from my computer
- Click on Choose File and select it from your computer.
- Click on Next to go on.
After that, click on Import all the columns.

Now you need to select to update existing translations that were edited using the product ID.
- Do you want to update or create items: Update existing items, ignore new items
- CSV Field: record_id
- WordPress Field: ID
- Click on Next to continue.

Finally, you’ll see a preview of how the products will look imported, so just click on The preview is fine, start import and the translations will be imported immediately.

After the import process is finished, you’ll see your translations imported in the spreadsheet correctly.

This is how you can import thousands of translations from Excel or Google Sheets. You can save a lot of time because your translators don’t have to learn how to use WordPress. Just give them a CSV file, have them translate your products, and import the translations quickly.
You can download the plugin here: Download WooCommerce Products Spreadsheet Plugin - or - Check the features
Click here to read other tutorials on how to manage WPML translations with WP Sheet Editor.