Managing a WooCommerce store often requires sharing your product data with external systems. Whether you need to send daily inventory reports to a supplier, sync data with an ERP, or back up your catalog to a remote server, doing this manually is inefficient.
Manually downloading a CSV file and uploading it to an FTP server every day is prone to human error and takes up valuable time. If you forget to send a file, your suppliers might work with outdated stock levels, leading to fulfillment issues.
In this guide, you will learn how to automate this entire process. We will show you how to export your WooCommerce products (including prices, stock, and custom fields) directly to an external FTP server.
Using WP Sheet Editor and the Automations Add-on, you can filter your products, generate a CSV, and upload it to your server automatically on a recurring schedule… all without lifting a finger.
Important: Currently, this method works with SFTP servers, but only with password-protected SFTP servers, not with servers that require an SSH key.
Required tools to export products to FTP
To follow this guide, ensure you have the following tools installed on your WordPress site:
WP Sheet Editor – WooCommerce Products
This plugin replaces the slow default product editor with a fast, Excel-like spreadsheet. It allows you to search, filter, and bulk edit thousands of products instantly. It is also the engine that generates the export files.
You can download the plugin here:
Download WooCommerce Products Spreadsheet Plugin - or - Check the features
Automations Add-on
This extension allows you to automate WP Sheet Editor tasks. You can schedule exports, imports, bulk edits, etc. In this case, it handles the background processes, allowing you to schedule recurring exports and manage the connection to your FTP or SFTP server securely.
You can get the add-on here:
Step 1. Add FTP credentials to “wp-config.php”
To securely connect your WordPress site to an external FTP server, you must define the connection details in your wp-config.php file.
Open your wp-config.php file and add the following code block. Replace the placeholder values with your actual server details.
define('WPSE_AUTOMATIONS_FTP_SERVERS', array(
  array(
    'name'     => 'My Server', // A nickname for this connection
    'hostname' => 'ftp.example.com',
    'port'     => 22,
    'username' => 'ftp-user',
    'password' => 'ftp-password',
    'secure'   => true, // Set to true for SFTP (Recommended)
  )
));
Once you save this file, WP Sheet Editor will be able to “see” this server as a destination for your exports.
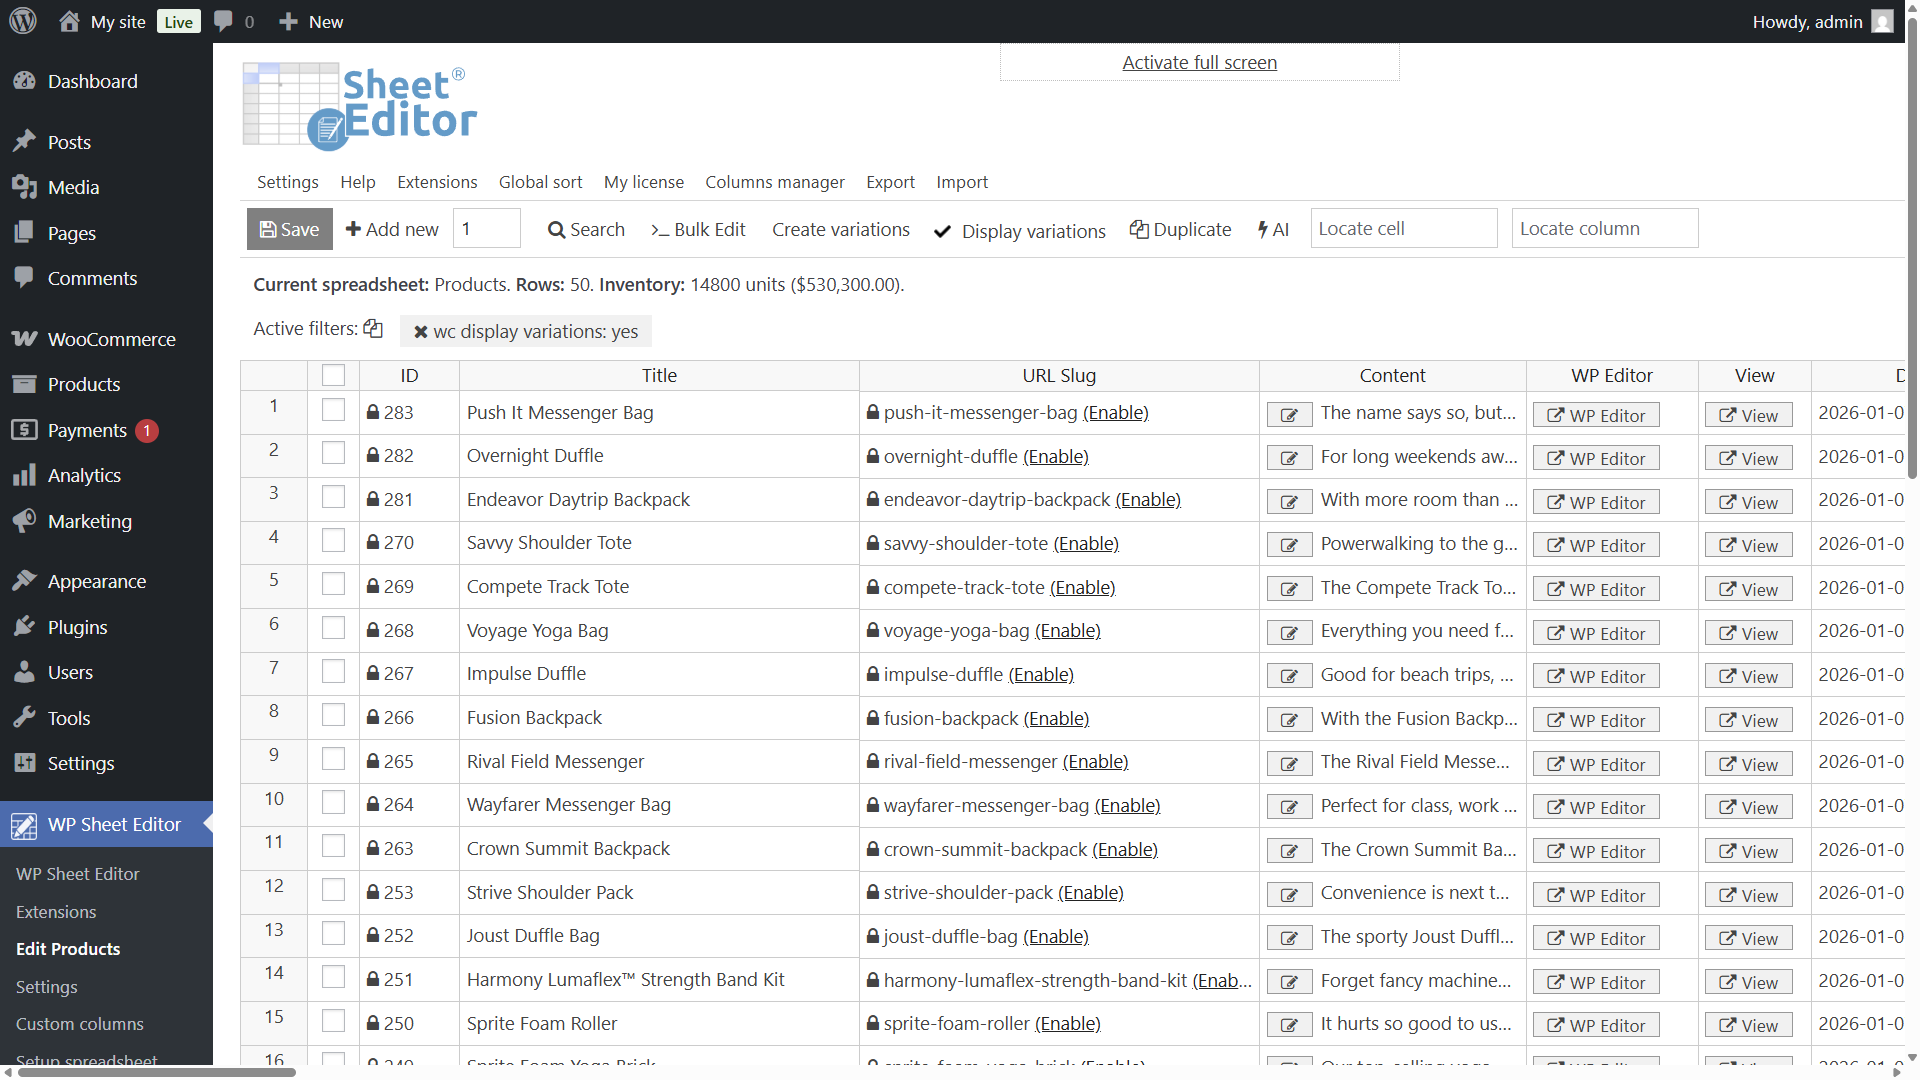
Step 2. Open the WooCommerce Products spreadsheet
Go to WP Sheet Editor > Edit Products to view your WooCommerce products displayed in the spreadsheet.
Step 3. Filter the WooCommerce products you want to export
Before exporting, you can use the Search tool to filter which products you want to include.
In this example, we will export all our products, but you can export out of stock products, products from a specific category, etc.
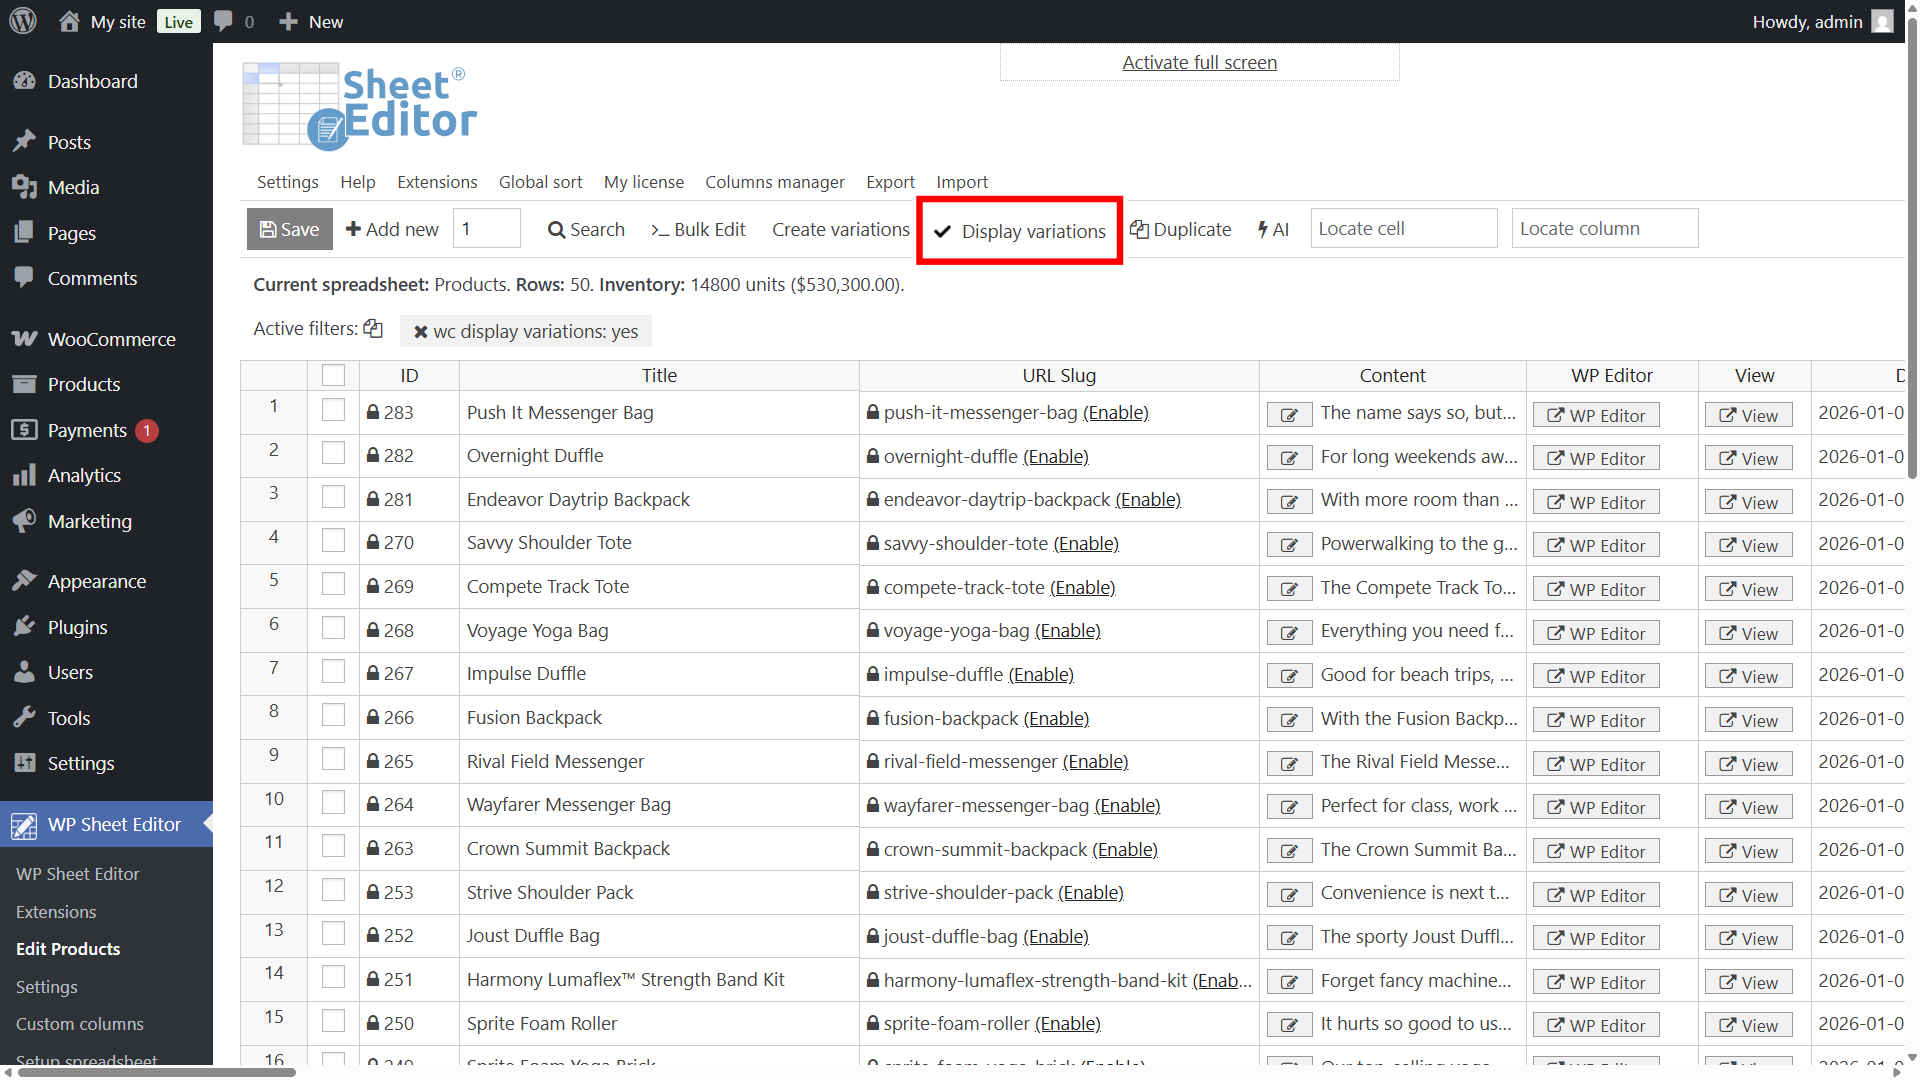
What we will do is make sure to export the products along with their variations. To do this, we must click on Display variations.
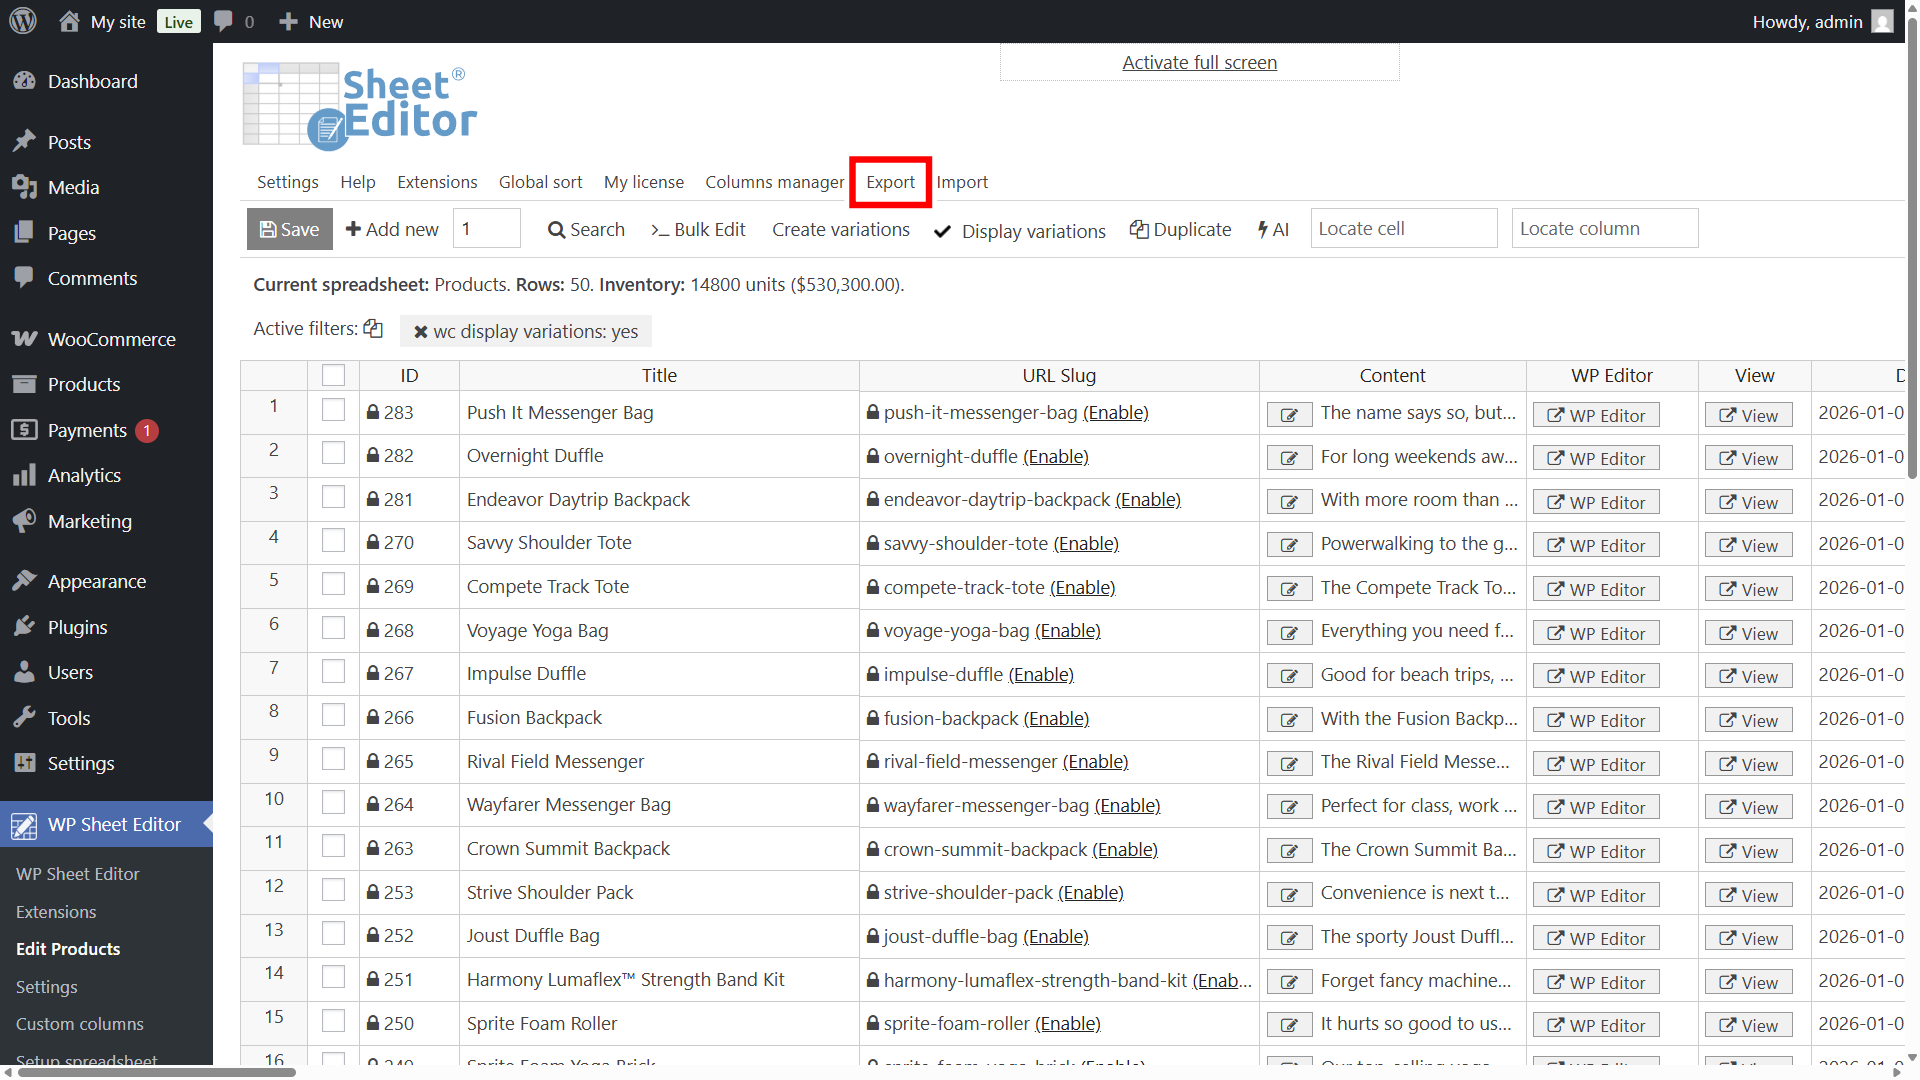
Step 4. Open the “Export” tool
Located in the top toolbar, click the Export button.
Step 5. Configure the Export columns
In the Export tool, you need to set up the export settings:
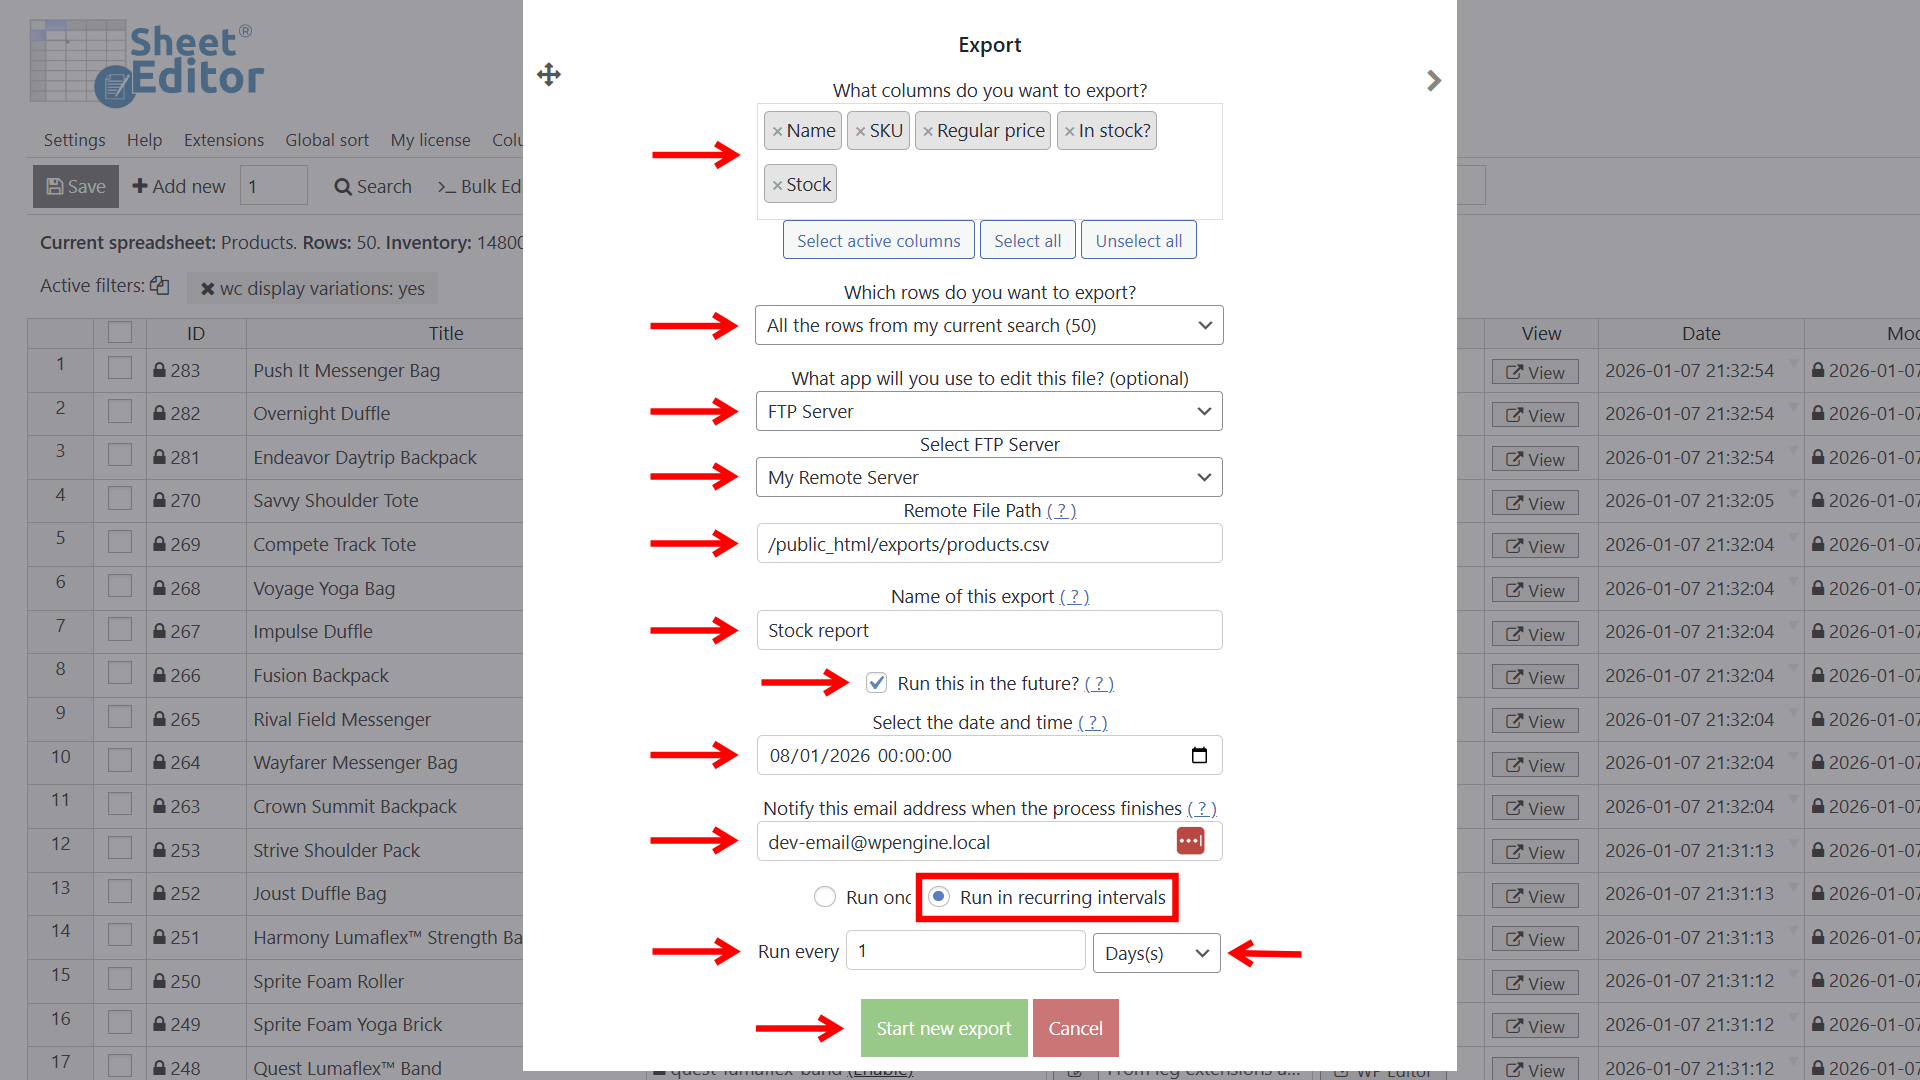
- What columns do you want to export: You can select all columns or specific columns only (example: Name, Price, SKU, Stock status, Stock).
- Which rows do you want to export: You can export:
- All the rows
- All the rows from a specific search
- Manually selected rows only
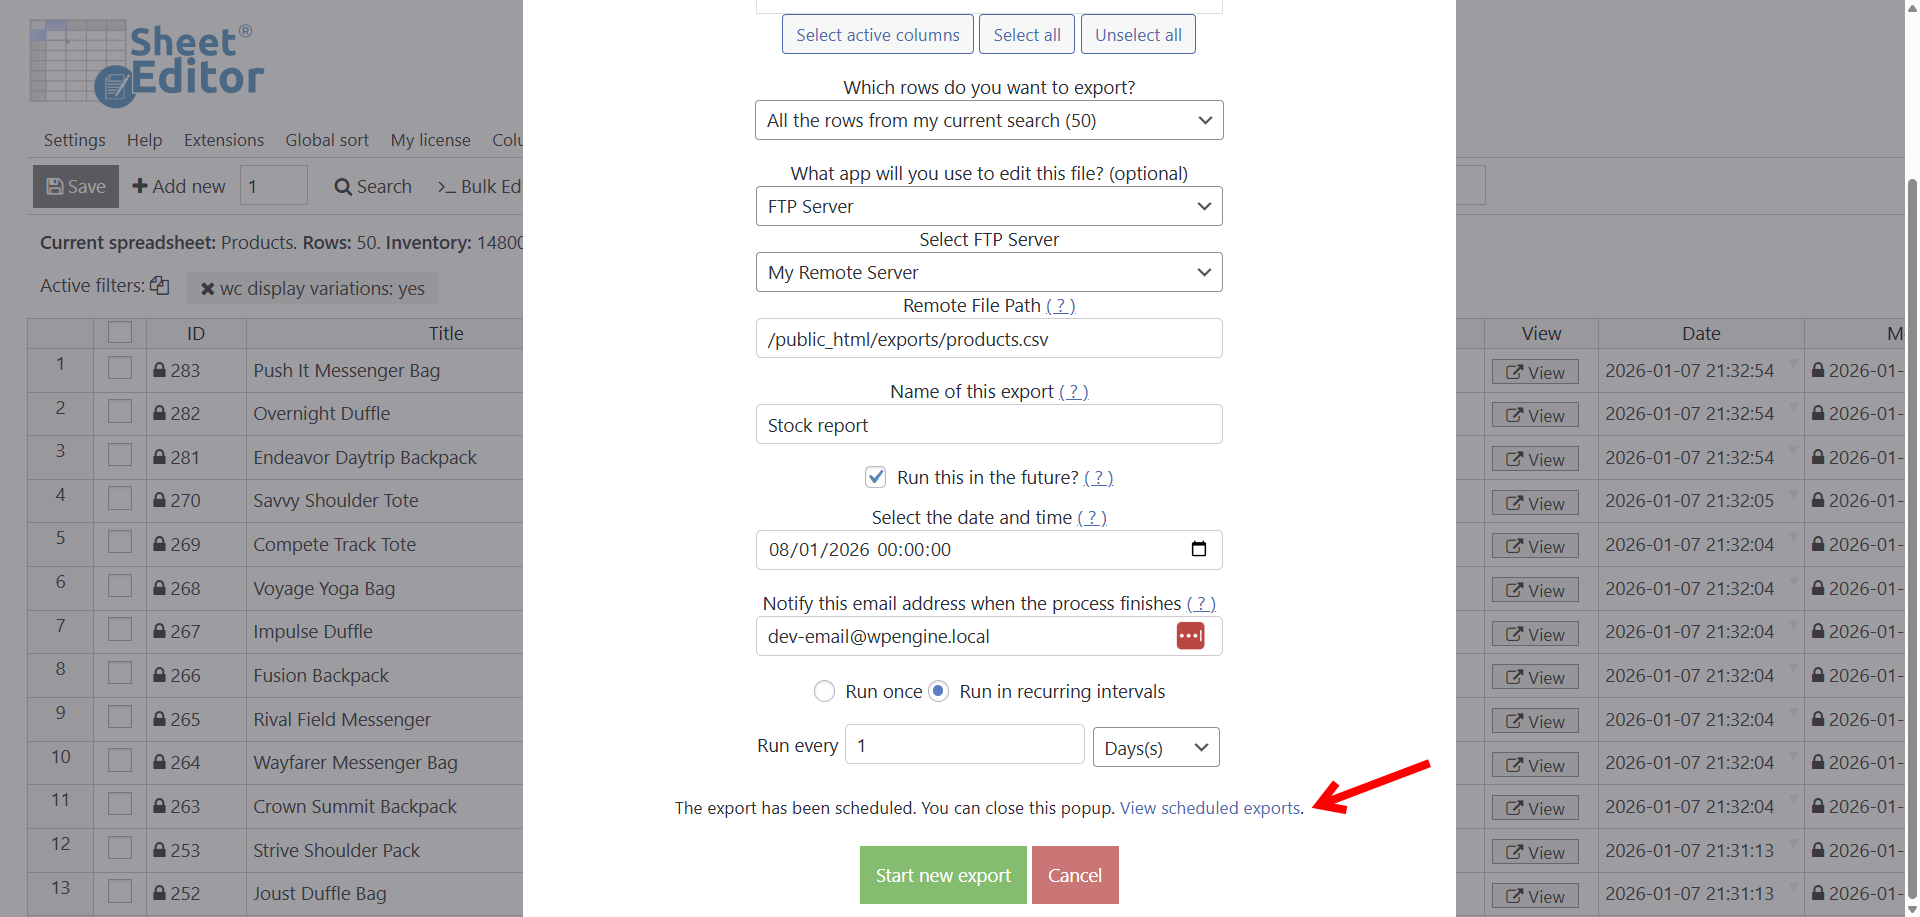
- What app will you use to edit this file: FTP Server
- Select FTP Server: Select the FTP server you have configured.
- Remote File Path: Add a path where the CSV should be stored when the export is complete.
- Name of this export: You can add a name for this export in this field.
Now, you can click on Start new export if you want to immediately export your products’ data.
But if you want to schedule this to run automatically once or in recurring intervals, you need to:
- Tick the Run this in the future checkbox.
- Select the date and time when you want this FTP export to run (once) / start running (in recurring intervals).
- Add an email address in Notify this email address when the process finishes.
- Select if you want this export to Run once or Run in recurring intervals.
- In this example, we will run it in recurring intervals. We want the export to run at midnight every day.
- Click on Start new export to schedule the FTP export of WooCommerce products.
Once you schedule the export, you’ll see a “View scheduled exports” link.
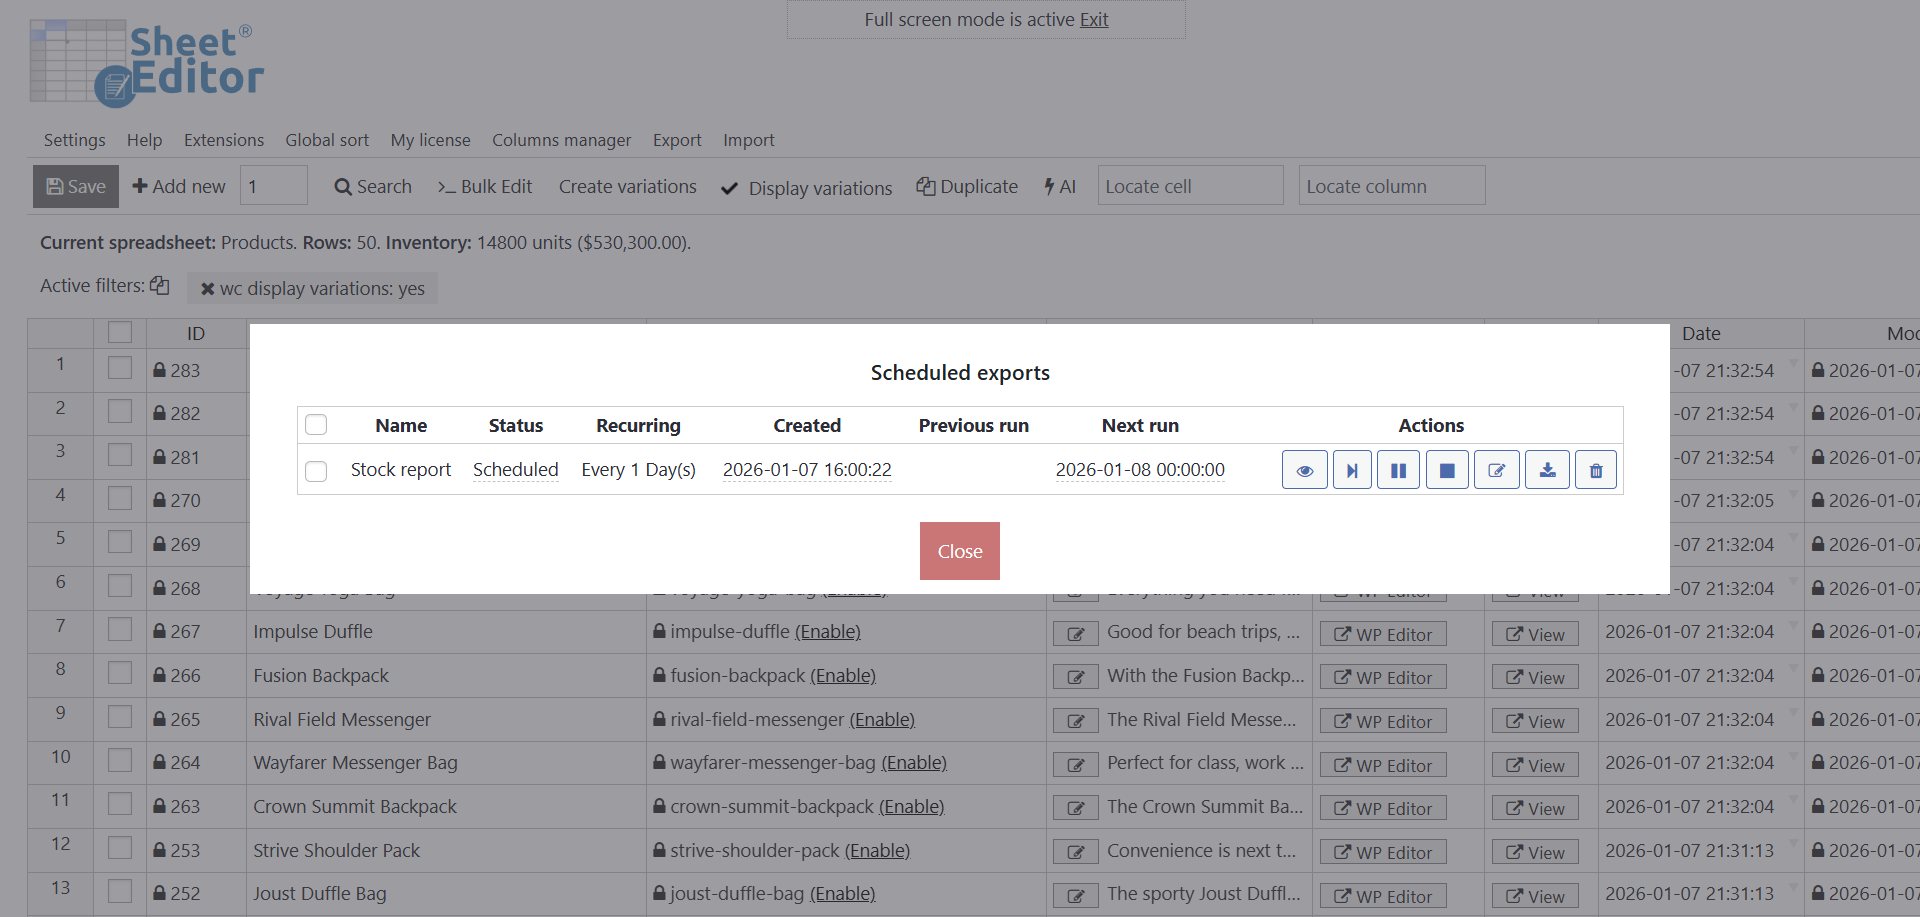
If you click the “View scheduled exports” link, you’ll see the new automatic FTP export scheduled.
You can view, edit, or pause this task at any time.
Managing your scheduled exports
You have now set up a recurring job. WP Sheet Editor will automatically:
- Generate the CSV file with your latest product data.
- Connect to your FTP server.
- Upload the file to the specified folder.
Exporting WooCommerce products to an FTP server doesn’t have to be a manual chore. By using WP Sheet Editor and the Automations Add-on, you ensure that your suppliers, partners, or external systems always have access to accurate, up-to-date product information.
This workflow saves you hours of work and professionalizes your data management process.
Does this work with SFTP?
Yes. But only with password-protected SFTP servers, not with servers that require an SSH key.
You can download the plugin here:
Download WooCommerce Products Spreadsheet Plugin - or - Check the features