Managing a growing e-learning platform requires constant organization. As your catalog of Tutor LMS courses expands, simple tasks like auditing course titles, updating difficulty levels, adjusting price types, or reviewing maximum student limits can become overwhelming if you have to click through the default WordPress interface one by one.
Do you need to share a list of your courses with a marketing team that doesn’t have WordPress admin access? Or perhaps you need to perform a bulk audit of your course materials to ensure consistency across your academy? Doing this manually involves opening dozens of tabs and copy-pasting data, which is incredibly time-consuming and prone to errors.
In this tutorial, we will show you how to export Tutor LMS courses to Google Sheets in a few simple steps. By connecting your WordPress site directly to Google Sheets, you can create instant reports, backups, and editable spreadsheets without dealing with complex and messy CSV files.
Related tutorial: How to Import Tutor LMS Courses from Google Sheets
Why export Tutor LMS courses to Google Sheets?
Exporting your course data to a Google Sheet offers several strategic advantages:
- Bulk auditing: View all your course settings (Difficulty, Public Course status, Q&A availability) in a single grid to quickly spot inconsistencies.
- Team collaboration: Share your course list with copywriters, marketers, or co-instructors so they can review titles and descriptions without logging into WordPress.
- Advanced filtering: Use Google Sheets’ native tools to filter courses by specific categories, tags, or authors easily.
- Data backup: Keep a secure, formatted snapshot of your entire course catalog outside of your server.
What you need to export courses to Google Sheets
To bypass the default WordPress post list and export your data cleanly, we will use these WP Sheet Editor tools:
WP Sheet Editor – Courses
This plugin generates intuitive spreadsheets where you can view and manage your Tutor LMS content inside your WordPress dashboard (one for courses, one for lessons, one for topics, and one for quizzes) where you can view and edit all your custom post types, including Tutor LMS Courses, Lessons, and Topics.
You can purchase the plugin here:
Get the WP Sheet Editor Courses plugin - or - Check the features
Google Sheets Sync: This service connects your WordPress site directly to your Google workspace, allowing you to bypass manual file downloads and push data straight to the cloud.
You can sign up to the service here:
Sign up to the Google Sheets Sync Service - or - Check the features
Important: Just as you can export courses, you can also export lessons, topics, and quizzes. Simply follow the same steps in the corresponding WP Sheet Editor spreadsheet.
Step 1. Connect WordPress to Google Sheets
When you subscribe to the Google Sheets Sync service, you will receive a helper plugin that securely connects your WordPress site with your Google account.
Follow our installation guide to complete the setup and authorize the Google API connection.
Step 2. Open the Tutor LMS Courses Spreadsheet
Once the plugins are installed and configured, you need to open the spreadsheet that controls your courses.
Go to WP Sheet Editor > Edit courses. You’ll see all your Tutor LMS courses displayed in the spreadsheet.
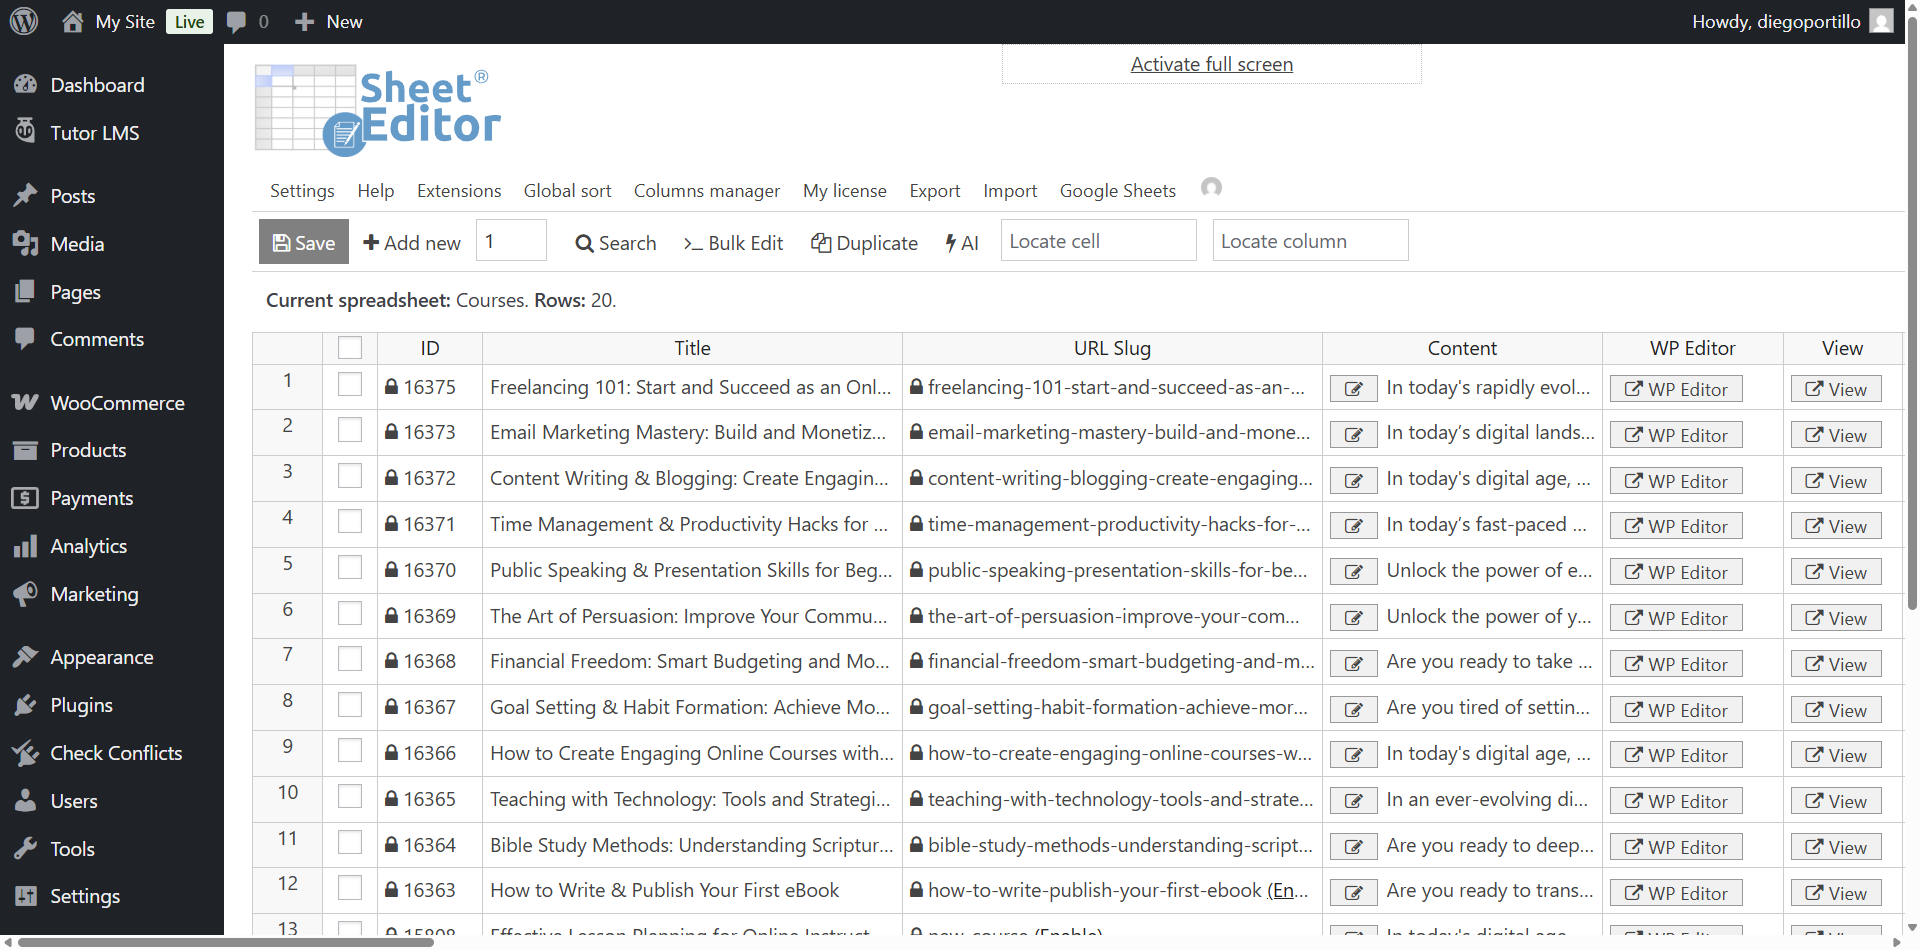
You will now see all your Tutor LMS courses displayed in a grid, with columns for Title, Content, Author, Course Difficulty, Maximum Students, and more.
Step 3. Export Tutor LMS Courses to Google Sheets
Now, let’s send this data directly to your Google account.
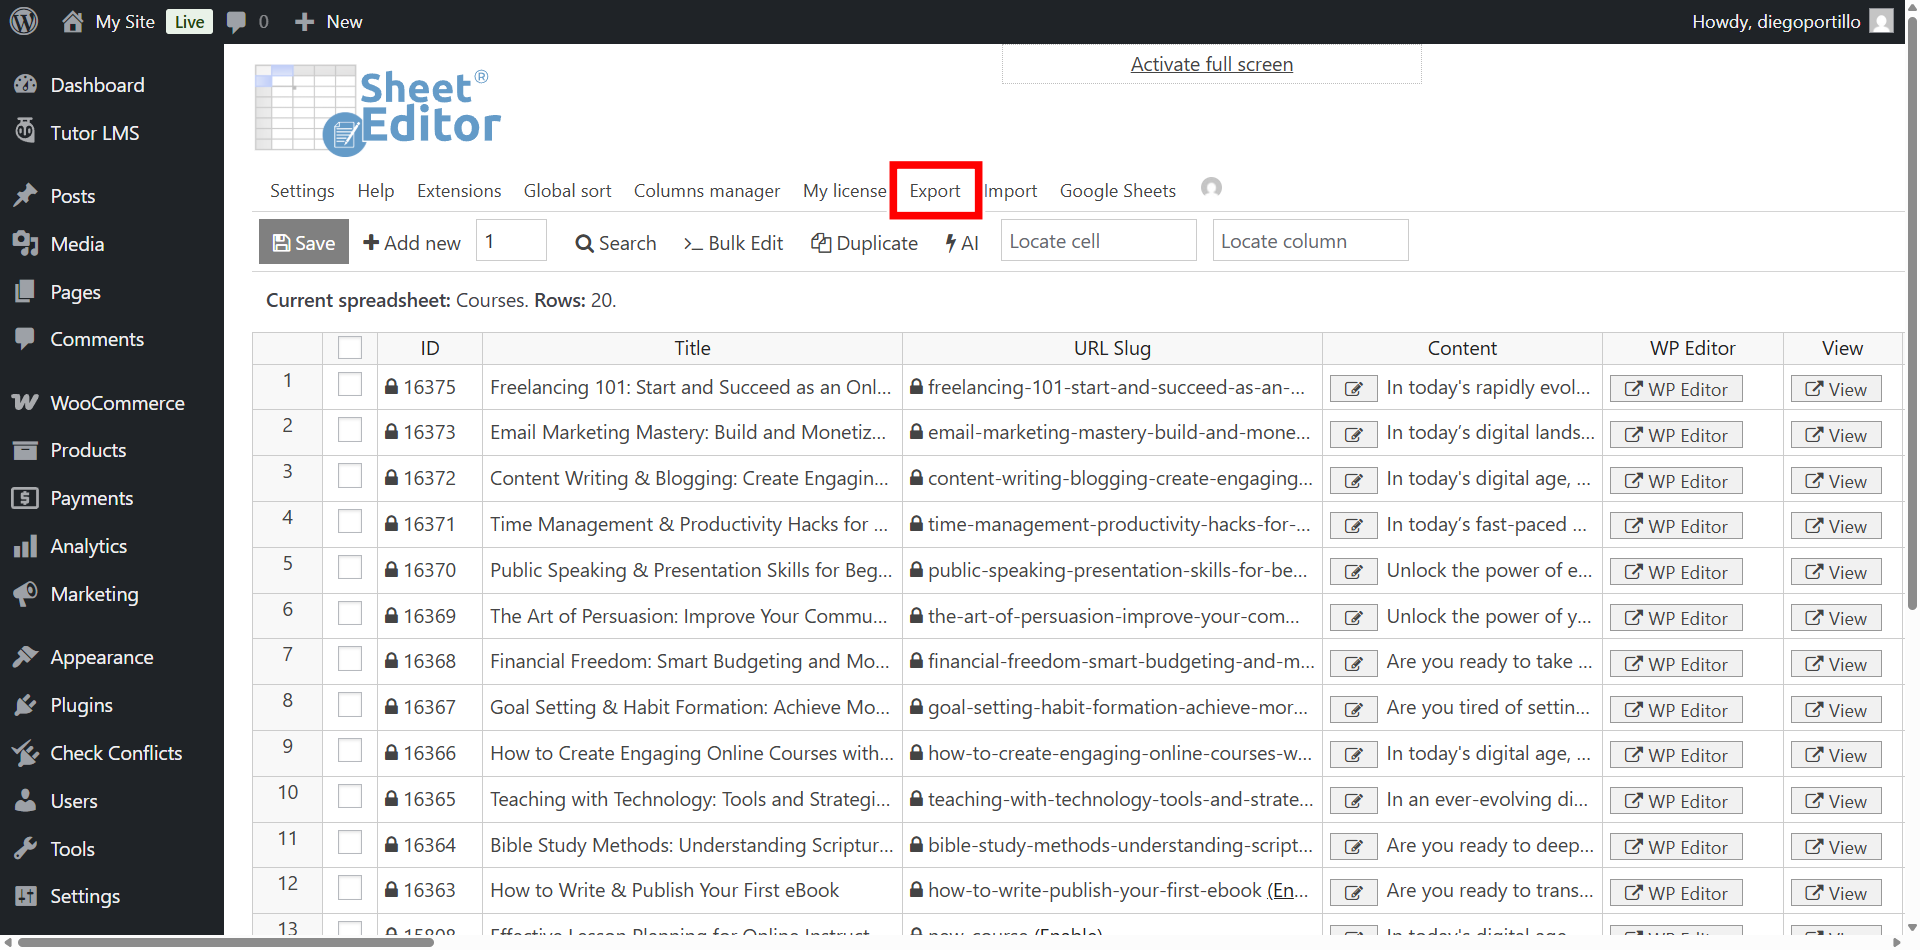
Click on the Export tool on the top toolbar of the spreadsheet.
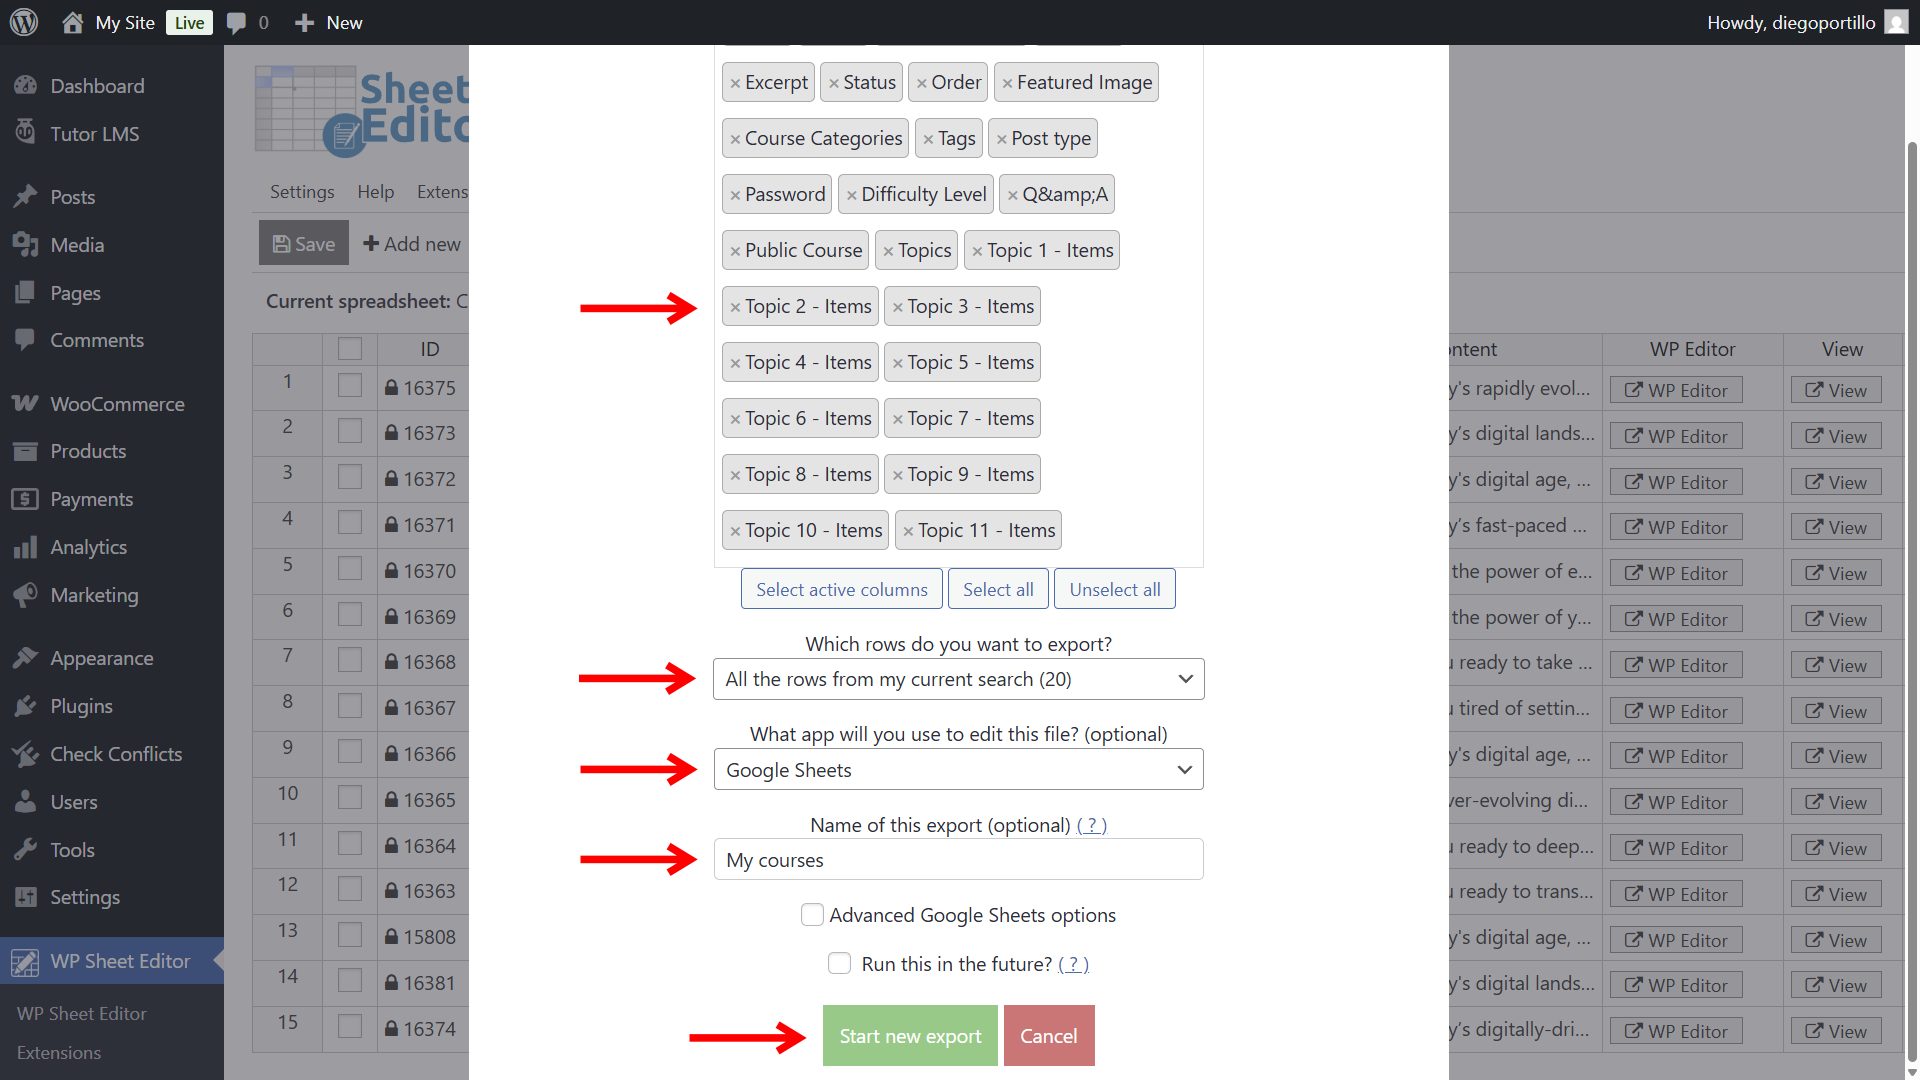
Select the following settings in the export popup:
- What columns do you want to export: You can select all columns, all columns, or manually choose the specific fields you need (e.g., Name, Status, Course duration, Total Enrolled, Difficulty Level).
- Which rows do you want to export: Select “All rows from my current search” to export the entire catalog. (If you only want to export courses from a specific category, you can run a search first using the plugin’s Search tool).
- What app will you use to edit this file: Select Google Sheets.
- Name of this export: Type a recognizable name for your Google Sheet (e.g., “My TutorLMS courses”).
- Click on Start new export.
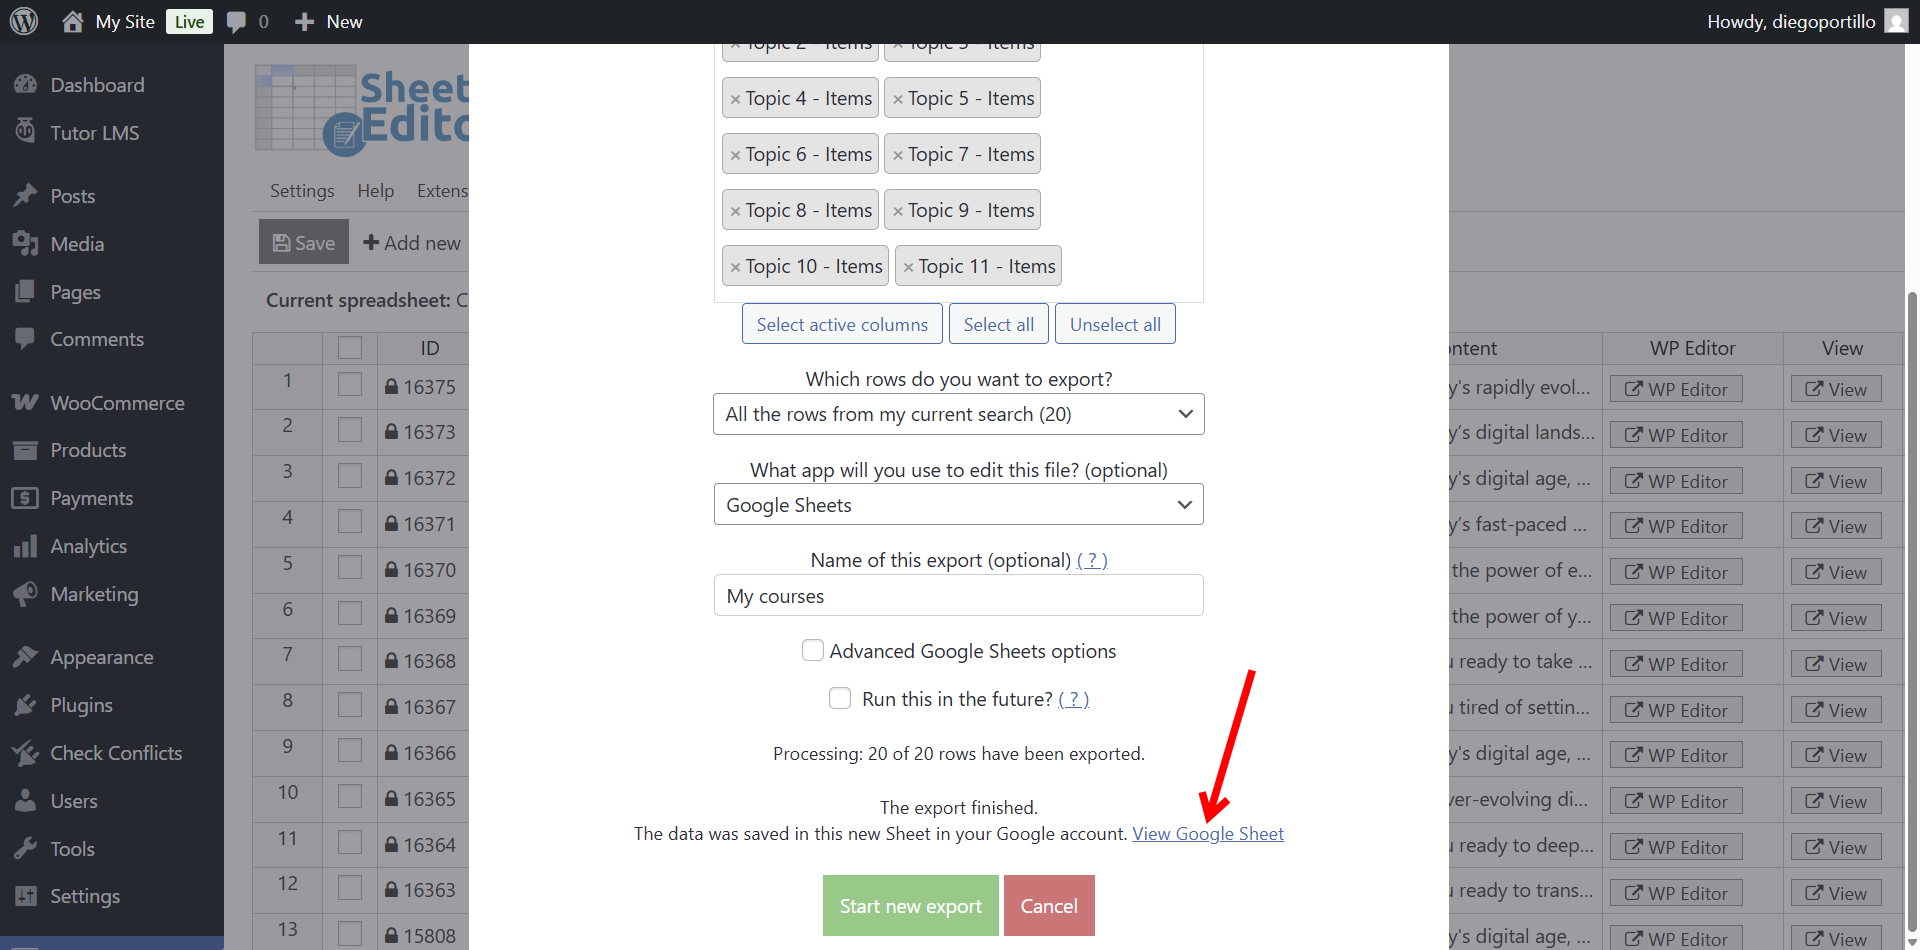
Once the export process is complete, you can open the new generated Google Sheet by clicking on View Google Sheet.
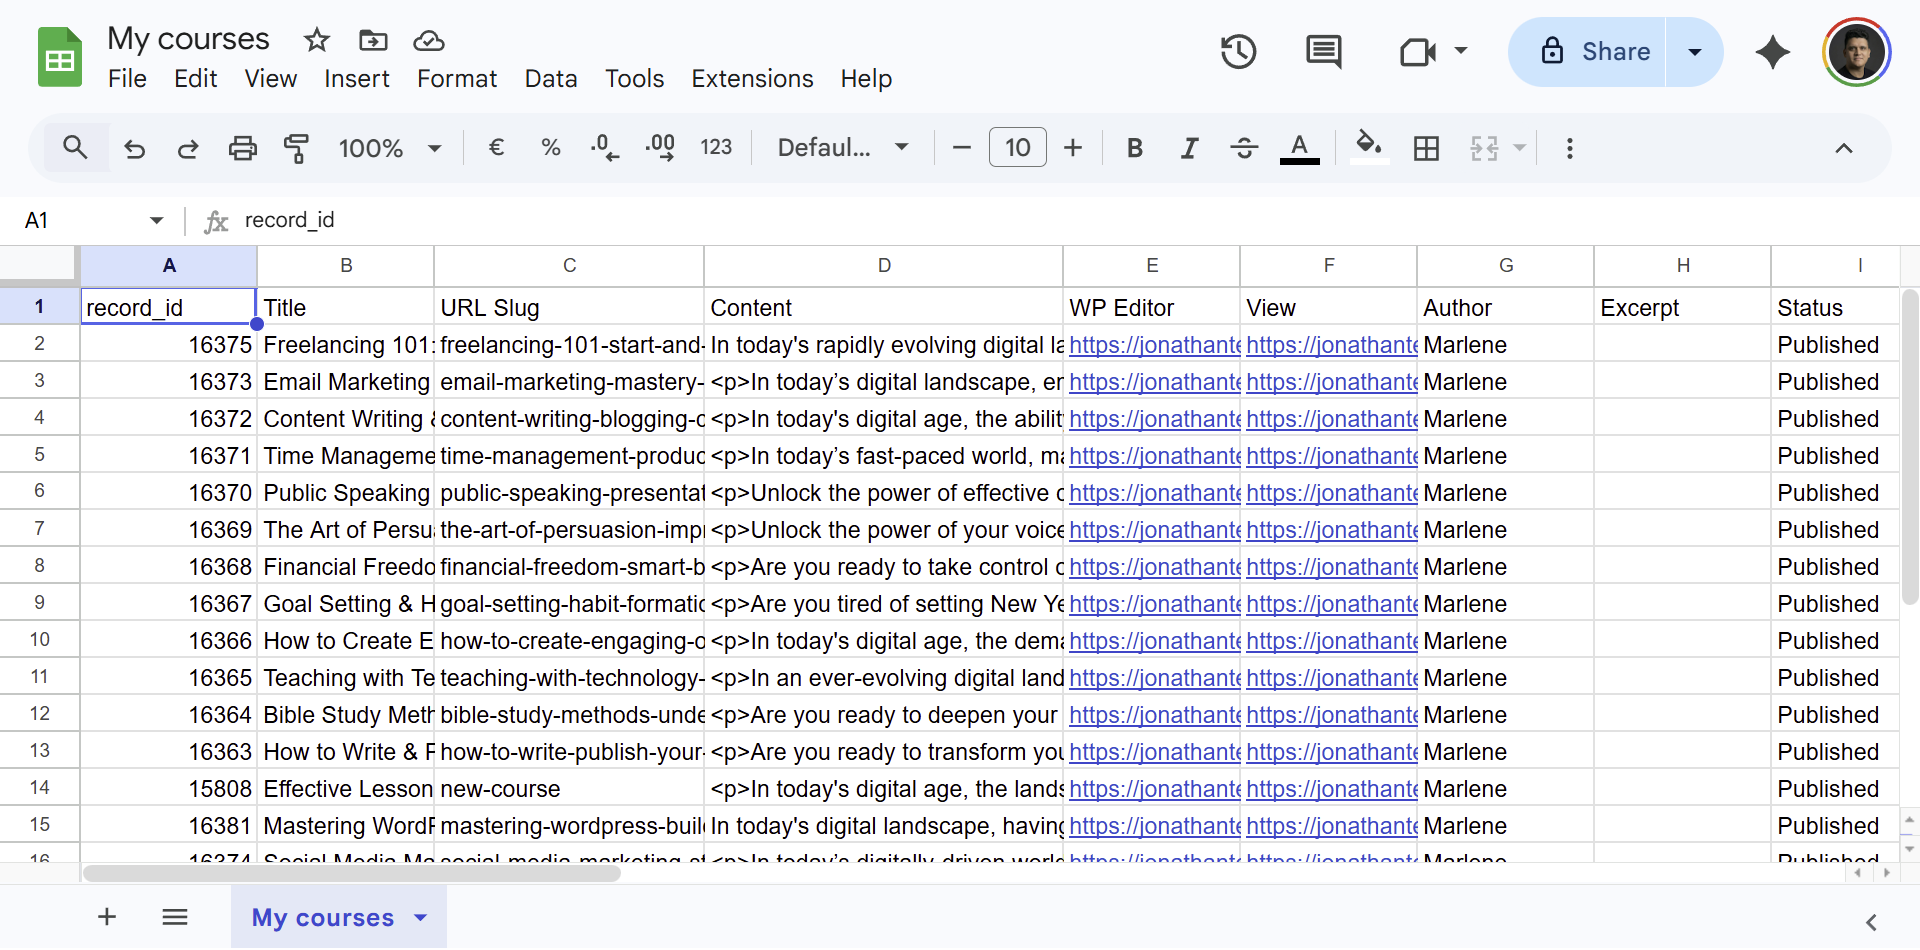
Step 4. Manage your courses in Google Sheets
You will see all your Tutor LMS course data perfectly organized into rows and columns. From here, you can share the document with your instructors, run content audits, or use spreadsheet formulas to calculate data, completely independent of your WordPress dashboard.
Take control of your Tutor LMS data
Exporting your course catalog doesn’t have to be a frustrating process involving broken CSV files. By integrating your e-learning site with Google Sheets, you can instantly generate reports, collaborate with your team, and manage your educational content with complete efficiency. Using WP Sheet Editor and the Google Sheets Sync service eliminates manual data wrangling, making large-scale academy management simple.
Related tutorial: How to Import Tutor LMS Courses from Google Sheets