Managing attributes efficiently is one of the biggest challenges for growing e-commerce stores. WooCommerce allows you to create two types of attributes: global attributes and custom attributes.
Global attributes are taxonomies that you create once (via Products > Attributes) and can apply to any product across your entire store (e.g., standard Sizes or Colors). Because they are global, WooCommerce provides native ways to filter and manage them.
Custom attributes, however, are unique data points created directly inside an individual product’s edit screen. For example, you might create a custom attribute to specify the “Material” of a specific backpack, or the “Country of Origin” for a boutique item. Because these attributes are unique to the product and not registered globally, managing them is a nightmare.
The problem arises when you need to update custom attributes across hundreds of products. Whether you want to fix a typo, add a new value, or completely delete a custom attribute, WooCommerce forces you to open and edit every single product page one by one. There is no native bulk editing tool for custom attributes.
That is why we have prepared this detailed guide. We will show you exactly how to bulk edit custom attributes on thousands of WooCommerce products in seconds using an intuitive spreadsheet interface.
Video Guide
Text Guide: How to Edit Custom Attributes in Bulk
To safely modify our database without spending hours on manual data entry, we will use a specialized bulk editing tool. Follow these steps:
1. Install the WP Sheet Editor Plugin
The WP Sheet Editor – WooCommerce Products plugin transforms your store’s backend. It allows you to view and edit all your products using a lightning-fast spreadsheet inside WordPress. With this tool, you can:
- Search for products by keyword, category, global attribute, tag, or price.
- Bulk edit any field—including hidden custom attributes—across thousands of search results instantly.
- Export products to a CSV file to edit custom attributes in Excel or Google Sheets.
- Import new products and seamlessly update existing custom attribute data via CSV.
You can skip this step if you already have the WP Sheet Editor plugin installed and activated.
You can download the plugin here:
Download WooCommerce Products Spreadsheet Plugin - or - Check the features
2. Open the WooCommerce Products Spreadsheet
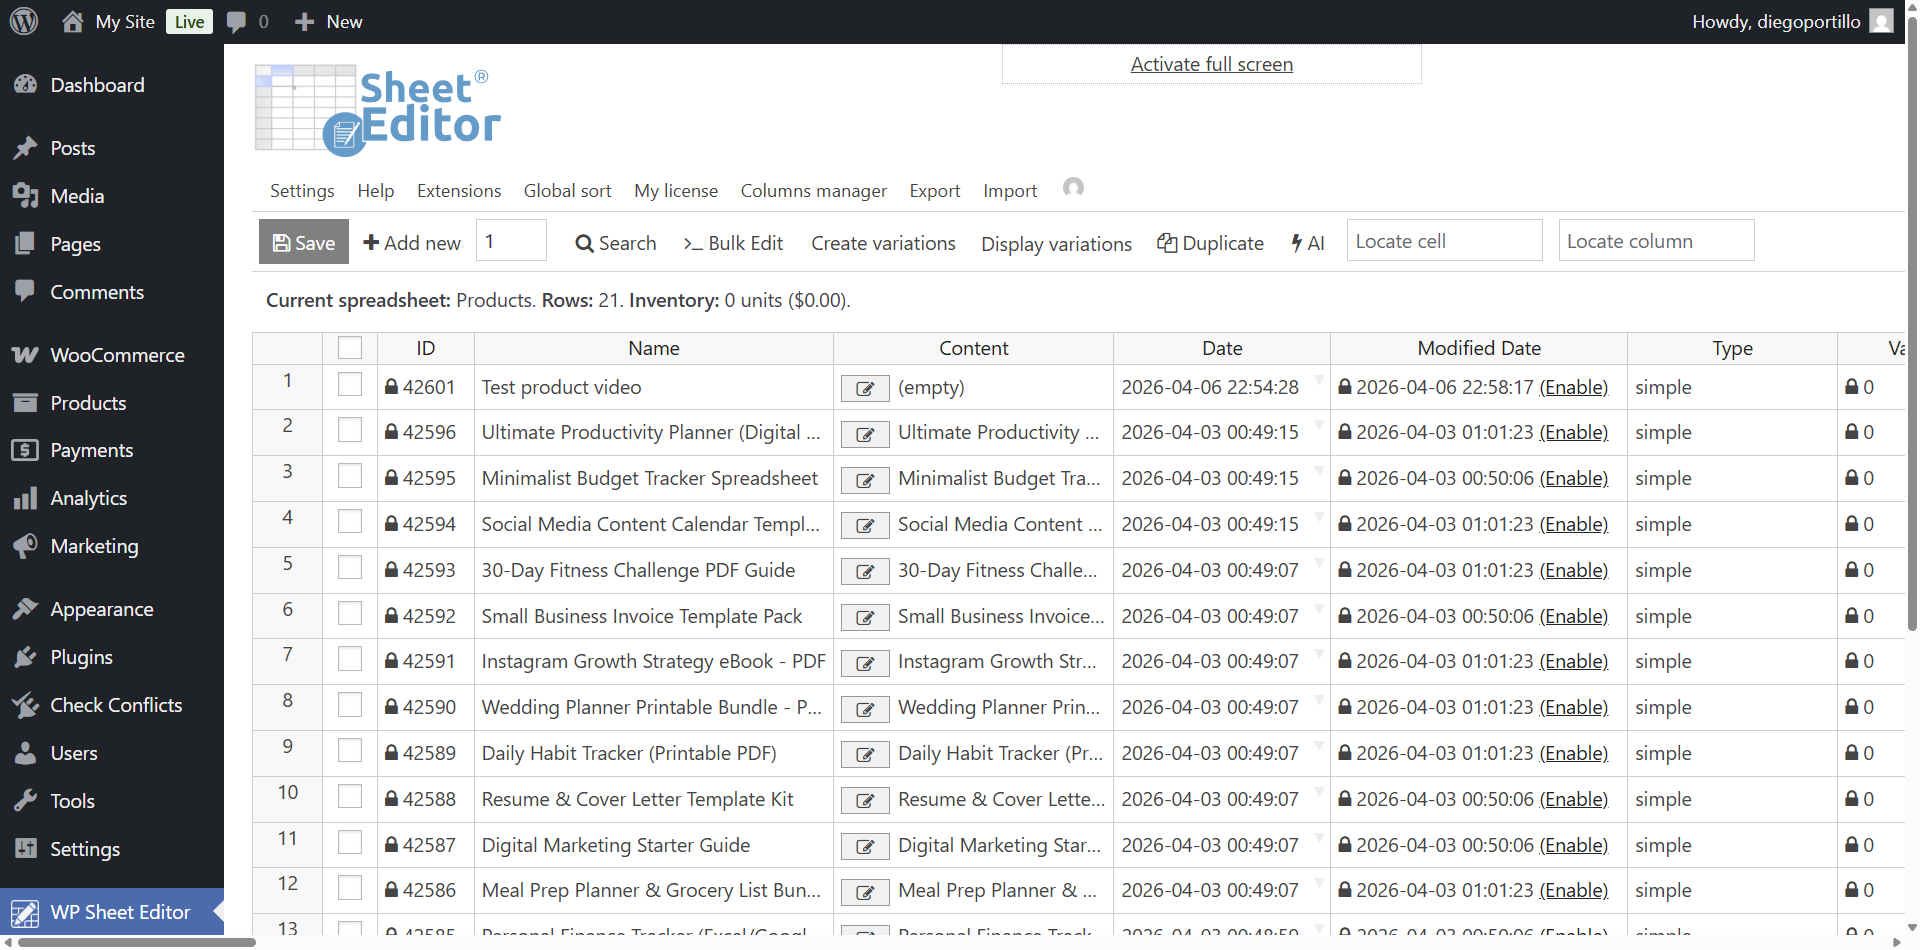
Once installed and activated, open the bulk editing interface by navigating to WP Sheet Editor > Edit Products.
You will see all your products displayed in the spreadsheet as rows, with their complete data (price, stock, categories) organized into columns.
If you scroll to the right, you will see your custom attribute fields dynamically displayed as their own columns in the spreadsheet.
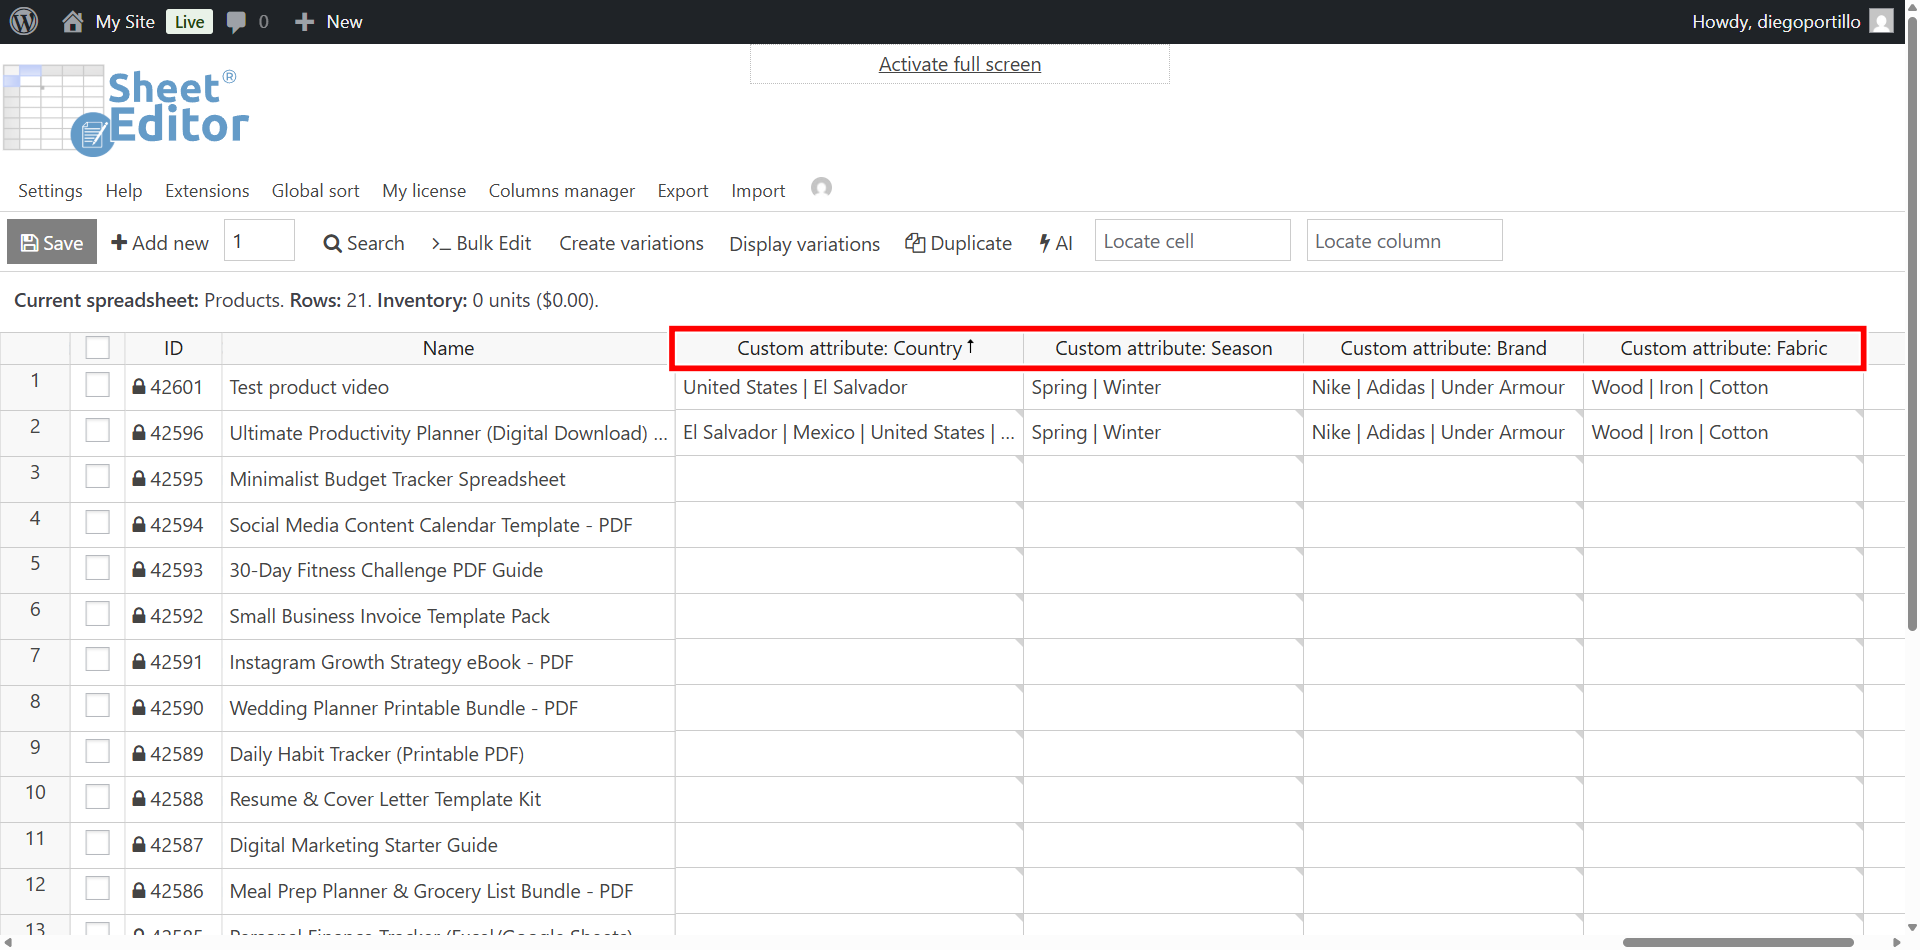
As you can see in the screenshot above, we have four custom attribute columns generated for our specific products:
- Custom attribute: Brand
- Custom attribute: Fabric
- Custom attribute: Column
- Custom attribute: Season
If you only need to edit a few products, you can type directly into these custom attribute cells using the spreadsheet, just as you would in Excel. However, for massive changes, we will use the Bulk Edit tool.
3. Filter and Search for the Products You Want to Edit
Before applying a mass update, you need to isolate the exact products that require the custom attribute change. You can filter your catalog using the advanced Search tool located on the top toolbar.
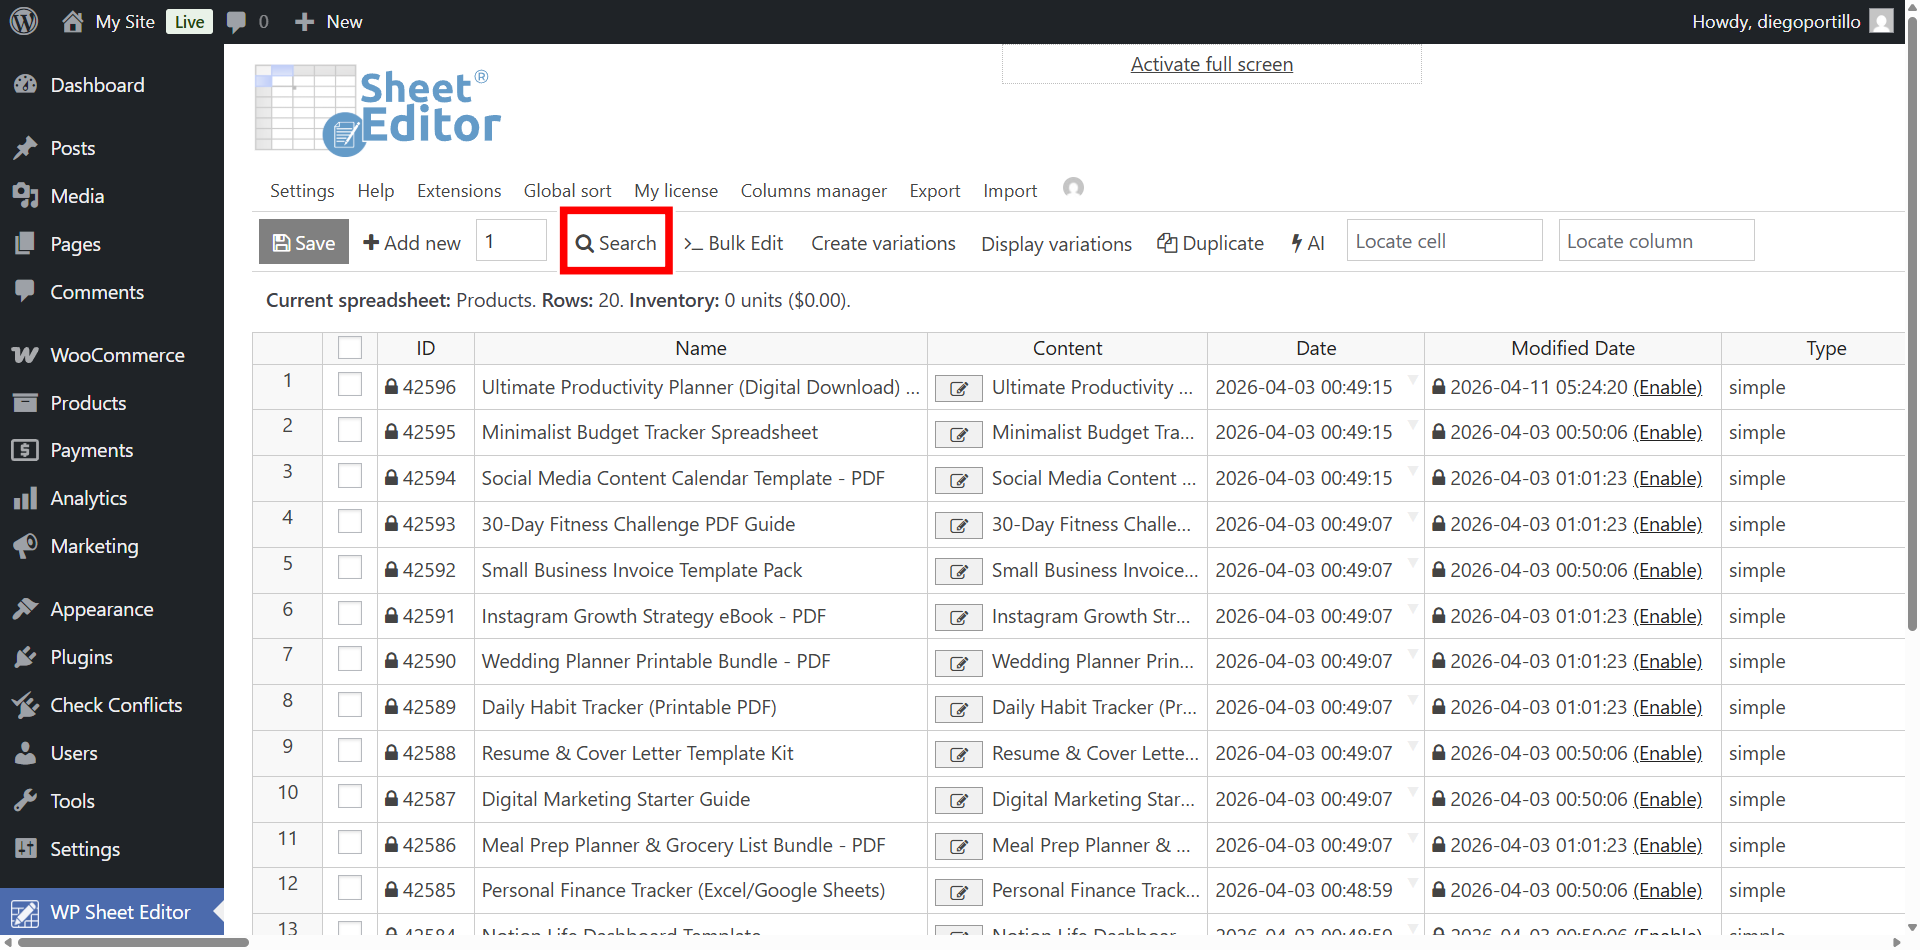
The Search tool contains powerful filters to help you drill down into your inventory:
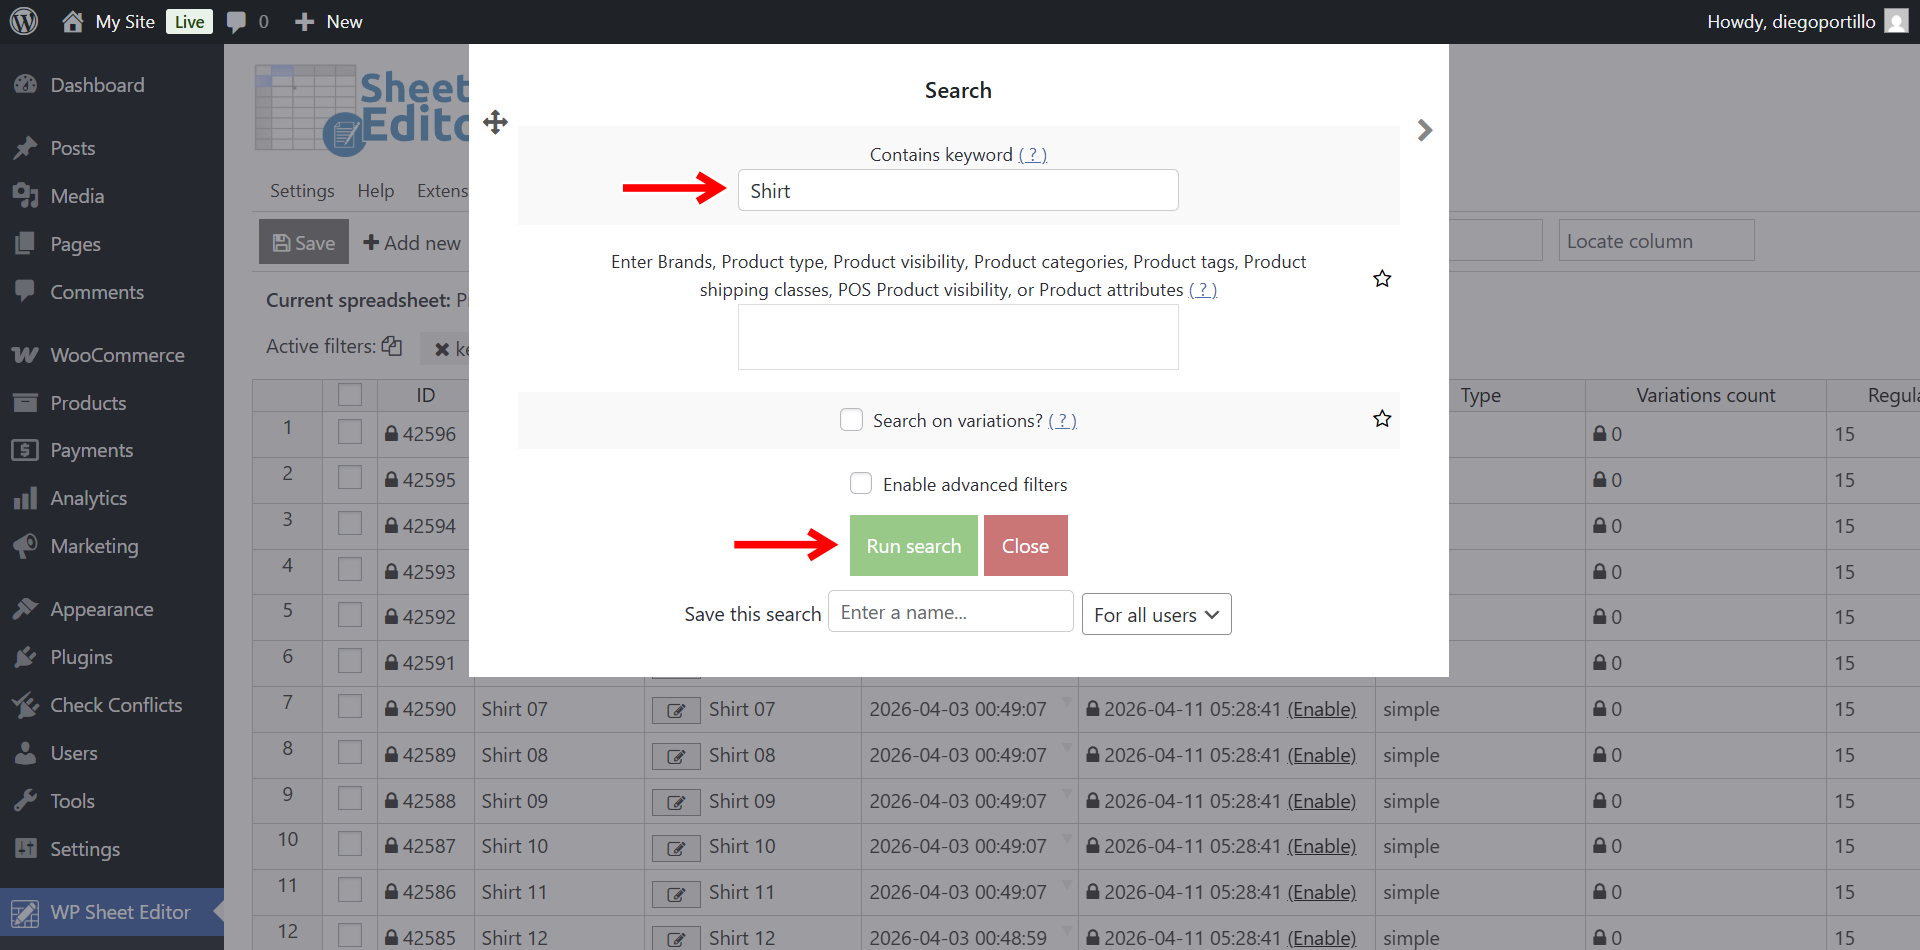
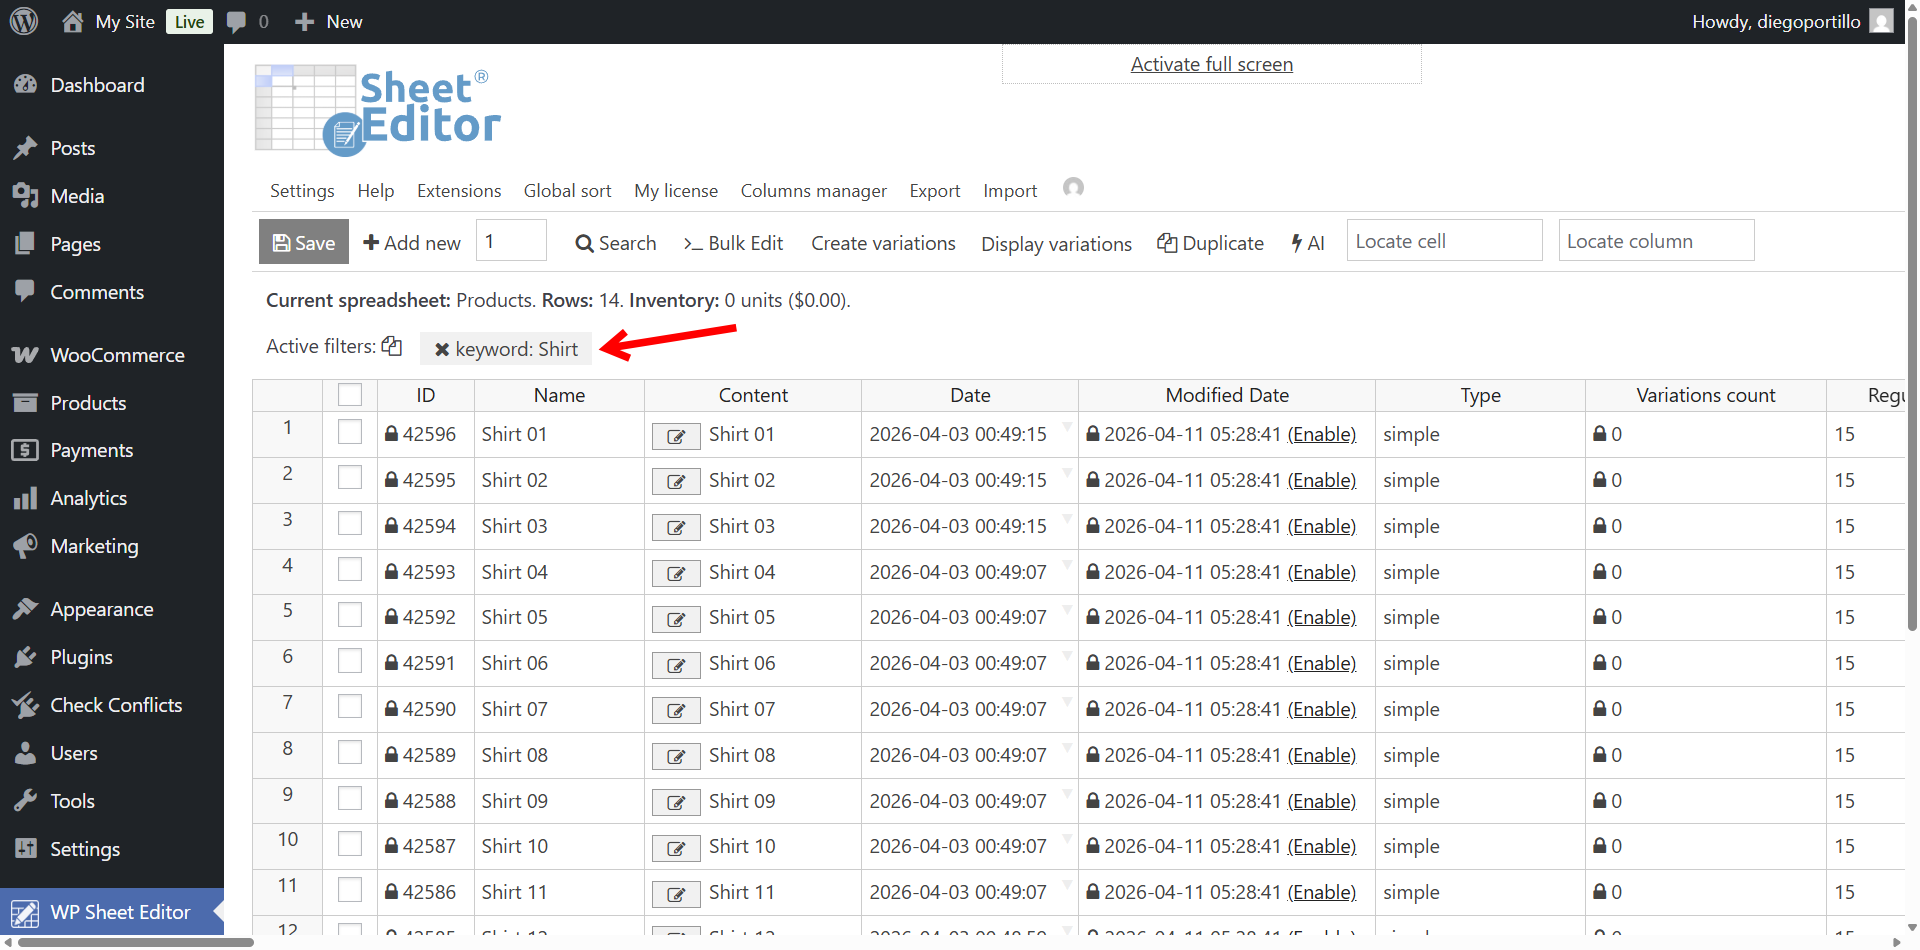
- Contains keyword: Enter a keyword (like “Shirt”) to find all products containing it in their titles.
- Enter Tags: Select any category, global attribute, or tag to filter products within that specific taxonomy.
- Search on variations: Tick this checkbox if your custom attributes are applied to individual variations rather than the parent product.
- Once you configure your search parameters, click the Run Search button.
For example, if we search for “Shirt,” the spreadsheet will reload to display only those specific items, confirming the active search filter above the spreadsheet:
4. Bulk Edit the Custom Attributes (4 Powerful Methods)
Now that you have filtered your targeted products, you can mass update their custom attributes using the Bulk Edit tool. Open it with one click on the top toolbar.
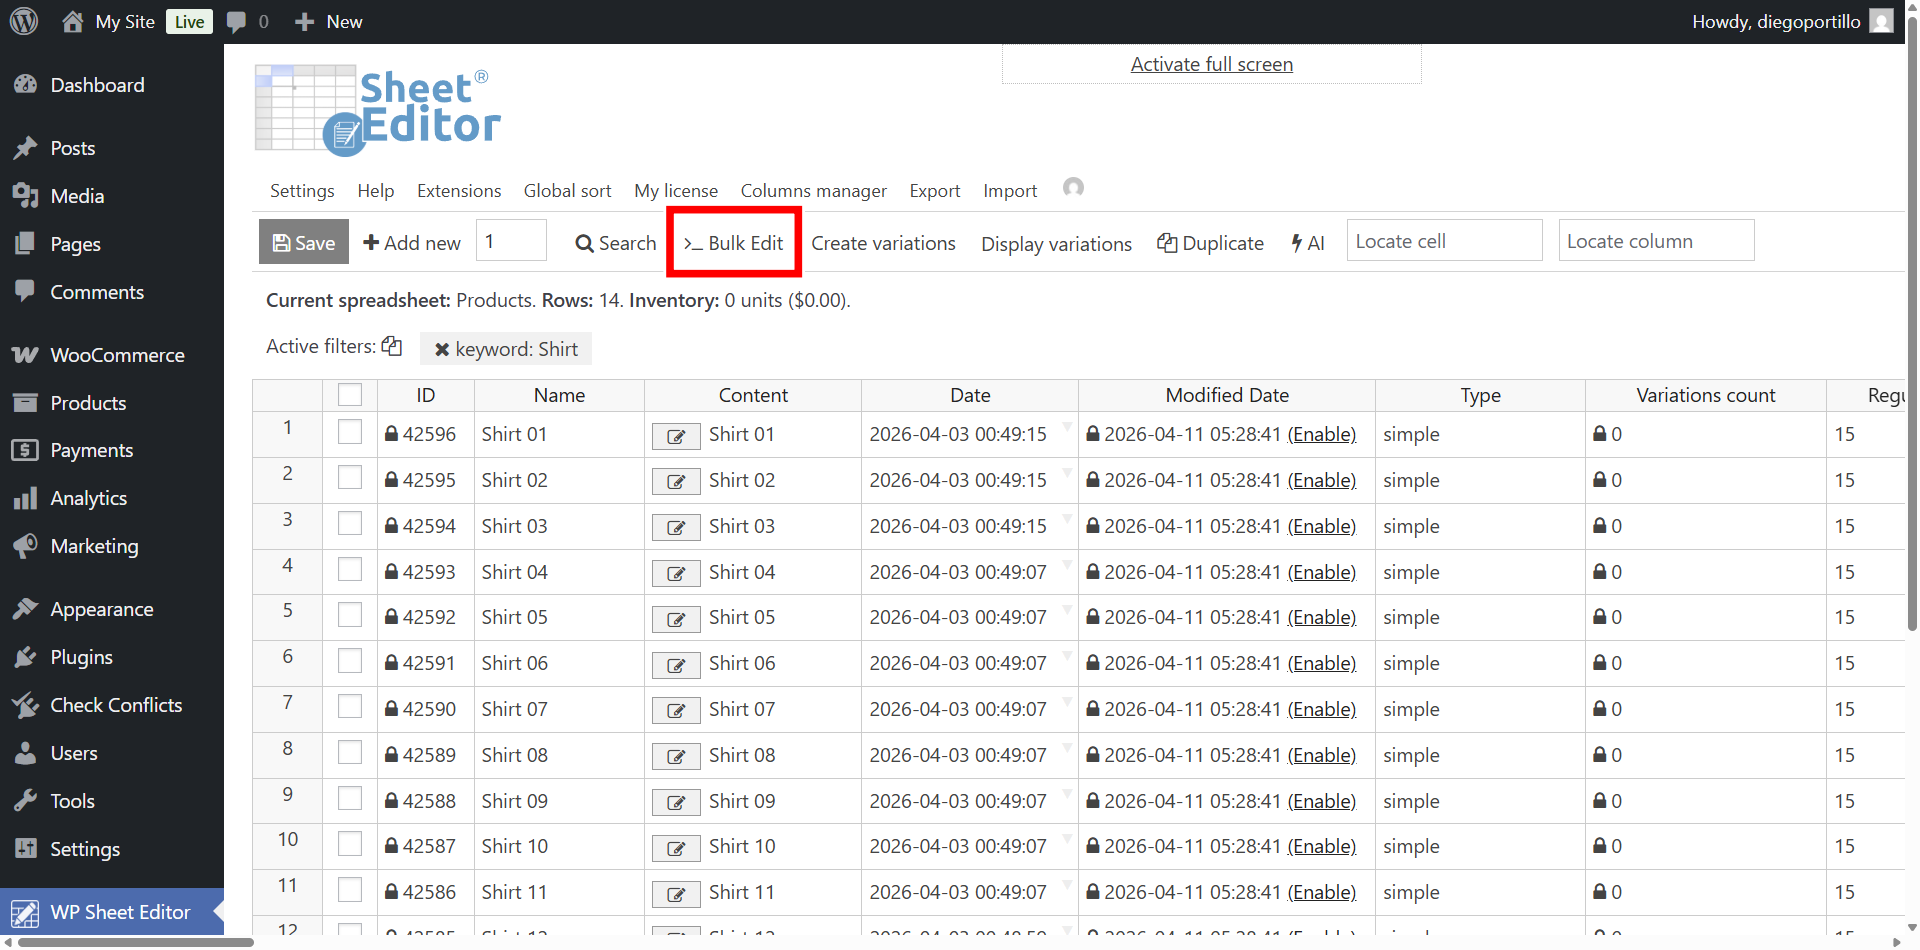
Inside the Bulk Edit popup, you can apply complex logic to your data. Here are four common ways to bulk manage your custom attributes.
Method A: How to bulk delete all values from a custom attribute
If you have decided to stop tracking a specific custom attribute (e.g., you no longer need the “Brand” attribute on your t-shirts), you can wipe the data instantly.

- Select the rows that you want to update: Edit all the rows from my current search.
- What field do you want to edit: Custom attribute: Brand (Select your specific attribute).
- Select type of edit: Clear value.
- Select Edit only parent products.
- Click Execute Now. The data will be permanently deleted from those products.
Method B: How to find and replace text in custom attributes
Imagine you made a data entry mistake. You created a custom attribute called Season and inputted the value “Spring” across 500 products, but it actually should have been “Summer”.
You can bulk replace that specific text without touching any other data:

- Select the rows that you want to update: Edit all the rows from my current search.
- What field do you want to edit: Custom attribute: Season (or your specific custom attribute)
- Select type of edit: Replace
- Replace this: Spring
- With this: Summer
- Select Edit only parent products.
- Click Execute Now.
Method C: How to bulk append new values to custom attributes
What if you want to add a new value to a custom attribute without deleting the existing ones? For example, you have a custom attribute called Country, and you want to add “Italy” to products that already list “France” and “Spain.”
Because WooCommerce separates custom attribute values using a vertical pipe or bar symbol ( | ), we must include that formatting when appending new data.
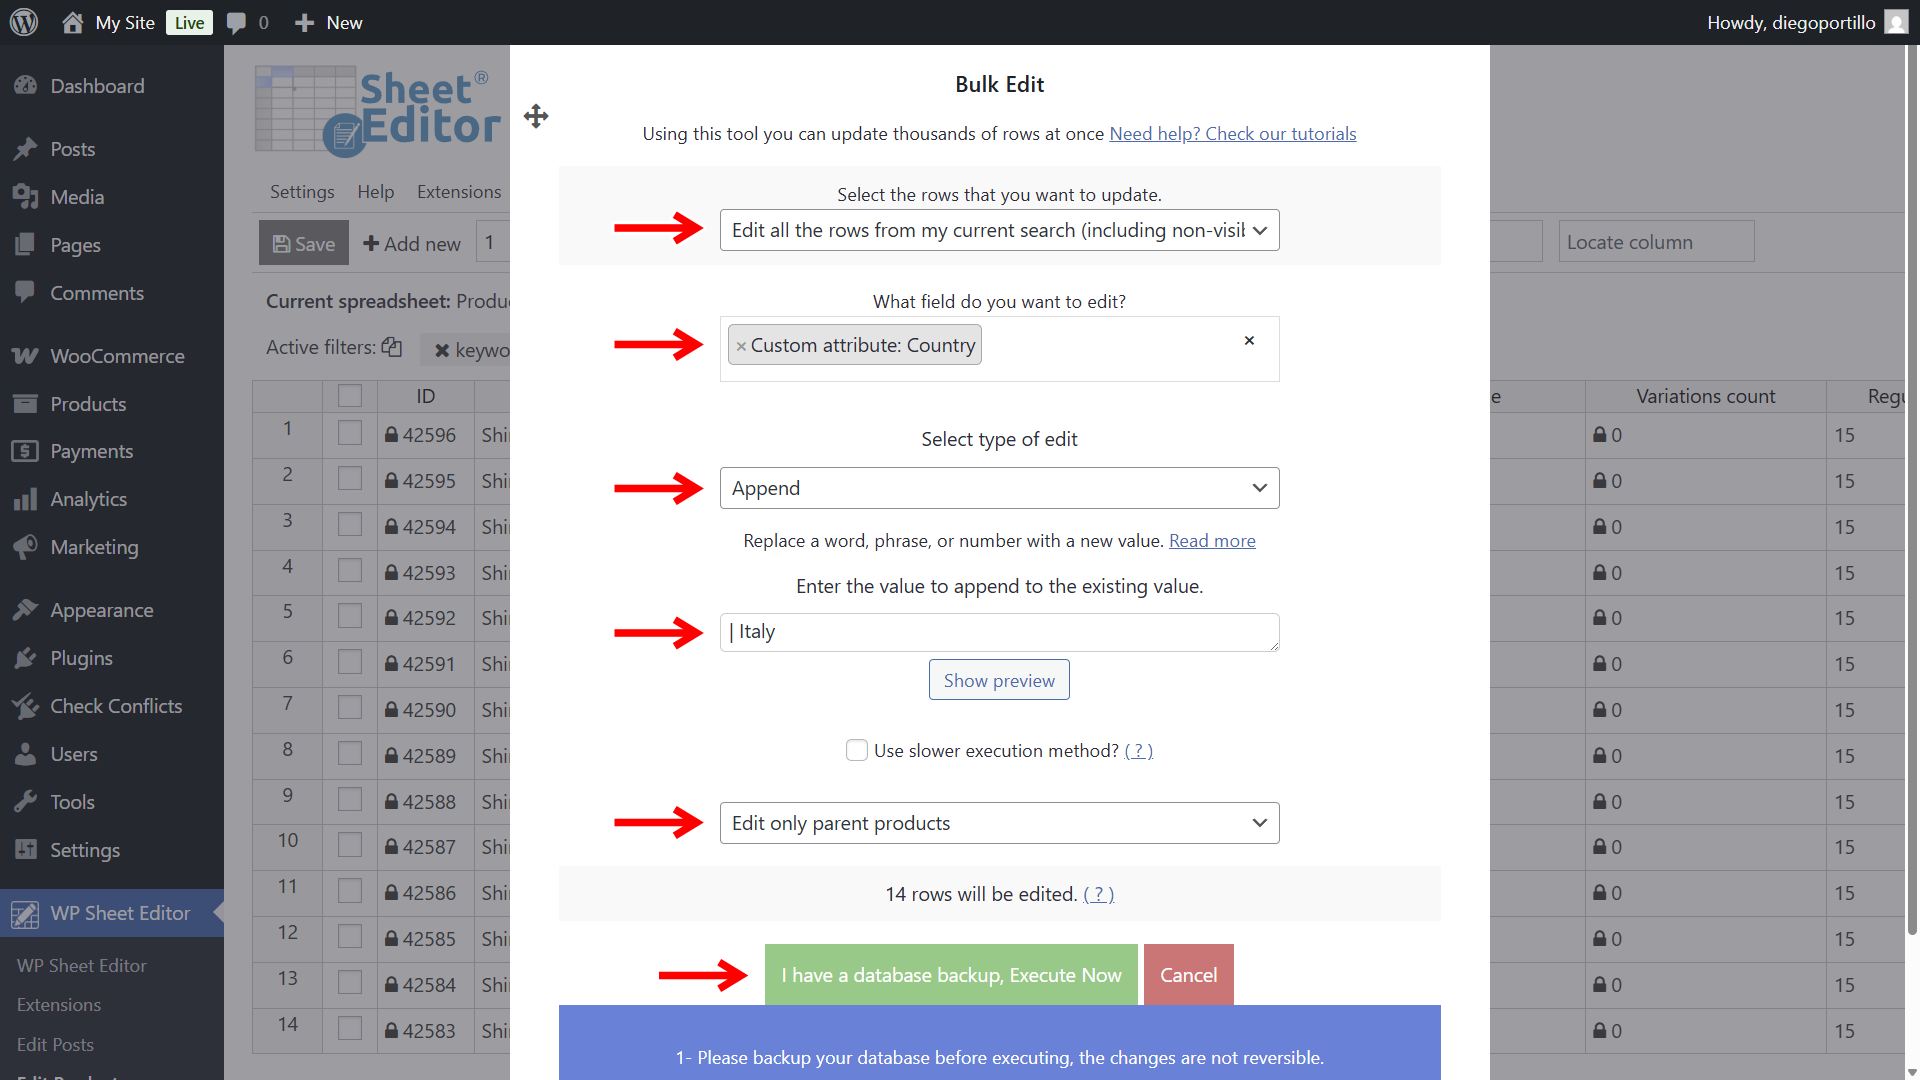
- Select the rows that you want to update: Edit all the rows from my current search.
- What field do you want to edit: Custom attribute: Country
- Select type of edit: Append
- Enter the value to append to the existing value: Type a space, a vertical bar, another space, and then your new value (e.g.,
| Italy). - Select Edit only parent products.
- Click Execute Now.
Method D: How to convert custom attributes into global attributes (and vice-versa)
If you realize that a custom attribute (like “Material”) is actually being used on almost every product in your store, it is best practice to convert it into a Global Attribute. This allows customers to filter by that attribute on your shop page.
You can perform this massive structural migration easily with WP Sheet Editor. We have a dedicated, step-by-step guide for this process:
Stop Wasting Time on Manual Attribute Management
Opening and editing five hundred product pages one by one to fix a simple custom attribute typo is a tedious, frustrating, and completely unnecessary task.
By utilizing the WP Sheet Editor plugin, you can bypass the clunky WooCommerce interface. With this intuitive spreadsheet and its advanced bulk editing formulas, you can find the exact products you need and mass update their custom attributes in minutes, keeping your store data perfectly organized.
You can download the plugin here:
Download WooCommerce Products Spreadsheet Plugin - or - Check the features