With WP Sheet Editor, you can easily export, import and bulk edit LearnPress courses.
This allows you to export your LearnPress courses, apply changes offline, and then import these LearnPress courses back to be updated on WordPress.
This is a great way to bulk edit your courses using CSV file edited in Excel or Google Sheets. You can easily migrate your LearnPress courses to a new website.
Or you can simply edit the courses directly on the spreadsheet or massively using the bulk edit tool.
Install WP Sheet Editor – Courses
This plugin allows you to bulk edit courses from the most popular WordPress LMS plugins like LearnPress, LearnDash, Tutor LMS, etc.
You can run advanced searches, bulk edit thousands of items at once, export courses, lessons, quizzes and other LMS content, import content from CSV files, etc. It’s designed to boost your productivity.
You can download the plugin here:
Download Courses Spreadsheet Plugin – or – Check the features
After installing and activating the plugin, go to WP Sheet Editor > Edit courses to open the spreadsheet.
1- How to export LearnPress courses to a CSV file
Here’s how you can download all your LearnPress courses to a CSV file in order to edit them in Excel or Google Sheets or migrate your courses to another website.
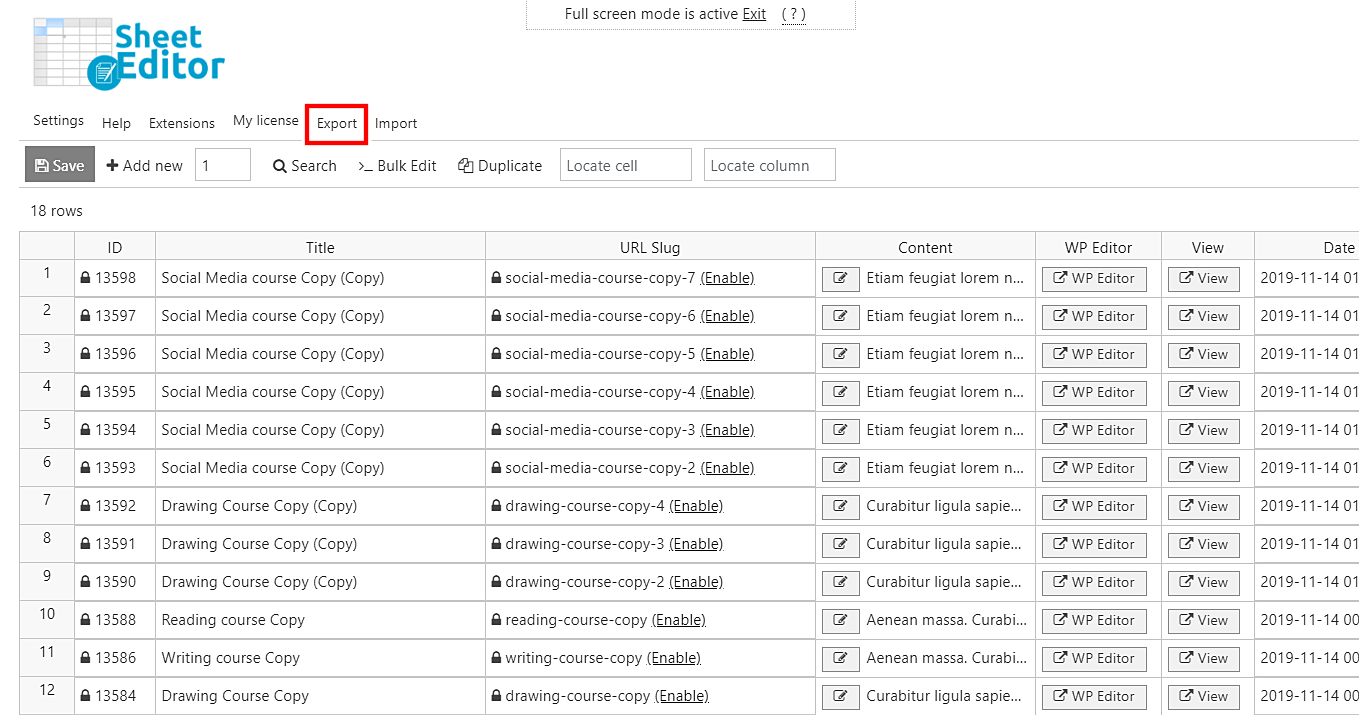
First, click on Export. It’s on the top toolbar.
After that, you need to select the following values to export your LearnPress courses:
- What columns do you want to export: Click on Select all or enter specific columns.
- I understand it will export the posts from my current search: Tick this checkbox.
- Optional. Tick the I will edit this file with Microsoft Excel checkbox. Sometimes Excel doesn’t recognize the comma as separator, so this checkbox fixes that problem.
- Finally, click on Start new export.

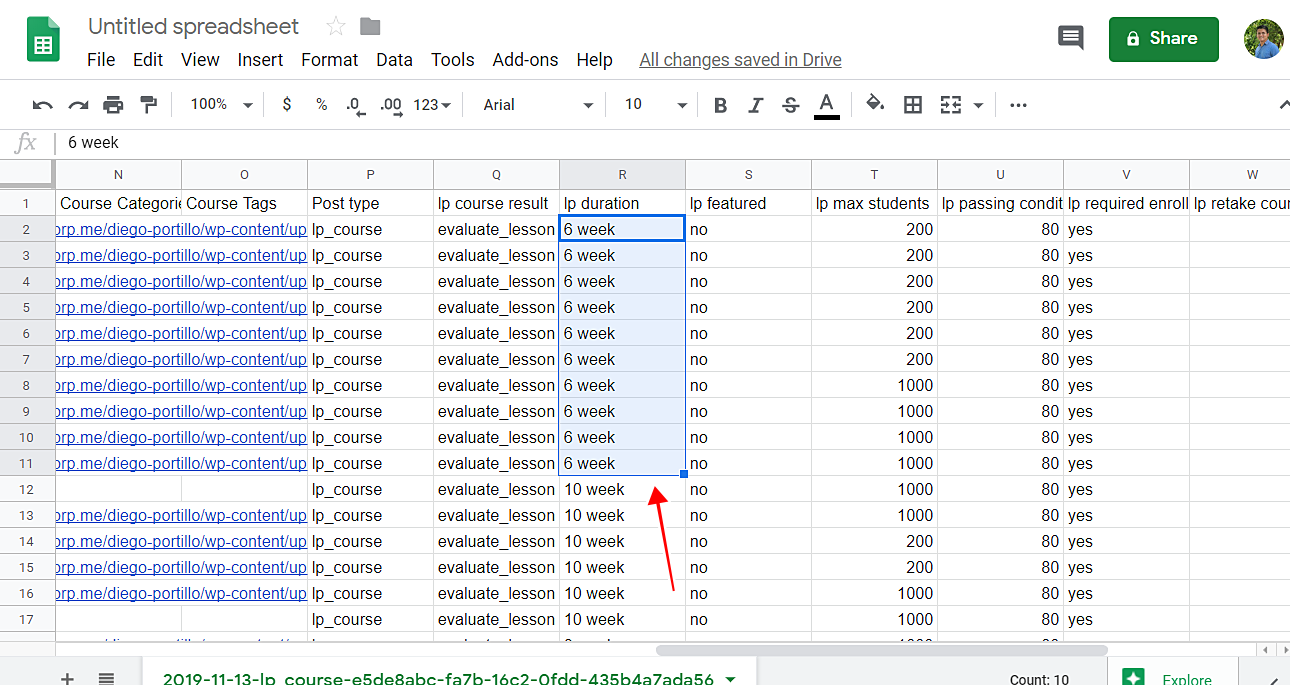
After downloading the CSV file to your computer, you can edit it using Excel or Google Sheets.
For example, you can edit the courses’ duration. For that, just go to the lp duration column and change the number of week the courses last.
After making the changes you need, you need to save the changes, and you’ll be ready to import the info back to the LearnPress spreadsheet.
2- How to import LearnPress courses from a CSV file
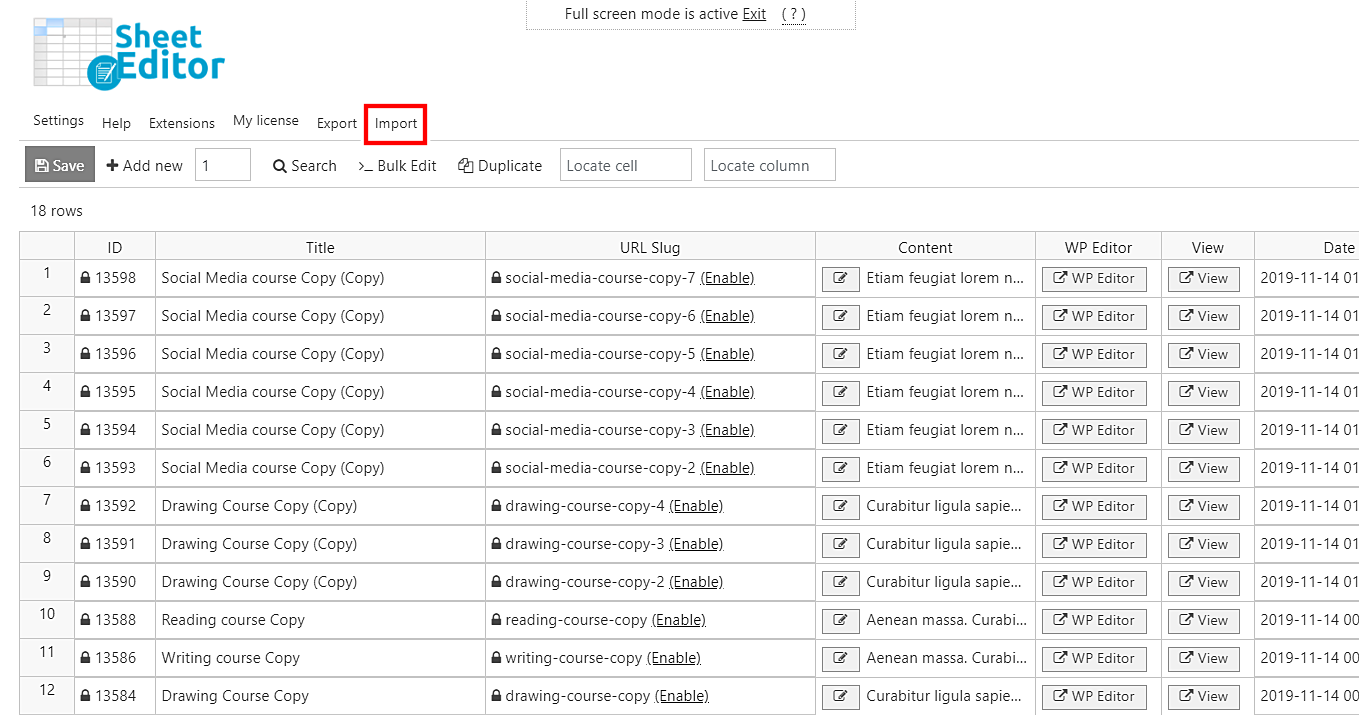
Whether you edit your LearnPress courses in a CSV file or just want to migrate your courses to another website, you can easily import the courses into LearnPress using the Sheet Editor’s Import tool.
Now you need to select the CSV file from your computer, so you need to do this:
- Source: CSV file from my computer
- Click on Choose File and search for it on your computer.
- Click on Next.

Next, click on Import all the columns to continue.

Select the Update existing items, ignore new items option in the Do you want to update or create items dropdown.
Match the CSV fields to the WordPress fields. You can pair up the IDs for the plugin to match the files and import the information in the right places:
- Field 1: CSV Field: record_id
- Field 1: WordPress Field: ID
Now just click on Next.

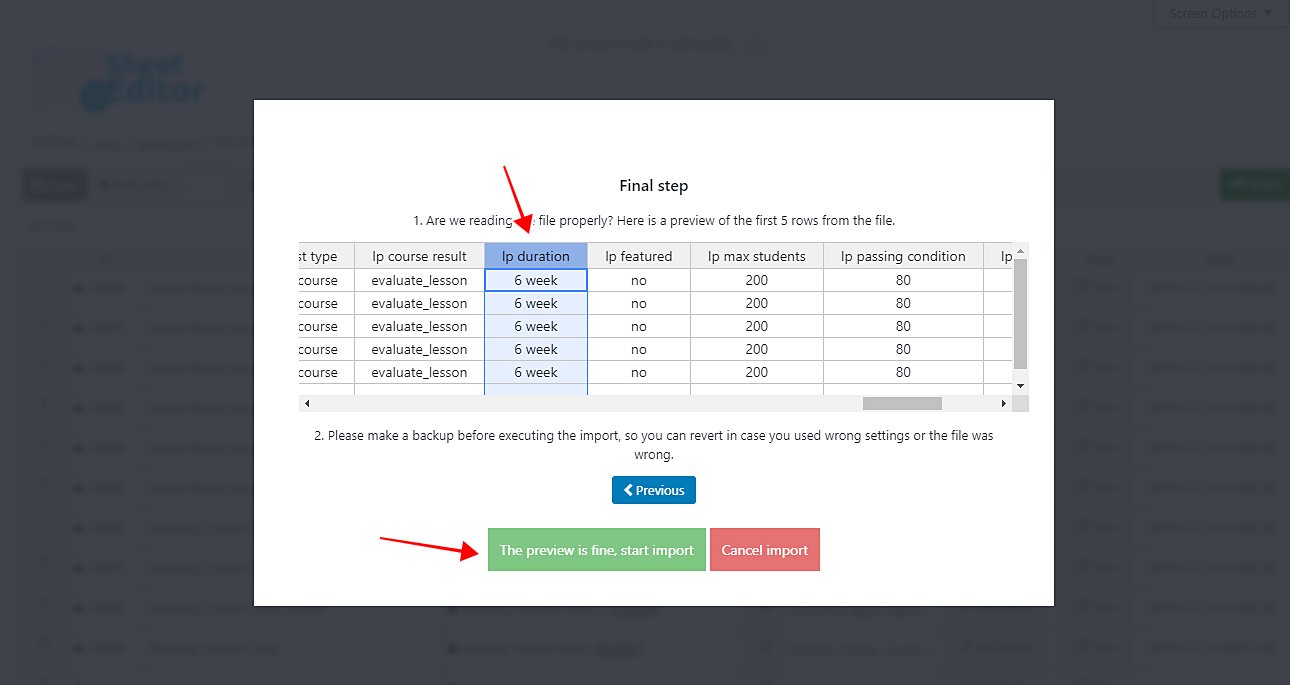
Now, the plugin will show you a preview of how the information will look once it’s imported. If it’s ok, click on The preview is fine, start import.
If you check the columns you imported, you’ll see that all the fields you edited will be modified.
3- How to bulk edit LearnPress courses
Now let’s see how to edit LearnPress courses in the spreadsheet and massively using the bulk edit tool.
If you want to edit only specific courses, you can easily filter them. If you don’t know how, you can visit this tutorial.
a) Edit LearnPress courses using a spreadsheet
Once you are in the spreadsheet containing the LearnPress courses, you can proceed to update any cell just as if you were doing it from Excel or Google Sheets.
In this case, we’ll edit the prices of each course. To do this, we’ll go to the Lp price column, and enter the new prices.

Once you’re done updating the prices or any other field, save the changes.
b) Bulk edit course duration
To set a new course duration, start by opening the Bulk Edit tool with one click. It’s on the toolbar.

Once you open the Bulk Edit tool, select the following values to set a new course duration.
- Select the rows that you want to update: Edit all the rows from my current search (including non-visible rows)
- What field do you want to edit: Lp Duration
- Select type of edit: Set value
- Replace existing value with this value: Here, you need to enter the duration you want these courses to have.
- Click Execute Now.

c) Bulk feature courses
Now let’s see how to feature all courses at once. First, you’ll have to open the Bulk Edit tool.
After the Bulk Edit tool is open, select the following values to feature all courses.
- Select the rows that you want to update: Edit all the rows from my current search (including non-visible rows)
- What field do you want to edit: Featured List
- Select type of edit: Set value
- Replace existing value with this value: Enter “yes”
- Click Execute Now.

d) Bulk edit course author
Now that the Bulk Edit tool is open, select the following values to change the course author.
- Select the rows that you want to update: Edit all the rows from my current search (including non-visible rows)
- What field do you want to edit: Author
- Select type of edit: Set value
- Replace existing value with this value: Select the author’s name
- Click Execute Now.

e) Bulk edit the “block content” feature
In the Bulk Edit tool, select the following values to edit the block content option.
- Select the rows that you want to update: Edit all the rows from my current search (including non-visible rows)
- What field do you want to edit: Lp Block Finished. This is to block the course after the student finished it.
- Select type of edit: Set value
- Replace existing value with this value: Tick the checkbox
- Click Execute Now.

f) Bulk edit evaluation method
Now enter the following values to change the evaluation method.
- Select the rows that you want to update: Edit all the rows from my current search (including non-visible rows)
- What field do you want to edit: Evaluation.
- Select type of edit: Set value
- Replace existing value with this value: You can select the method that fits your needs.
- Click Execute Now.

g) Bulk edit the “no requirement enroll” option
Once we’re in the Bulk edit tool, select the following values to activate the no required enroll option.
- Select the rows that you want to update: Edit all the rows from my current search (including non-visible rows)
- What field do you want to edit: No Requirement Enroll.
- Select type of edit: Set value
- Replace existing value with this value: Tick the checkbox
- Click Execute Now.

This is how you can easily export, import, and edit LearnPress courses.
As you see, you can easily migrate your LearnPress courses to another website, update your website using a CSV file, or edit all your courses faster. You just need to follow the steps above.
You can download the plugin here:
Download Courses Spreadsheet Plugin – or – Check the features